Table of Contents
Advertisement
Quick Links
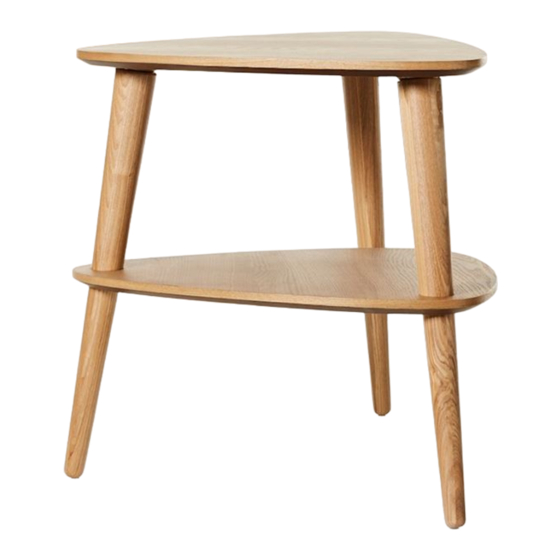
Barber side table
Thank you for purchasing this Barber side table. Please read the instructions carefully before use to ensure
safe and satisfactory operation of this product.
Pre-assembly preparation
Please ensure instructions are read in full before attempting to assemble this product
Necessary tools
Please check the pack contents before attempting to assemble this product. A full checklist of components is
given in this leaflet. If any components are missing, please contact the retailer from whom you bought this
product.
This product is HEAVY, it should be assembled as near as possible to the point of use. TAKE CARE
WHEN LIFTING to avoid personal injury and (or) damage to the product.
This product takes approximately 20 MINUTES to assemble with 1 PERSON.
The fittings pack contains SMALL ITEMS which should be KEPT AWAY FROM YOUNG CHILDREN.
Read this leaflet in full before commencing assembly.
PLEASE KEEP THESE INSTRUCTIONS FOR FUTURE REFERENCE
03/15
adairs.com.au
adairs.co.nz
1
Advertisement
Table of Contents

Related Manuals for adairs Barber


Summary of Contents for adairs Barber
- Page 1 Barber side table Thank you for purchasing this Barber side table. Please read the instructions carefully before use to ensure safe and satisfactory operation of this product. Pre-assembly preparation Please ensure instructions are read in full before attempting to assemble this product Necessary tools Please check the pack contents before attempting to assemble this product.
- Page 2 Fittings and parts checklist There will be a small quantity (10%) of extra spare fittings included Table top x 1 Shelf x 1 Front leg x 1 Shelf leg top x 2 Shelf leg bottom x 2 adairs.com.au adairs.co.nz 03/15...
- Page 3 Locate the front leg (part C) into the bracket highlighted with a label. Turn clockwise by hand until tight. Repeat this step with the shelf leg tops (part D). Step Two Position the shelf (part B) as shown below. adairs.com.au 03/15 adairs.co.nz...
- Page 4 Step Four Carefully turn the table over to place in position. Please note, the table should always lifted and not dragged on the floor when moving to prevent damage to the legs. adairs.com.au adairs.co.nz 03/15...
- Page 5 • It is recommended that before moving heavy objects to a new location they are completely dis- assembled to avoid personal injury or damage to the furniture. Please be careful to retain all fittings when doing this. adairs.com.au adairs.co.nz...
- Page 6 adairs.co.nz...
- Page 7 Step 1: fix the fittings on the back of product. Step 2: Example of fixing the fittings on the wall. * Not supplied, it depends on the material and circumstances of the wall Step 3: Use strap connect product with the wall adairs.com.au adairs.co.nz...
Need help?
Do you have a question about the Barber and is the answer not in the manual?
Questions and answers