Table of Contents
Advertisement
Quick Links
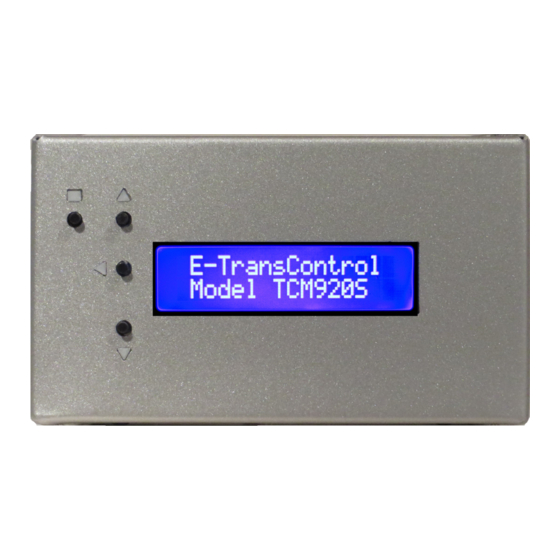
TCM920 Transmission Controller
Setup & Configuration Manual
(see the wiring diagram for making the wire connections)
Designed to be used on GM® electronic control transmissions
Models 4L60E to 4L80E RWD and 4T45E, 4T60E, 4T65E and 4T80E FWD vehicles
Choosing a good location for the controller is important. It was not designed for under hood, motor
compartment or wet location installation. It should be installed in the passenger compartment of the
vehicle. Recommended locations are under the dash or in a console. It is also good to be out of direct
sun light. If under dash installation is chosen be sure it is not in direct contact to the fire wall that is
exposed to the engine or exhaust system heat. Electronics last much longer when kept in a cooler
location. Keep in mind you have wires that go to the transmission and the fuse box. The transmission
harness may need splicing in order to reach the connectors. Any splicing should be done in a
professional manner with the appropriate size wire, all connections soldered and wrapped properly
with tape or heat shrink and then covered with tape or wire loom. Shorts or faulty connections can
cause radical behavior and may damage the controller or transmission. Damage caused by shorts
are not covered by the warranty.
Initial Setup: The controller is tested as 4L60E and must be setup to function correctly.
To set the primary configuration;
1: Hold down the small "Mode" (LEFT) button on the controller while turning on the ignition switch.
You should see the first setting appear on the LCD (release the button).
2: Use the UP (Top) or DOWN (Bottom) buttons to make the settings.
The < BACK button will take you to the previous setting.
The first selection is the type of transmission. This will be set at the default #1 or possibly for
your transmission if we were made aware prior or during the order process.
The choices are below and will be displayed on the Crystal Blue LCD
#1 = 4L60E standard - starts in 1 st gear – Also works on 4T60 & 4T65E FWD (default)
#2 = 4L80E standard - starts in 1 st gear – Also works on 4T45E & 4T80E FWD
#3 = 4L60E and B&M Megashifter - starts in 4 th gear – Also works for 4T60 & 4T65E FWD
#4 = 4L80E and B&M Megashifter - starts in 4 th gear – Also works for 4T45E & 4T80E FWD
Press Mode button for next setting menu
3/19
E-Transcontrol, LLC Copyright 2019 All rights reserved
Advertisement
Table of Contents

Subscribe to Our Youtube Channel
Summary of Contents for E-Transcontrol TCM920
- Page 1 #3 = 4L60E and B&M Megashifter - starts in 4 th gear – Also works for 4T60 & 4T65E FWD #4 = 4L80E and B&M Megashifter - starts in 4 th gear – Also works for 4T45E & 4T80E FWD Press Mode button for next setting menu 3/19 E-Transcontrol, LLC Copyright 2019 All rights reserved...
- Page 2 See TPS settings below. The controller receives it's primary input signal from the VSS (vehicle speed sensor) and this setting is based on that signal for the shift control. 3/19 E-Transcontrol, LLC Copyright 2019 All rights reserved...
- Page 3 Adjustment made in increments of plus 5 or minus 1 High setting = 80 Lowest setting = 1 (default is 10) This adds to the TPS input for Line Pressure control. A higher number means a firmer shift. 3/19 E-Transcontrol, LLC Copyright 2019 All rights reserved...
- Page 4 Warranty Returns: All E-Transcontrol products come with a limited 1 year product warranty. You can return the product directly to us for repair or replacement while under warranty. If the product is found to be defective then it will either be repaired or replaced with the current model at no cost. See the warranty document for full warranty details.
Need help?
Do you have a question about the TCM920 and is the answer not in the manual?
Questions and answers