Advertisement
Quick Links
WARNINGS
Please read the following information before installing and using
your Heated Towel Rack.
- These units should be installed by a certified electrician.
- The unit requires a 120 volt, 60Hz power source and should be installed on a protected circuit.
- Plug-in units should be connected to a grounded outlet with a minimum rating of 10 amps.
- Follow installation instructions to ensure unit is securely fixed to wall.
- Unit is designed for drying towels. Under no circumstances should anybody climb on or hang on unit.
- Unit is intended for indoor use only. Do not place units inside a shower, sauna, steam room, or wherever
unit would be exposed to water.
CAUTION
- As this is a heating device, the surface temperature can increase depending on the ambient temperature
and the towels applied to the unit.
- Overloading the unit will cause the unit to become extremely hot and may result in a burn if touched and/or
damage to towels.
- The fasteners provided with the installation kit are for convenience only and are not suitable for all
installation conditions.
- It is the ultimate responsibility of the installer to ensure suitable mounting hardware is used.
OPERATING INSTRUCTION
- After installation, connect the electric power and turn on switch.
- The indicator light will glow blue and the towel warmer will start to heat — Allow 10-20 minutes to heat up.
- This towel warmer has been designed to run continuously — Turn off the switch or unplug the cord when
the towel warmer is not in use for long periods of time.
- Never use an extension cord for Plug-in models.
- The towel warmer features an Integrated on/off switch.
- Remove plastic cover after installation.
- Press switch to power on unit.
- Switch will illuminate when on.
CARE & MAINTENANCE
- The unit is constructed from extremely durable stainless steel. To maintain a good appearance, follow
these simple instructions:
- For routine cleaning, simply switch off the unit, allow to cool to room temperature, wipe with a damp cloth.
- Under no circumstances should abrasive cleaners be used to clean the unit.
CONTACT US
Email: support@SHARNDY.com
Warranty: Three year limited warranty.With proof of purchase, will apply if all Terms and Conditions of
sale are met and Installation Instructions are adhered to.
! CAUTION — SURFACE OF UNIT IS HOT WHEN ON !
Website: www.sharndy.com
INSTALLATION GUIDE
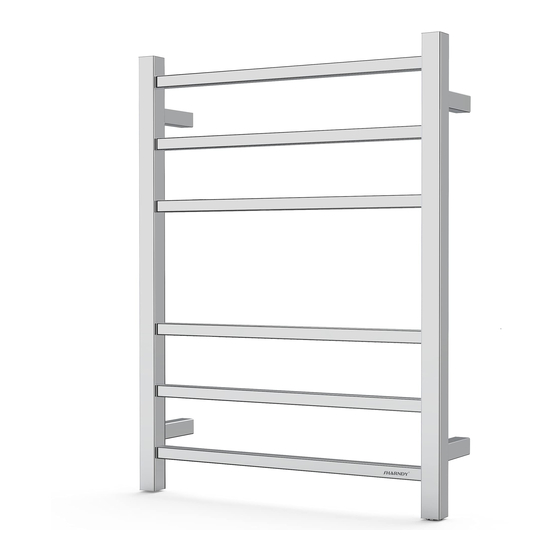
Model
ETW13C
Size
H26.77*W20.47*D4.33 inches
120V, 60Hz
Rated Voltage
Rated Power
68W
Control Mode
Blue Metal on/off Switch
Length of the cable
4.8 ft / 1.6 m
Warramty
3 years
! CAUTION — SURFACE OF UNIT IS HOT WHEN ON !
Advertisement

Related Manuals for Sharndy ETW13C

Summary of Contents for Sharndy ETW13C
- Page 1 - Remove plastic cover after installation. - Press switch to power on unit. - Switch will illuminate when on. Model ETW13C CARE & MAINTENANCE Size H26.77*W20.47*D4.33 inches - The unit is constructed from extremely durable stainless steel. To maintain a good appearance, follow...
- Page 2 INCLUDED COMPONENTS hang bracket Long screw nail Short screw Short tube 3pcs 1pcs 4pcs 4pcs 4pcs Plastic expander 5. Use tape measure to measure and confirm the distance between these four wall bracket, and then mark A, B, C, D on the wall. Allen Wrench Suggest it is installed at least 600mm above the floor level, and try to use the levelling instrument to Set screw...
Need help?
Do you have a question about the ETW13C and is the answer not in the manual?
Questions and answers