Table of Contents
Advertisement
Quick Links
USER MANUAL
AFTER SALES SUPPORT:
WWW.SPTOOLS.COM
IMPORTANT
ALL PERSONS WHO ARE TO USE THIS EQUIPMENT MUST THOROUGHLY READ
AND UNDERSTAND THIS INSTRUCTION MANUAL PRIOR TO OPERATION.
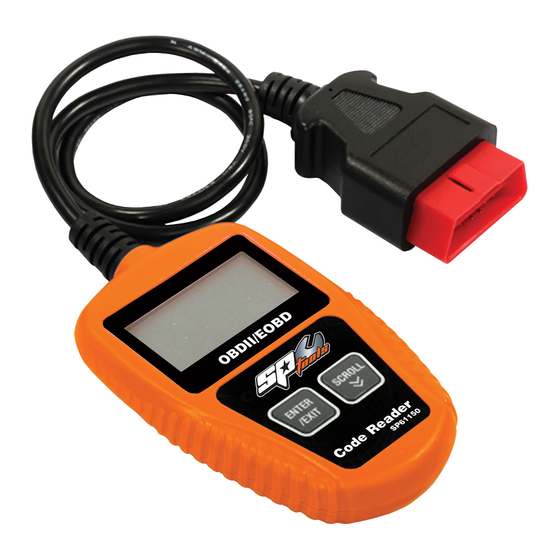
SP61150
SCANNER CODE
READER
OBDII/EOBD
RETAIN THESE INSTRUCTIONS
AND ATTACH RECEIPT TO
MANUAL FOR FUTURE
NOTE: Proof of purchase must be retained by
the customer as it will be required in the
event of a claim under warranty.
AUSTRALIA: Visit the website's contact page to get in
touch with your local service department.
INTERNATIONAL: Use the county selector to get in touch
with your service department in your country or region.
REFERENCE
Advertisement
Table of Contents

Related Manuals for SP tools SP61150

Summary of Contents for SP tools SP61150
- Page 1 USER MANUAL SP61150 SCANNER CODE READER OBDII/EOBD RETAIN THESE INSTRUCTIONS AND ATTACH RECEIPT TO MANUAL FOR FUTURE REFERENCE NOTE: Proof of purchase must be retained by the customer as it will be required in the event of a claim under warranty.
-
Page 2: Table Of Contents
CONTENTS Introduction Product Overview Scope of delivery Navigation Characters Technical Specifications General Information Vehicle Coverage Features Intended Use Safety Warnings Definitions Operating Instructions Location of Data Link Connector System Status Reading Codes Erasing Codes Retrieving I/M readiness Status Viewing Vehicle Information Exiting OBDII Test Cleaning and Maintenance Disposal and Recycling Instructions... -
Page 3: Introduction
INTRODUCTUCTION Today’s vehicles use computer-controlled systems to ensure peak performance and fuel- efficiency. These systems also have the ability to perform self-testing and run diagnostic reports. Whether you are a hobby mechanic or skilled DIYer, the OBDII Code Reader provides a convenient way to read vehicle information. -
Page 4: Navigation Characters
NAVIGATION CHARACTERS The numbers "x/x" in the upper righthand Diagnostic Menu corner of the screen indicate the total number ================== of screens covered in each menu and the sequence of the displayed data. 1) System Status 2) Read codes 3) Erase Codes 4) I/M Readiness >... -
Page 5: Vehicle Coverage
VEHICLE COVERAGE The Code Reader has been designed to work with OBDII compliant vehicles, including next generation protocol -- Control Area Network (CAN). Country Made Classification Enforcement Date All vehicles January 1996 Europe Petrol vehicles January 2001 Europe Diesel vehicles January 2004 Australia All vehicles... -
Page 6: Safety Warnings
SAFETY PRECAUTIONS & WARNINGS To prevent personal injury or damage to vehicles and/or the Code Reader, read this instruction manual first and observe the following safety precautions at a minimum whenever working on a vehicle: 1. Always perform automotive testing in a safe environment. 2. -
Page 7: Definitions
Continuous Monitors: Once the engine is running, the on board OBDII system is continuously monitoring key engine sensors for engine misfire, and fuel demand. The continuous monitors are: 1. Misfire 2. Fuel system 3. Comprehensive Components (CCM) Other systems are tested only under specific operating conditions. Non-Continuous Monitors: Unlike the continuous monitors, many emissions and engine system components require the vehicle to be operated under specific conditions before the monitor is ready. - Page 8 OBDII Drive Cycle: A specific mode of vehicle operation that provides condition required to set all the readiness monitors applicable to the vehicle to the ready condition. The purpose of completing an OBD II drive cycle is to force the vehicle to run its on-board diagnostics. Some form of a drive cycle needs to be performed after DTCs have been erased from the PCM's memory or after the battery has been disconnected.
- Page 9 Diagnostic Trouble Codes (DTCs) DTCs are created and stored by the vehicles on-board computer in response to a problem detected. The codes identify a particular problem and indicate where the fault has occurred. • The first character identifies which control system set the code. •...
-
Page 10: Operating Instructions
OPPERATING INSTRUCTIONS CAUTION: Do not connect or disconnect any test equipment with ignition on, or engine running. Power for the code reader is provided via the vehicle Data Link Connector (DLC). Follow the steps below to connect to vehicle: 1. Turn the ignition off. 2. -
Page 11: System Status
OBDII Diagnostics When more than one vehicle control module is detected by the scan tool, you will be prompted to select the module where the data may be retrieved. The most often to be selected are the Powertrain Control Module [PCM] and Transmission Control Module [TCM]. SYSTEM STATUS Diagnostic Menu ==================... -
Page 12: Erasing Codes
If more than one module is detected, you Control Module will be prompted to select a module before ================== test. 1) Engine 2) Module $A4 3) Exit Use SCROLL button to select a module, and press ENTER/EXIT button. 2. View DTCs and their definitions on screen. P0115 Generic ====================... - Page 13 If you decide to erase the DTCs, use SCROLL button to select Erase Codes from Diagnostics Diagnostic Menu ================ Menu and press ENTER/EXIT button. 1) System Status 2) Read codes 3) Erase Codes 4) I/M Readiness 2. A warning message comes up asking for your Erase Codes confirmation.
-
Page 14: Retrieving I/M Readiness Status
RETRIEVING I/M READINESS STATUS I/M Readiness function is used to check the operations of the Emission System. It is an excellent function to use prior to having a vehicle inspected for emissions compliance. Some latest vehicles may support two types of I/M Readiness tests: A. -
Page 15: Viewing Vehicle Information
3. If the vehicle supports both types of tests, then I/M Readiness both types are shown on the screen for selection. =============== Since DTCs Cleared This Drive Cycle Exit 4. Use SCROLL button to view the status of the MIL light (ON or OFF) and the following monitors: Misfire monitor -- Misfire monitor •... - Page 16 Use SCROLL button to select Vehicle Info. from Diagnostic Menu Diagnostic Menu and press ENTER/EXIT button. ============= 5) Vehicle Info 6) Exit 1. Wait a few seconds or press ENTER/EXIT Vehicle Info button to continue. ============= Turn key on With engine off! Press [ENTER] to con.
-
Page 17: Exiting Obdii Test
4. View retrieved vehicle information on the screen. Vehicle Info =============== VIN: 2HGES16684H907941 5. Press ENTER/EXIT to return to previous menu. EXITING OBDII TEST 1. To exit OBDII test, use SCROLL button to Diagnostic Menu select Exit from Diagnostic Menu and press =============== ENTER/EXIT button. -
Page 18: Cleaning And Maintenance
CLEANING AND MAINTENANCE Keep your Code Reader dry, clean and free from oil, water and grease. • Use a mild detergent on a clean cloth to clean the outside of the Scan Tool, when • necessary. Store the unit in a dry dust free environment. •... -
Page 19: Warranty Details
To the extent permitted by law and subject to this Limited Warranty, and as part of the terms of the sale of the equipment or part thereof: SP Tools shall not be liable for any form of loss, damage, cost, injury or harm of any kind (whether direct, indirect, special or consequential) howsoever arising from the use or supply of the equipment to the purchaser.
Need help?
Do you have a question about the SP61150 and is the answer not in the manual?
Questions and answers