
Summary of Contents for DocuSign Signature Appliance
- Page 1 Information Guide DocuSign Signature Appliance Rack Mount Instructions Version 1.0 Ι Ι Ι 221 Main Street, Suite 1000, San Francisco, CA 94105 Tel. 866.219.4318 www.docusign.com © DocuSign, Inc.
- Page 2 DocuSign, Inc. Under the law, reproducing includes translating into another language or format. Every effort has been made to ensure that the information in this manual is accurate. DocuSign, Inc. is not responsible for printing or clerical errors. Information in this document is subject to change without notice.
-
Page 3: Table Of Contents
Introduction ............................3 Rack mount kit parts ..........................3 Mounting the DocuSign Signature Appliance in a rack ................. 3 Preparing for Installation ........................ 3 Step 1: Attach two rail-supports (front and rear) to the right side of the rack ........4 Step 2: Attach two rail-supports (front and rear) to the left side of the rack ........ -
Page 4: Introduction
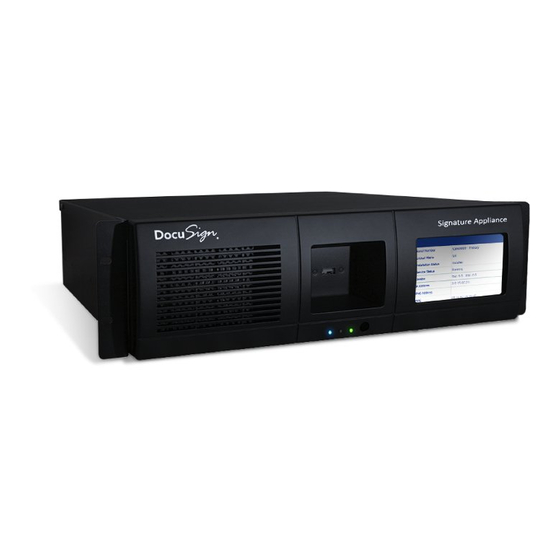
Introduction This guide explains how to mount the DocuSign Signature Appliance in a generic rack. To install the appliance, you need a Phillips screwdriver and an M4 Wrench. Rack mount kit parts The rack mount kit is included in the shipping container, together with the DocuSign Signature Appliance. -
Page 5: Step 1: Attach Two Rail-Supports (Front And Rear) To The Right Side Of The Rack
2 M5 square nuts (item 1 in figure) 2 M5 washers (item 2 in figure) 2 M5x16 screws (item 3 in figure) Ι Ι Ι 221 Main Street, Suite 1000, San Francisco, CA 94105 Tel. 866.219.4318 www.docusign.com © DocuSign, Inc. - Page 6 Figure 2 4. Similarly, at the rear right-hand side of the rack, attach the rear rail-support to the rack post (see Figure Ι Ι Ι 221 Main Street, Suite 1000, San Francisco, CA 94105 Tel. 866.219.4318 www.docusign.com © DocuSign, Inc.
-
Page 7: Step 2: Attach Two Rail-Supports (Front And Rear) To The Left Side Of The Rack
Attach a rail to the inner side of the right rail-supports. Attach a rail to the inner side of the left rail-supports. 1. Prepare the following: Two rails Ι Ι Ι 221 Main Street, Suite 1000, San Francisco, CA 94105 Tel. 866.219.4318 www.docusign.com © DocuSign, Inc. - Page 8 Secure each screw with an M4 washer and an M4 nut. Place the two screws in the locations indicated by the red ovals in Figure Figure 6 Ι Ι Ι 221 Main Street, Suite 1000, San Francisco, CA 94105 Tel. 866.219.4318 www.docusign.com © DocuSign, Inc.
- Page 9 3. Attach the second rail to the rail-supports on the left side of the rack. Follow the instructions detailed in Step 2 above, but attach the rail on the left side rail supports. Ι Ι Ι 221 Main Street, Suite 1000, San Francisco, CA 94105 Tel. 866.219.4318 www.docusign.com © DocuSign, Inc.
-
Page 10: Step 4: Attach Rollers To The Appliance
Step 4: Attach rollers to the appliance In this step you will attach a roller to each side of the DocuSign Signature Appliance. 1. Prepare the following: Two sets of the following: 1 roller 3 M4x8 screws 2. Attach a roller to the right side of the appliance using three M4x8 screws, as shown in... - Page 11 3. Slide the appliance all the way into the rack. When correctly mounted, the front of the appliance should be flush with the front of the rack and appear as shown in Figure Figure 12 Ι Ι Ι 221 Main Street, Suite 1000, San Francisco, CA 94105 Tel. 866.219.4318 www.docusign.com © DocuSign, Inc.
Need help?
Do you have a question about the Signature Appliance and is the answer not in the manual?
Questions and answers