Table of Contents
Advertisement
Quick Links
Advertisement
Table of Contents

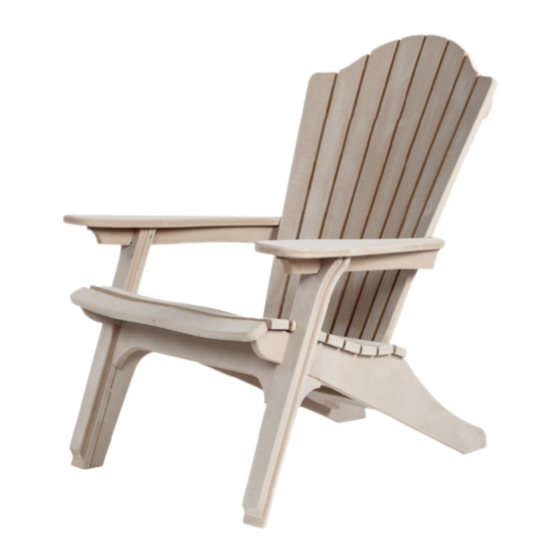
Summary of Contents for Modern-Mill FERNWOOD
- Page 1 THE FERNWOOD Assembly Instructions...
-
Page 2: Getting Started
For easy cleaning and color retention, we recommend fi nishing your Fernwood Chair with a paint or stain and / or clear coat. If you plan to fi nish your Fernwood chair, be sure to do so BEFORE assembly with a water-based stain or paint. Let dry completely before assembly. -
Page 3: Base Assembly
Base Assembly Secure seat support to legs with (1) 1 1⁄ 2 ” screw above dowel peg on each side. (Fig 2B-C) Insert seat support across left and right leg pieces into Next complete attachment to each leg with (1) 2 ½” screw in corresponding dowel peg. - Page 4 Secure A-Frame into place with (8) 1 ½ ” screws. Use 4 screws Seat A-Frame between legs, using corresponding on top, 4 screws on underside. (Fig 2E) notches and dowel pegs for proper placement. (Fig 2D) FIGURE 2D FIGURE 2E (2E) 1 ”...
-
Page 5: Seat Assembly
Seat Assembly Tip! Use hand or clamp to hold seat down to base while fastening. Place seat component down fi rmly onto Base Use (2) 1 ½” screws to attach cross support up into Assembly. (Fig 3A) underside of seat assembly. (Fig 3C) Fasten seat component with (8) ¾”... -
Page 6: Back Assembly
Back Assembly Insert chair back fi rmly into corresponding slots on seat. (Fig 4A-B) Fasten chair back with (8) 2 ½” screws through back Secure chair back into place with (2) 2 ½” screws of seat. (Fig 4C) through pre-marked holes on underside of seat assembly. -
Page 7: Arm Assembly
Arm Assembly Tip! We recommend using provided glue on inside of notched attachment point on legs and along back strap for added strength to these high-stress areas. Place Arm Assembly around chair back. Insert Arms into corresponding notches on both legs. (Fig 5A-B) Make sure arms are pressed fi... - Page 8 For assistance call us at 601-869-5050 or write to us at zen@modern-mill.com...
- Page 9 601-869-5050...
Need help?
Do you have a question about the FERNWOOD and is the answer not in the manual?
Questions and answers