Advertisement
Quick Links
Advertisement

Related Manuals for LAOTIE ES8

Summary of Contents for LAOTIE ES8
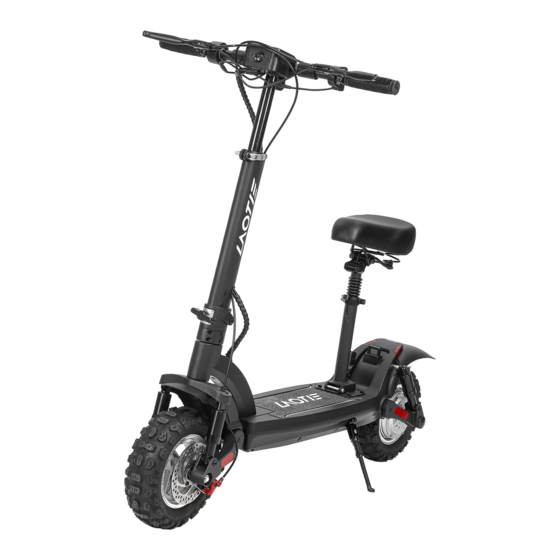
- Page 1 User Manual 48v15.6AH Electric Scooter Model No.: ES8 (F102)
-
Page 2: Safety Instructions
SAFETY INSTRUCTIONS WARNING: To reduce the risk of serious injury, read the following safety instructions before using the item. 1. Read all warnings posted on the equipment. Follow all safety instructions in this manual. 2. This equipment is a personal transport vehicle and it is designed for one person use only. 3. - Page 3 DIAGRAM Right brake Handlebar Display screen Hook Left brake Lock Front tube Knob Charging port Seat Folding fixation Brake/turn light Fender Front tire Rear tire Rear suspension Front suspension Kick stand Bolt...
-
Page 4: Technical Specification
TECHNICAL SPECIFICATION Name Parameters Brand LAOTIE Model Tyre size 10 inch Tyre Type Off-road Motor Power 500W Max Load 120KG Lithium Battery Capacity 48V/ 15.6AH Endurance Mileage 40-45KM Charging Time 7-8H Climbing Gradient 15° Brake Disc Material Die-casting Aluminium Charger Input... - Page 5 UNFOLDING 1. Unpack the electric scooter from the shipping carton and remove the packing materials. Press the folding fixation to loose. Lift up the front tube. Turn the knob clockwise to tighten. Folding fixation Knob 2. Unfold the handlebars upward until they slip onto handlebar fixation and lock in place . Verify that the handlebars will not loose.
- Page 6 3. Loose the bolt and slide the bolt to the right side and lift up the seat post at the same time. Do not release the bolt until the seat post locks in place. Tighten the bolt. 4. Lift up the seat until it locks in place. Loose the bolt to adjust the height of the seat. Once the required height is reached, tighten the bolt.
- Page 7 FOLDING 1. Press the folding button to fold the seat. Loose the bolt to lower the seat to the lowest position. Loose the bolt and and slide the bolt to the right side and put down the seat post at the same time.
- Page 8 3. Adjust the height of handlebar to the highest position. Loose the knob to fold down the front tube onto the folding fixation. Verify that the front tube is locked in place by pulling upward on the front tube. Knob folding fixation...
-
Page 9: Button & Display
BUTTON & DISPLAY Right handlebar brake Left handlebar brake Display Front light/ Turn light/ Horn Accelerator 1. Turn light indicator 2. Cruise indicator 3. Bluetooth indicator (optional) 4. Front light indicator 5. Trouble light indicator 6. Low speed mode indicator (press mode button to switch) 7. - Page 10 RIDING INSTRUCTION Before Riding 1. Choose a suitable venue for riding. 2. Unfold the product according to the instructions. 3. Adjust the height of the handlebar tube according to your height. Riding 1. Press the power button to turn on the power. The speed set by default to gear level is 1. 2.
-
Page 11: Maintenance
MAINTENANCE Tires 1. The electric scooter uses rubber elastic tires. When the tires are worn out or have a puncture, they need to be replaced timely. 2. Contact the official distributor to replace the original tires. 3. Inspect your scooter and the tires every month, check if the screws are tightened enough. If not, tighten them. - Page 12 WARRANTY Warranty Scope This limited warranty covers any defects in material or workmanship in the new devices accompanied by this limited warranty statement for a period of 12 months after the first retail purchase for the non-electric parts and for the electric scooter and for a period of 6 months for the battery, under normal installation, use, service and maintenance.
Need help?
Do you have a question about the ES8 and is the answer not in the manual?
Questions and answers
When you turn it on, the Bluetooth icon is visible at the top. How do I activate it? Can I connect to it from my phone? Is there an app for it?