
Summary of Contents for FINN & WINSTON FW811047
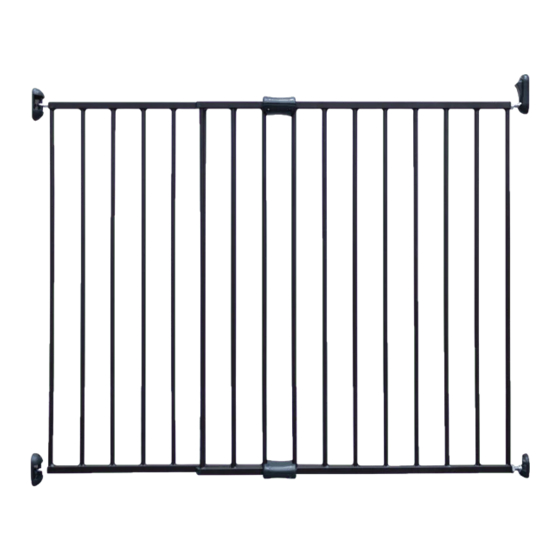
- Page 1 EXPANDABLE METAL GATE English EI BRAND MANAGEMENT INC. 2520 AVE MARIE-CURIE SAINT-LAURENT (QC) H4S 1N1 1-800-667-4111 Please Note: Instructional images may vary service@eibrands.com in style from the product you purchased. FW811047_IM_R1 (Apr 2020)
- Page 2 SOME ASSEMBLY REQUIRED Need assistance? Call our toll-free Consumer Relations help line at 1-800-667-4111 (Monday to Friday 8:30a.m. to 5:00p.m. - Eastern Time) Gate Warnings WARNING Failure to follow these warnings and the assembly instructions could result in serious injury or death. If this gate is to be used with children: 1.
- Page 3 WARNING Failure to follow these warnings and the assembly instructions could result in serious injury or death. If this gate is to be used with Pets: • STOP using when pet can climb over or dislodge the gate. • STRANGULATION HAZARD: Pets can force themselves into very small openings. Use this gate only with pets whose heads and bodies WILL NOT fit into opening of the gate, between the gate and the floor, or between the gate and the wall.
-
Page 4: Parts List
Parts List A (x8) B (x8) C (x2) D (x2) E (x1) F (x1) G (x1) I 1 (x1) J 1 (x1) I 2 (x1) J 2 (x1) H (x1) O (x1) P (x1) TOOLS REQUIRED M (x1) N (x1) -
Page 5: A Guide To Wall Mounting & Fixings
A Guide to Wall Mounting & Fixings Important note: Important: when drilling into walls always check that there are no hidden wires or pipes etc. If plastic wall plugs (rawl plugs) Make sure that the screws and wall plugs being used are are supplied with your product, suitable for supporting your unit. - Page 6 Location...
-
Page 7: Installation
Installation Before you begin, measure the opening to make sure your gate is wide enough for the entire opening. You could adjust the dimension of the gate with components (I 1), (I 2), (J 1) and (J 2). 28” - 48” 71 cm - 122cm Cut the installation template following the dotted line. - Page 8 Installation (continued) A (x8) diameter broach to drill holes on B (x8) the remarked position. 1/5” Drill 5 mm hole for the 6 marked positions, then put wall plugs (A), and use screw (B) to fix component (C) and (F). Adjust the gate width to fit the door width by bolts (K) and (L).
- Page 9 Installation (continued) Locate the 2 holes position before (E) to be mounted on the wall. Drill 5 mm holes, put wall plug (A), then use screw (B) to fix component (E).
- Page 10 Installation (continued) 34MM<L L<60MM L<60MM Use the tools provided to adjust bolts (K) and (L) to make the gate width to fit the door properly as below safety requirement: Caution: To ensure that this distance between each side of the gate and the wall is less than 60mm.
-
Page 11: Operation
Operation One-handed use, press down the button and lift the gate for two way opening. Use the tools provided to adjust bolt (K) to get smooth lock and unlock operation. Caution: Check the lock function before each use! -
Page 12: Special Instructions
Special Instructions - This unit is guaranteed to meet all federal and provincial standards and will provide many years of service provided you adhere to the guidelines provided for assembly, maintenance and operation. - For parts or assistance, do not return to retailer where product was purchased. Call or write at EI Brand Management Inc. - Page 14 EI BRAND MANAGEMENT INC. 2520 AVE MARIE-CURIE SAINT-LAURENT (QC) H4S 1N1 1-800-667-4111 service@eibrands.com...
Need help?
Do you have a question about the FW811047 and is the answer not in the manual?
Questions and answers