Advertisement
Quick Links
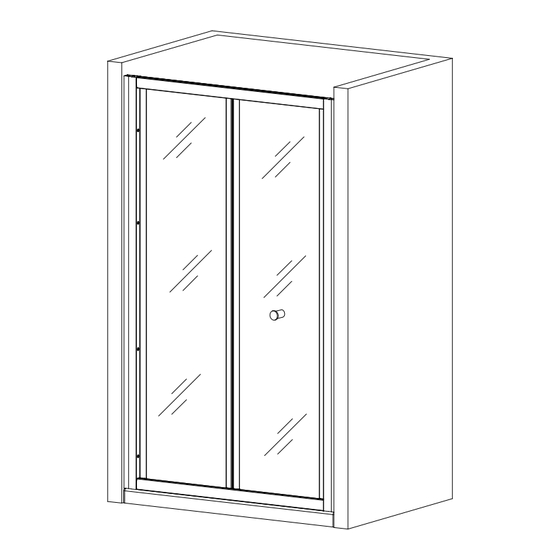
BF Series
BI-FOLD SHOWER DOOR:
Please scan the QR code to get the installation video.
If the QR code is invalid, please search for the title in Youtube
ELEGANT Bi-fold Shower Enclosure DIY Installment Video (BF)
Replace the part(24 ), Please refer to step 5
!
20.08.26 A02
Advertisement

Summary of Contents for ELEGANT BF Series
- Page 1 Please scan the QR code to get the installation video. If the QR code is invalid, please search for the title in Youtube ELEGANT Bi-fold Shower Enclosure DIY Installment Video (BF) Replace the part(24 ), Please refer to step 5...
-
Page 2: Aftercare Instructions
General information Please inspect the product immediately upon receipt for transit damage, missing packs/parts or manufacturing fault. Damage reported later cannot be accepted. Please handle the product with care avoiding knocks and shock loading to all sides and edges of the glass. Note: Safety glass can not be re-worked. - Page 3 ASSEMBLY INSTRUCTIONS-DRAWING (10) (13) (12) (11) (13) (23) (21) (22) (14) (15) (15) (20) (19) (18) (7/A) (16) (7/B) (11) (13) (17) Description Description Diagram Diagram Description Description Diagram Diagram Decorative cover Flat head screws(3.9x30) Half-round head screws Fixed slider assembly (3.9x30) Wall anchor Rund head screws (3.9x20)
- Page 4 Step 1 (13) (11) (12) outside (19) (18) (19) (19) outside (12) (11) (13) (20) outside (12) (12) Step 2 (14) outside (13) (14) (13) (19) (20) outside (19) (20) outside outside outside...
- Page 5 Step 3 These 2 holes These 2 These 2 join(14) holes join holes join (10)or(17) (10)or(17) (7/A) (7/B) (14) (15)X2 (19) (19) (7/A) (20) outside Put some lubricating oil (10) Step 4 (15)X2 (20) (7/A) (20) (10) (15)X2 (7/B) (19) inside (14) outside...
- Page 6 Step 5 adjust to (12)/(24) proper height adjust to proper height adjust to proper height Step 6...
- Page 7 Step 7 Ø6mm Wall anchor 4pcs...
- Page 8 Step 8 (23) (2)X8 Step 9 Ø3.2mm (4)X8...
- Page 9 Step 10 (22) (21) (1)X8 (16) Step 11 24 hours Allow 24 hours for silicone to dry before use. Silicone on the outside edge only...
- Page 10 BF Series+Side panel BI-FOLD SHOWER DOOR with SIDE PANEL: Please scan the QR code to get the installation video. If the QR code is invalid, please search for the title in Youtube ELEGANT Bi-fold Shower Enclosure with Side Panel Installment Video (BF+SP) Replace the part(30) , Please refer to step 5...
- Page 11 General information Please inspect the product immediately upon receipt for transit damage, missing packs/parts or manufacturing fault. Damage reported later cannot be accepted. Please handle the product with care avoiding knocks and shock loading to all sides and edges of the glass. Note: Safety glass can not be re-worked.
- Page 12 ASSEMBLY INSTRUCTIONS-DRAWING (13) (27) (10) (13) (12) (11) (9) (15) (28) (26) (25) (14) (22) (20) (19) (21) (23) (16) (18) (17) (24) (13) (11) Description Description Diagram Diagram Description Description Diagram Diagram Decorative cover Round head screws (3.9x20) Half round head screws Handle (3.9x30) Wall anchor...
- Page 13 Step 1 (13) (11) (12) outside (19) (18) (19) (19) outside (12) (11) (13) (20) outside (12) (12) (14) outside Step 2 (13) (14) (13) (19) (20) outside (19) (20) outside outside outside...
- Page 14 Step 3 These 2 holes These 2 These 2 join(14) holes join holes join (10)or(17) (10)or(17) (7/A) (7/B) (14) (15)X2 (19) (19) (7/A) (20) outside Put some lubricating oil Step 4 (10) (15)X2 (20) (7/A) (20) (10) (15)X4 (7/B) (19) inside (14) outside...
- Page 15 adjust to Step 5 (12)/(24) proper height adjust to proper height adjust to proper height Step 6 (22) (3)X8...
- Page 16 Step 7 (23)X4 (4)X4 (2)X4 Set the wall channel 2.0mm from the out edge of side panel's frame Step 8 Notice: As step8.1:slide the wall channel (6) onto the side panel's frame,carefully lift the (6) into position of side panel's frame,Set the wall (21) channel 2.0mm from the out edge of side panel's frame...
- Page 17 Step 9 (16) (24) Step 10...
- Page 18 Step 11 Adjust to proper width (5)X11 (4)X11 (4)X11 Step 12 (1)X8...
- Page 19 Step 13 (27) (26) (28) (25) (26) (28) (25) Step 14 hours Allow 24 hours for silicone to dry before use. Silicone on the outside edge only...
Need help?
Do you have a question about the BF Series and is the answer not in the manual?
Questions and answers