Table of Contents
Advertisement
Quick Links
Advertisement
Table of Contents

Summary of Contents for Matrix Mirrors L1
- Page 1 INSTALLATION GUIDE...
- Page 2 BEFORE INSTALLING 6. Matrix Mirrors is not responsible for damage or injury in- curred during the installation process or for problems that arise The hanging orientation of the mirror should have been if its products should be installed by an unlicensed person.
- Page 3 Secure brackets to the wall using screws designed for the mounting substrate 4. MOUNT CHASSIS Sliding top of chassis into the mounting bracket(s) NOTE: CROSSBAR Keep chassis crossbar to the right of the junction box L1, L2, L3, L4, L5 Mirrors www.matrixmirrors.com/led-mirrors Installation Manual...
- Page 4 Connect the chassis power cables to the junction box cables. Be sure to check voltage information on the product label. NOTE: ACCESSORIES Connect accessories after wiring the chassis, but before covering the junction box L1, L2, L3, L4, L5 Mirrors www.matrixmirrors.com/led-mirrors Installation Manual...
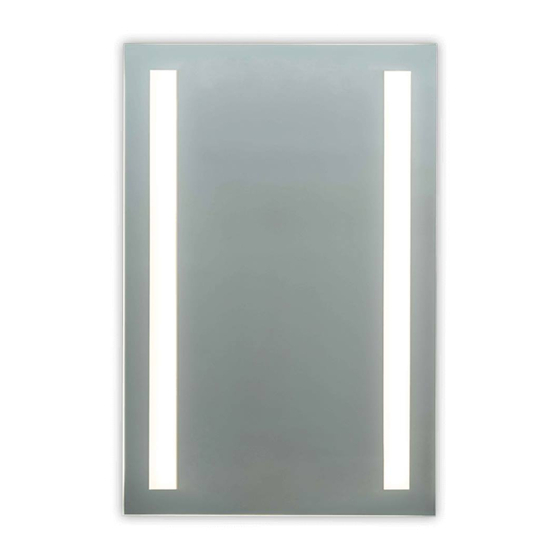
- Page 5 7. COVER JUNCTION Bundle the cables into the junction box, and attach a box cover. 8. PLACE GLASS Slide glass into position using the diagrams below Universal - Vertical Universal - Horizontal Vertical L1, L2, L3, L4, L5 Mirrors www.matrixmirrors.com/led-mirrors Installation Manual...
- Page 6 PLEASE REFER TO THE ELECTRICAL SPECIFICATIONS LISTED ON THE MIRROR FRAME TO VERIFY THE CORRECT WIRING CONFGURATION AND INPUT VOLTAGE. DIRECT & INDIRECT MIRRORS MAY HAVE TWO SETS OF WIRING - WIRE TOGETHER OR ON SEPARATE CHANNELS. L1, L2, L3, L4, L5 Mirrors www.matrixmirrors.com/led-mirrors Installation Manual...
- Page 7 L1, L2, L3, L4, L5 Mirrors www.matrixmirrors.com/led-mirrors Installation Manual...
- Page 8 Matrix Mirrors 3826 Oakcliff Industrial Ct. Doraville, GA 30340 www.matrixmirrors.com/led-mirrors (678) 580-5717...
Need help?
Do you have a question about the L1 and is the answer not in the manual?
Questions and answers