Table of Contents
Advertisement
Quick Links
Advertisement
Table of Contents

Summary of Contents for Spektr-AT ANTISVID-2
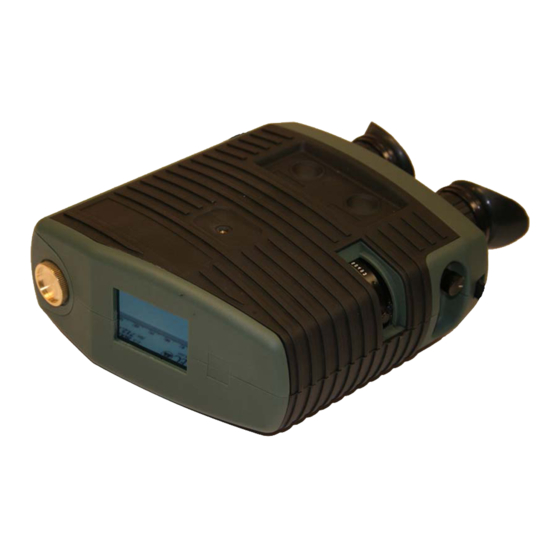
- Page 1 OPTIC-ELECTRON DEVICE «ANTISVID-2» OPERATING MANUAL...
-
Page 2: Table Of Contents
CONTENT List of used abbreviations DESCRIPTION AND PRINCIPLE OF OPERATION Area of application Technical parameters Delivery set Principal of operation Marking Packing PROPER USE Operational restrictions Preparation for use Use of the Device Safety measures MAINTENANCE SERVICE AND REPAIR TRANSPORTATION AND STORAGE GUARANTEES... -
Page 3: List Of Used Abbreviations
LIST OF USED ABBREVIATIONS Operating manual Video – watching system HVSS Hidden video surveillance systems Liquid Crystal Display (monitor) Light-Emitting Diode Charging unit Charging Discharging... -
Page 4: Description And Principle Of Operation
Operating manual (OM) is intended for providing correct and safe operation of device ANTISVID-2 (further in the text “device” or “instrument”) and for carrying out the evaluation of the Instrument technical condition with the goal to make decision whether it should be sent for repair. -
Page 5: Delivery Set
Package (case with insertion for package) Items with * are upon request. Delivery set with a monitor – ANTISVID-2M, delivery set without a monitor – ANTISVID-2. The set is supplied with uncharged battery. The battery (accumulator), AC/DC converter, charging unit and monitor can be substitute for similar or with better technical characteristics. -
Page 6: Principal Of Operation
* The AC/DC converter is stowed in the tool tray under the device Antisvid-2 Figure 2 shows the complete set of the product with the monitor: ANTISVID-2 Power supply cable for charging unit AC/DC converter cable Charging unit AC/DC converter... - Page 7 Device switch button Display socket – for connecting of external LCD-monitor AC/DC converter socket Battery compartment screw Adjusting the sharpness Adjustment of laser raster power Binocular diopter tuning to operator’s eyesight Video out socket Fig. 3. «ANTISVID-2» controls...
-
Page 8: Marking
1.4.4. Image sample received on ANTISVID-2 is shown in Figure 4. Battery discharging Laser raster location indicator Detecting object Laser raster power Laser raster indicator Fig. 4. Image sample received on. 1.5. Marking: 1.5.1. Marking is put on device’s body and contains: ... -
Page 9: Preparation For Use
2.1.5. It is not recommended to use other charging devices than those included into delivery set for charging of standard battery as it can lead to its insufficient charge or breakdown. 2.1.6. It is prohibited to close battery leads as that can lead to its breakdown. 2.1.7. -
Page 10: Use Of The Device
After connection to power grid of the adapter with connected ChU and battery, charging process starts. At the same time strips in the battery sign start blinking. Charging time keeping starts; On reaching full charge strip in the battery sign stop blinking. It means that the battery is completely charged. -
Page 11: Safety Measures
2.4. Safety measures: Attention! When the Device is switched on, it is necessary to control that the laser beam does not hit operator’s eyes or other persons’ eyes. 2.4.2. While operating with charging device it is necessary to observe electric safety rules for non- electro-technical personnel of group I. -
Page 12: Guarantees
4.6. Before long-term storage of the battery in non-operating condition it is necessary to charge it completely once a year and then discharge completely. It is necessary to repeat such charging/discharging once a year in order to save its operational capability. 5.
Need help?
Do you have a question about the ANTISVID-2 and is the answer not in the manual?
Questions and answers