Advertisement
Quick Links
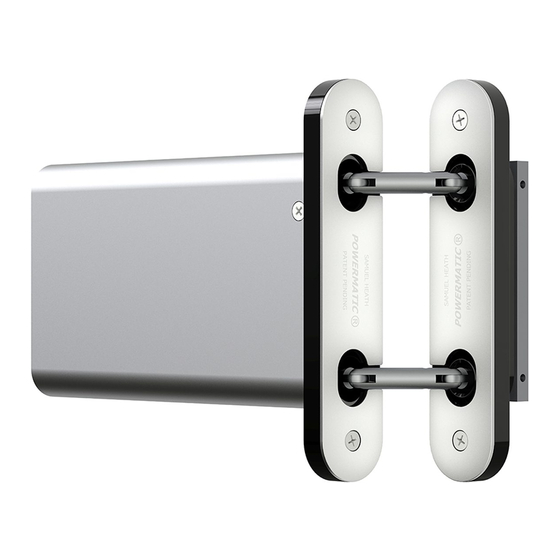
R108
IMPORTANT NOTICE - FOR FIRE DOOR INSTALLATIONS
REFER TO ITEM 1 IN FITTING INSTRUCTIONS
• Designed for use with Simonswerk Tectus TE 540, TE 540FR & TE 527 concealed
hinges.
• Vertical height adjustment.
• Adjustable speed control.
• Adjustable power latching action.
• Can be adjusted to aid BS8300 compliance.
• 1 ½ pairs of hinges should be used in conjunction with this closer on all doors.
• Suitable for doors opening to a maximum of 105°. A door stop must be fitted.
• Maximum door weight 80kg, width 950mm.
• Suitable for latched and unlatched doors
• Should NOT be used with rising butt hinges.
• 30 & 60 Minute fire tested to EN1634-1:2000
• CE Marked and adjustable to conform to power size 3 of controlled closing
device standard EN1154:1997 (test door 60Kg/132lbs)
• Maintenance Free
PLEASE READ FITTING INSTRUCTIONS THOROUGHLY
BEFORE INSTALLATION
Advertisement

Need help?
Do you have a question about the Powermatic Axis and is the answer not in the manual?
Questions and answers