Table of Contents
Advertisement
Quick Links
Advertisement
Table of Contents

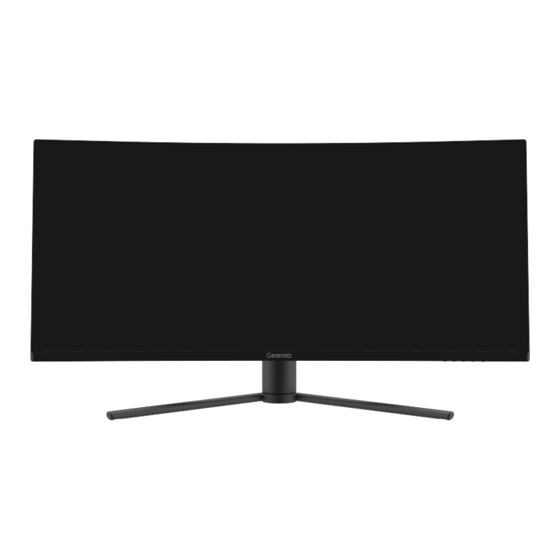
Summary of Contents for Gearlab GLB225001
- Page 1 GLB225001 User Manual...
- Page 2 The terms HDMI and HDMI High Defini on Mul media Interface, and the HDMI Logo are trademarks or registered trademarks of HDMI Licensing Administrator, Inc. in the United States and other countries.
-
Page 3: Box Contents
Stand Base x 1 Screw x3 Screws x4 Power Cable x2 (UK+EU) (for Stand Installation) (for Wall Mounting) (AC 100-240V , 50/60Hz) GLB225001 User Manual HDMI Cable x1 User Manual x 1 DP Cable x1 Extra screws may be included as backup. -
Page 4: Monitor Ports
4. Product Overview 4.1 – Monitor Bu ons : Press to display the OSD menu or enter sub-menus. M Menu Button : Press to move down in the menus. Down Button : Press to move up in the menus. Up Button E Exit Button: Press to exit. -
Page 5: Stand Installa On
5. Stand Installa on 2. Take out the upper polyfoam and the inner package bag,lower polyfoam place on a desktop or table,keep the lower foam underneath the monitor. 3. See picture,fasten the stand stem and base with a screw. Press the button to remove the stand plate,Fix the stand plate into the stand stem with the screw 5*11mm. - Page 6 Quick click Shaft assembly parts...
-
Page 7: Connecting The Power Cable
7. Connec vity Op ons 7.1 – Connec ng Your Earphones Plug in your earphones to receive audio signals from your monitor. If your earphones are connected to the monitor and audio devices are connected to your computer at the same me, the audio devices will not produce sound. - Page 8 7.3 – DP Connec vity In order for the monitor to receive DP signals from the computer, use the DP cable to connect the monitor to the computer. DP Cable (Included) DP OUTPUT 7.4 – HDMI Connec vity In order for the monitor to receive HDMI signals from the computer, use the HDMI cable to connect the monitor to the computer.
-
Page 9: Indicator Light
8. Basic Opera Insert one end of the DP cable into your PC’s graphics card. A HDMI cable may also be used. 2. Connect the other end of the cable to the corresponding connector on your monitor. DP Connector DMI Connector 3. - Page 10 10. OSD The On-Screen Display (OSD) Menu may be used to adjust your monitor’s se ngs and appears on screen a er turning on the monitor and pressing the M b When using the monitor for the fi rs me, se ngs will automa cally adjust to mal se ngs according to your computer’s configura on and parts etc.
- Page 11 10.1 – OSD Menu Func ons Main Menu Sub-Menu Op ons Descrip on Input Source HDMI 1 (2.0); NONE Selects the primary video source HDMI 2 (2.0); DP1 (1.4); NONE itch to DP signal input DP2 (1.4); Brightness/ Brightness 0~100 Adjust display brightness Contrast Blacklevel...
- Page 12 Main Menu Sub-Menu Op ons Descrip on Audio Mute On, Off Turn mute mode on/off Adjust audio volume Volume 0-100 Audio Source Select audio signal input via HDMI or DP DP1, HDMI 1, HDMI 2, Mul - Mu -Window Off, PIP Mode, Select PIP/PBP modes according to the Window PBP 2Win...
-
Page 13: Eco Modes And Gameplus Switching
11: ECO Modes and Gameplus Switching ) to ac vate the naviga on window. 1. Press any one of the bu ons ( , E, bu on to switch Gameplus modes. According to the needs of your game, choose 2. Press the corresponding game icon. - Page 14 12. Technical Specifica GLB225001 34" 21 : 9 E-LED 350(±30)cd/m² DP: 3440x1440@144Hz HDMI: 3440x1440@100Hz 144 Hz 3000:1 DP 1.4 x 2, HDMI 2.0 x 2 Power Cable HDMI Cable DP Cable...
- Page 16 902-34CHR-XXXXX 34CHR GLB225001 Gearlab 2020-08-31 120g铜板纸 单色印 骑马钉...
Need help?
Do you have a question about the GLB225001 and is the answer not in the manual?
Questions and answers