Advertisement
Available languages
Available languages
Table of Contents
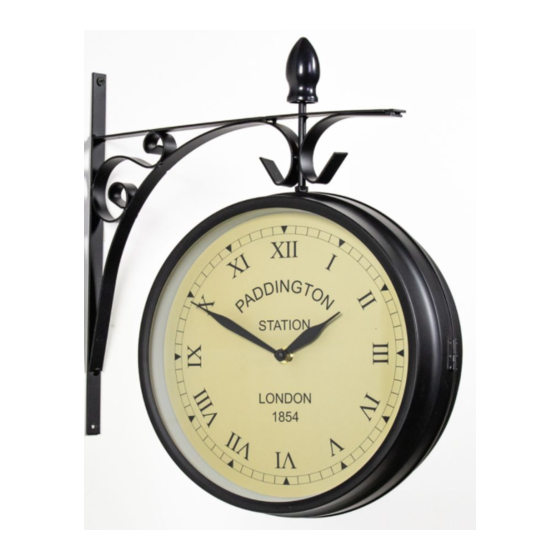
EN | Paddington Clock Instructions
Assembly Instructions
Please see photos below.
1. Insert the 2 bolts through the holes on either side of the finial bar and
loosely secure with an 8mm x 5mm nut on each side.
2. Attach the top spare part to the top of wall bracket as shown in figure 1.
3. Keep one hexagonal screw on bracket as shown in figure 2.
4. There is one screw hole on top of clock case, see figure 3. Insert wall
bracket through the screw hole, and fasten another hexagonal screw from
inside (see figure 4).
5. Attach the wall bracket in your desired location using the screws and
fixings provided.
This product contains valuable materials which can be recovered or
recycled – please dispose of in accordance with your local council directives
fig. 1
fig. 3
fig. 2
fig. 4
1
Advertisement
Table of Contents

Summary of Contents for About Time Paddington
- Page 1 EN | Paddington Clock Instructions Assembly Instructions Please see photos below. 1. Insert the 2 bolts through the holes on either side of the finial bar and loosely secure with an 8mm x 5mm nut on each side. 2. Attach the top spare part to the top of wall bracket as shown in figure 1.
- Page 2 DE | Anleitung Anleitung Führen Sie den Aufbau unter Bezugnahme auf die Skizzen aus. 1. Führen Sie die beiden Befestigungsbolzen durch die Halterung und ziehen Sie die 8mm x 5mm Muttern locker an. 2. Verschrauben Sie die Uhr mit der Halterung (Skizze 1). 3.
- Page 3 IT | Istruzioni orologio Paddington Istruzioni di assemblaggio Si prega di vedere le foto qui sotto. 1. Inserire i 2 bulloni attraverso i fori su entrambi i lati della barra e fissarli senza bloccare con un dado da 8 mm x 5 mm su ciascun lato.
- Page 4 NL | Paddington Clock Gebruiksaanwijzing Bouwinstructies Zie de foto’s beneden. 1. Steek de 2 bouten door de openingen aan beide zijden van de dwarsstang en maak ze losjes vast met een 8 mm x 5 mm moer aan elke kant.
- Page 5 FR | Mode d’emploi Horloge Paddington Instructions de montage Veuillez s’il vous plaît voir les photos ci-dessous. 1. Insérez les deux boulons dans les trous de chaque côté de la barre de fixation et fixez-les avec un écrou de 8mm x 5mm de chaque côté.
- Page 6 ES | Reloj Paddington, manual de uso Instrucciones de montaje Por favor mire las fotos a continuación. 1. Inserte los dos pernos a través de los orificios laterales de la barra de montaje y asegúrelos con una tuerca de 8 mm x 5 mm en cada lado.
Need help?
Do you have a question about the Paddington and is the answer not in the manual?
Questions and answers