Advertisement
Quick Links
Advertisement

Summary of Contents for Safe-T-Pull Pro
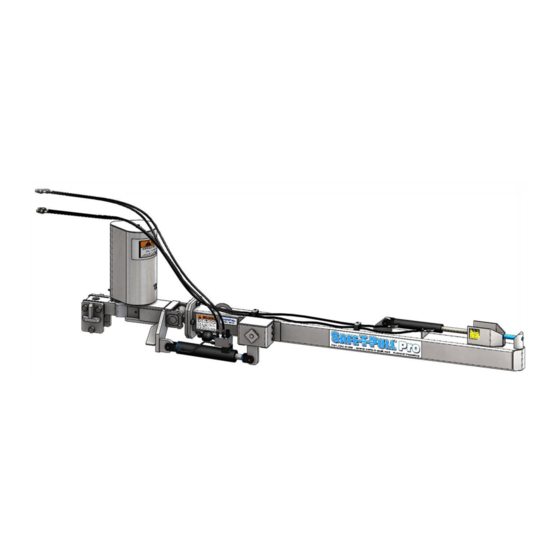
- Page 1 User Assembly & Install Guide Safe-T-Pull Inc. Page 1 of 9...
- Page 2 If your pulling vehicle has hydraulic flow control capabilities, (usually measured in GPM) decrease the flow to the minimum amount required to operate the Safe-T-Pull PRO (2 GPM) Block the Safe-T-Pull PRO when you must work on the system while raised; DO NOT rely solely on the hydraulic lift.
- Page 3 Safety Locks As a safety feature, 2014 and newer Safe-T-Pull PRO’s come equipped with Manual Puller Arm Locks. The Safe-T-Pull PRO may be locked up in the raised positon to prevent “settling” or lowering. Raised Position When the Puller Arm is raised all of the way up, a pin may be installed into the top hole position to keep it from lowering.
- Page 4 Assembly If your Safe-T-Pull PRO has been palletized for shipping, assembly is required. After unpacking, follow these steps to assemble your Safe-T-Pull PRO. Recommended Tools: Lifting device (fork lift, skid-steer, cherry picker) Chain or lifting strap Two ¾” wrenches or sockets ...
- Page 5 Step 2: Pin the Spring Tongue onto the Swivel Assembly. Bolt the pin into place with the included ½” bolt and nylock nut. Note: Two ¾” wrenches or sockets required. Page 5 of 9...
- Page 6 Step 3: Align the puller tube assembly and swivel assemblies as shown below. Slide the Spring Tongue into the Puller Tube Assembly. Step 4: Bolt the Puller Tube and Swivel assemblies together with the four included ¾” bolts, lock washers, and nuts. Note: Two 1 1/8”...
- Page 7 Step 5: Using the provided pins, attach the Smart Lift Cylinder as shown below. Step 6: Attach the hydraulic hoses to the Smart Lift Cylinder. Note: Two 11/16” wrenches required Page 7 of 9...
- Page 8 After assembling your Safe-T-Pull PRO, follow these steps to install the puller to your pulling vehicle. Installation Instructions Step 1: Use a lifting device to align the tongue of the Safe-T-Pull PRO into your tractor’s drawbar. Drawbar Pin Nuts Safe-T-Pull Puller Tongue...
- Page 9 Step 5: Extend and retract both the Lift Cylinder and the Pin Cylinder several times to fill the lines with hydraulic fluid. NOTE: If this step is missed your Safe-T-Pull PRO may not work properly. This may take up to several minutes.
Need help?
Do you have a question about the Pro and is the answer not in the manual?
Questions and answers