Advertisement
Quick Links
Furniture Installation
PLEASE READ THESE INSTRUCTIONS CAREFULLY. FAILURE TO COMPLY WITH THE INSTRUCTIONS WILL INVALIDATE THE WARRANTY
Your new storage unit has been produced to the highest
possible standards. Please inspect your tray when
delivered prior to signing to ensure all is correct and not
damaged.
TOOLS:
•
Drill and drill bits
•
Spirit level
•
Tape measure
•
Caulking gun
•
Masking tape
•
Screws
The cabinet should be fitted to a solid horizontal plate
(minimum 75mm x 50mm) or vertical studs in the wall
using four 10g x 75mm countersunk screws each with a
20mm diameter washer positioned as per diagram.
Position screws a minimum of 75mm from the left and
right walls of the cabinet, 50mm down from the top of
the cabinet and 50mm up from the base of the cabinet.
STEP ONE:
Having established the position you want the cabinet
mark a level line on the wall where the base of the
cabinet will sit.
Find the horizontal plate, and wall stud or nog and
measure up from the pencil mark on the wall to identify
the positioning for four points (as per front page
diagram) where the screws will anchor the cabinet to
the timber behind the wall.
STEP TWO:
Prior to situating the cabinet in position, place a small
amount of wallboard adhesive on the back of the
cabinet. Place the cabinet in position. Level the cabinet,
aligning the base with the previously marked line.
Ensure that the carcass is not twisted or the doors not
racked out of alignment. Realignment of the doors is
possible by using the adjustment screws on the doors.
STEP THREE:
Fix the cabinet to the wall
through
the
back
of
cabinet. The fixings should be
into a wall stud or nog. If you are
unable to locate anything solid
in the wall to fix the cabinet to,
we recommend that you use a
toggle or similar system.
•
Screwdriver
•
Silicone sealant
•
Cleaning materials
•
Pencil
the
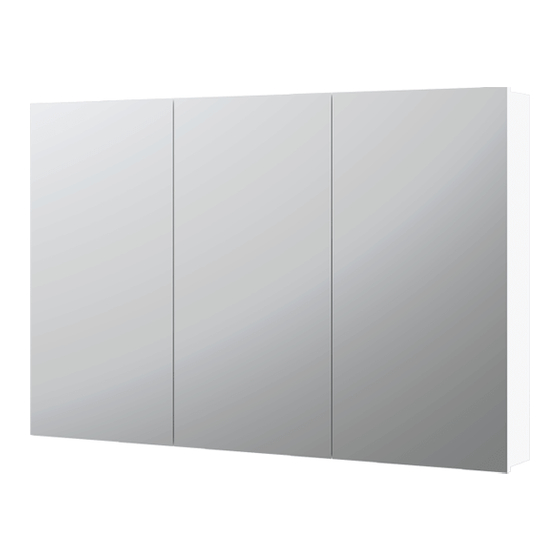
FORME MIRROR CABINETS (FV037):
STEP FOUR:
Once the cabinet is fixed in position and you have
checked that it is level and the doors are correctly
aligned, you may wish to silicon around the perimeter
of the vanity unit, i.e. where the cabinet meets the walls.
FOR FURTHER INFORMATION:
Franklins
Head Office: 4-6 Waiouru Road,
Highbrook Business Park, Auckland 2013
P.O. Box 204426 Highbrook, Auckland
Telephone: 09 238 9179
Email: info@franklins.co.nz
Website: www.franklins.co.nz
Advertisement

Related Manuals for franklins FV037

Summary of Contents for franklins FV037
- Page 1 Furniture Installation PLEASE READ THESE INSTRUCTIONS CAREFULLY. FAILURE TO COMPLY WITH THE INSTRUCTIONS WILL INVALIDATE THE WARRANTY FORME MIRROR CABINETS (FV037): Your new storage unit has been produced to the highest possible standards. Please inspect your tray when delivered prior to signing to ensure all is correct and not damaged.
- Page 2 Furniture Installation PLEASE READ THESE INSTRUCTIONS CAREFULLY. FAILURE TO COMPLY WITH THE INSTRUCTIONS WILL INVALIDATE THE WARRANTY DRAWER INSTRUCTIONS: ASSEMBLY AND FINE REMOVAL AND REPLACEMENT ADJUSTMENT A drawer is inserted into the vanity by simply UNCOMPLICATED FRONT PANEL REPLACEMENT: locating it on the runners and pushing it in. Two catches automatically lock the drawer onto the runners, preventing accidental removal.
Need help?
Do you have a question about the FV037 and is the answer not in the manual?
Questions and answers