
Related Manuals for A/O Bicycle AMELIA


Summary of Contents for A/O Bicycle AMELIA
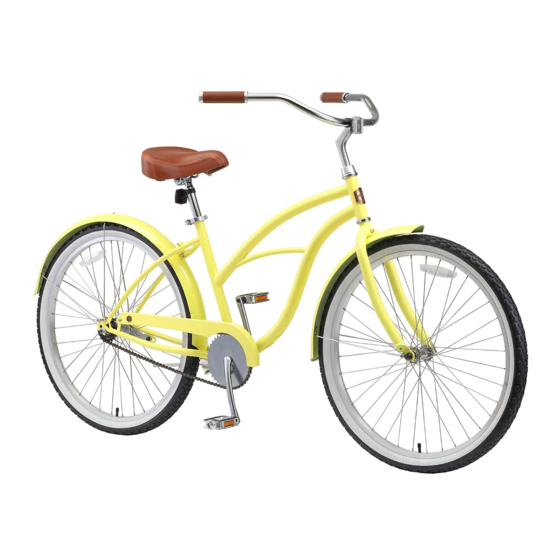
- Page 1 Assembly Guide A M E L I A C R U I S E R B I K E LO S A N G E L E S T E A M @AOWO M E N S B I C YC L E S . C O M 2 2 8 .
-
Page 2: Our Commitment
Our Commitment Our goal is to get you out on the road so you can forget your troubles and feel the wind in your hair (through your helmet of course – safety first!). If you run into any issues, no matter how small, we’re here for you. Shoot us an email or give us a call and we’ll figure it out together! TEAM@AOWOMENSBICYCLES.COM 228.901.8386... - Page 3 Our Mechanics Are A NOTE FROM Top Notch OUR MECHANICS Congratulations, you took the plunge and bought yourself a bike! Now it’s time to dig into those boxes and start your next adventure. It’s assembly time! Feeling a little overwhelmed? Don’t be. It’s time to live in the moment.
-
Page 4: Tools You'll Need
SCISSORS 15 M M CR E SCE NT WR E N CH (or use the multi-tool (use to cut zip ties) we gave you) Tools You’ll Need P H I LLI P S H E AD 4 , 5 , AN D 6 M M You’re about to build something wonderful, ALLE N K E Y SCR E WD R IVE R... - Page 5 HANDLEBAR SHIFTER GRIPS Bike Parts FRAME BRAKE LEVER SEAT Reference Guide HANDLEBARS SEATPOST SEATPOST CLAMP HANDLEBAR REAR RACK STEM REAR BRAKE FENDER TIRE SEAT STAYS FENDER STRUT FORK CHAINGUARD AXEL CASSETTE You’ll need this as you start putting SPOKE REAR your bike together.
-
Page 6: What's In The Box
What’s In HAN D LE BAR / F R AM E / AN D R E AR WH E E L S E T- U P (the seat post is zip-tied to the frame) The Box? The following 3 pages list everything that’s in your box. -
Page 7: Let's Get Started
Front Wheel & Fender Let’s Get Started G R A B YO U R PA RTS: Q U I C K R E LE A S E F R O NT W H E E L F R A M E WITH Q U I C K R E LE A S E Alright, got your coffee? R E A R W H E E L... - Page 8 INCORREC T The brakes are behind the fork Spin the front fork Take the Quick Release so the brakes are Front Wheel and fully pointing forward. insert the Rod (QR3) Turn the handlebars to into the hollow axle. match the CORRECT image, making sure the cables don’t loop Slide the Quick Release...
- Page 9 Place spring #2 (QR4) back onto Pinch the front brake the end of the rod arms to pull the metal (QR3), with the tubing up and out until smaller end of the the brake arms are spring pointing disengaged. inward (toward the axel).
- Page 10 Once the front wheel is secured and centered, lower the kickstand and find your rear rack. Make sure the wheel is centered in the forks. Hold the wheel in the centered position with your left hand. With your right hand, swing the quick release lever (QR1) into the ‘Closed’...
- Page 11 Align the fender struts with the eyelets on the fork, so that the fender P H I L L I P S tab is pointing upwards. S C R E W D R I V E R Slide the fender up through the back of the front tire.
- Page 12 Place the lock nut cap into the stem. H A N D L E B A R Handlebar, S T E M Seat & Pedals LO C K N U T C A P 6 M M LO C K N U T A L L E N K E Y G R A B YO U R PA RTS: Line up the stem, frame and front wheel.
- Page 13 A DJ U S T M E N T B O LT Locate your Seat (the Loosen the handlebar seat tube is attached). adjustment bolt using Open the seat post the 6MM Allen Key clamp. Holding the to change the angle seat post firmly, insert of the handlebars to 6 M M...
- Page 14 Now you’re ready to pump up your tires! Pump air into the tires as recommended on B I C YC L E P U M P the sidewall of the tire. Select the pedal stamped ‘R’ and locate the right side of the bike (the side with the chain and chain guard).
- Page 15 Survey Enjoy Your Ride We’re thrilled that you decided to accompany us on this great adventure. We’d love to hear about your assembly experience – the good, bad and ugly (of course, we hope for all good). We’re always looking to improve our assembly Well Done! Your bike is now ready to ride.
- Page 16 Congratulations Woohoo – you did it! Now it’s time to hit the road and ride off into the sunset. If you still have questions we’re always here to help. Be sure to keep in touch, we love to hear stories from our riders and look forward to sharing in all your journeys to come! TEAM@AOWOMENSBICYCLES.COM...
Need help?
Do you have a question about the AMELIA and is the answer not in the manual?
Questions and answers