
Summary of Contents for OpenFab PDX Modular Fiddle
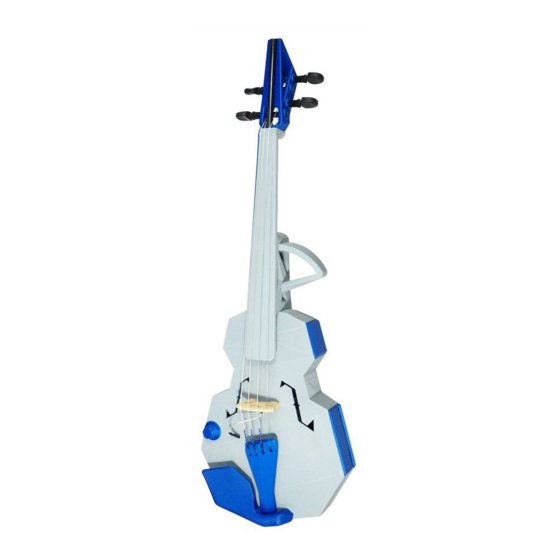
- Page 1 Modular Fiddle Assembly Instructions Tuners Truss Rod Neck Body Strings Bridge Tail Piece Chin Rest A modular, open source, 3D printed acoustic violin. www.openfabpdx.com #ModularFiddle...
-
Page 2: Assembly Process
Assembly Process The Modular Fiddle is easy to assemble and requires no adhesives, fasteners, or other joining parts. The assembly process takes about an hour. Gather Materials Prepare Body – deburr and prep Body part. Prepare Neck – deburr and prep Neck part. - Page 3 1. Gather Materials Modular Fiddle BOM Buy your parts locally whenever possible! Tell your local music shop about the project and what you're up to. You never know what kind of collaboration, feedback, or support could result. Amazon links on this BOM are affiliate links. I have mixed feelings about this. It means that OpenFab gets a small percentage of the Amazon sale (usually about 4%) if the product is purchased via the 9/25/2018 link.
- Page 4 2. Prepare Body Remove supports from Body using needle nose pliers. Use a deburring tool, exacto, or file to remove any leftover bits from supports. Gently clean up F holes. Clean off skirt and deburr edges where they contacted your build plate. Check truss rod holes at front and rear.
- Page 5 3. Prepare Neck Remove supports from Neck using needle nose pliers. Use a deburring tool, exacto, or file to remove any leftover bits from supports. Clean off skirt and deburr edges where they contacted your build plate. Gently file fingerboard edges to round them off.
- Page 6 4. Prepare Pegbox If needed, clean off skirt and deburr edges where they contacted your build plate. Check peg hole fit – if needed, use a deburring tool or exacto to open up the holes a bit. The Ukelele friction tuners are very easy to install.
- Page 7 5. Clean Joints and Join Parts All parts should slide together with some friction, but should not require high force or impact to install or remove parts. That said, it is OK to remove the Neck by tapping it carefully near the joint with a small hammer (or tapping it on a table).
- Page 8 6. Install Tail Piece and Strings Install strings from lowest to highest. (G to E) Hook the ball end into the tail piece, then set the tail piece loop around the end button. Pass the string through the left close tuner and tighten counter-clockwise.
- Page 9 7. Install Bridge and Chin Rest Slide the bridge under the strings and pivot it up to support string tension. The bridge should be centered, and the distance from nut to bridge should measure about 330mm. Check that the strings sit OK in the nut and bridge grooves.
-
Page 10: Final Setup
8. Final Setup Tighten the strings to full tension, tuning from G to E. Then check the height of your strings at the end of the fingerboard. While these heights are not critical, your instrument will play better and sound better if string heights are properly adjusted. - Page 11 Nice work!! Now go play some tunes! Thank you for building a Modular Fiddle! Please share the instrument far and wide! Post a picture or video and tag it #ModularFiddle Got feedback? Share it on the Google Group: http://ow.ly/yXJAV You can also email David with questions, ideas, or complaints.
Need help?
Do you have a question about the Modular Fiddle and is the answer not in the manual?
Questions and answers