Advertisement
Quick Links
Package contents:
4 x 15cm Multi Colour Slow Flashing Lights
4 x 15cm Red Dot Lights
2 x 30cm White Dot Lights
1 x Warm White Strip Light
1 x 15cm Connecting Cables
1 x 12-port Expansion Boards
1 x Flat Battery Pack
Extra LEGO pieces
Note:
Place wires on the surface or under the LEGO building blocks.
The wire can be place between the building blocks or under the block, but they should be placed
between the studs correctly.
Insert the connectors to the ports.
Be careful when you are operating, there's only one correct way to insert, make sure the expansion
board is upward, find the soldered "=" sign on the left of the port. When you are inserting, the side
which the wires can be seen should be faced to the "=" sign and if you feel hard to insert, please stop,
and don't force it, for that may result in bent pins inside the port or overheating of the expansion
board.
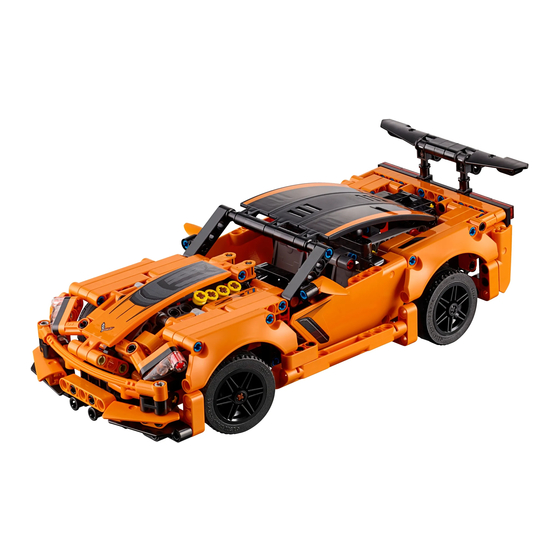
Chevrolet Corvette ZR1 # 42093 Lighting Kit
Advertisement

Summary of Contents for BriksMax 42093
- Page 1 Chevrolet Corvette ZR1 # 42093 Lighting Kit Package contents: 4 x 15cm Multi Colour Slow Flashing Lights 4 x 15cm Red Dot Lights 2 x 30cm White Dot Lights 1 x Warm White Strip Light ...
- Page 2 At this point, use the tweezers to straighten the bent pins. When installing dot lights, make sure they are correctly placed (Yellow LED package is exposed). You can put they either on the top of the studs or between studs. Connecting cable connectors to Strip Lights Take extra care when inserting connectors to ports on the Strip Lights.
- Page 3 Finally, please pay attention to the positive and negative terminals of the battery when installing the battery case.
- Page 4 Start from installing the headlights of the car Take 2 white 30cm dot lights, remove the following trans pieces from the head Continue to remove the following pieces Thread a dot light through the cross hole, with lighting part facing up, bend the light to secure it to the hole beside.
- Page 5 Reconnect the trans piece before reconnecting the headlight Repeat the previous steps to install lights for the other headlight Lift the roof as per below...
- Page 6 Thread the cable of the lights through the cabin Pull it out from the hole under the door, continue to thread it through the following hole...
- Page 7 Thread it through the back of the chair as per below Take a 12-port expansion board, stick it to the following place by using the adhesive squares Connect the cables of the lights to the expansion board. Tuck excess cable around it...
- Page 8 Similarly, place the other cable of headlight, and connect it to the expansion board Take a warm white strip light, a 15cm connecting cable, connect the cable to one port on the strip light. Stick the strip light to the roof as per below...
- Page 9 You can using the tapes to help to secure the cable Take the flat battery pack, connect it to the expansion board, turn the power on to test the current...
- Page 10 Turn the car to its back, we’ll install the taillights now Take 2 red 15cm dot lights, remove the red and black piece from the back of the car With lighting part facing up, secure the light to the space between the 2 studs, connect the trans red piece over...
- Page 11 Install the other light as we did before. Group the 2 cables together Remove the orange piece underneath, reconnect the taillights Thread the cables of the lights through the gap at the back of the car as per below...
- Page 12 Connect them to the expansion board to see if the lights are working OK Take another 2 red 15cm dot lights to install the taillight at the other side...
- Page 13 Take 4 multi-colour 15cm slow flashing lights, remove the following gray piece Thread the cable of one light through the hole on the piece, pull the cable out from the other side till the light is placed inside the hole. Repeat the steps above to install the other 3 lights, group the 4 cables together...
- Page 14 Take 4 trans 1x1 round plates, connect them as per below Thread the cables of the lights the following space and connect them to the expansion board Reconnect the pieces we removed from the back of the car, reconnect the roof. Secure the battery pack beside the expansion board...
- Page 15 This completes installation of this LED Lighting Kit. ENJOY!