Advertisement
Table of Contents
- 1 Pre - Assembly Preparation
- 2 Packaging Identification
- 3 Panel and Connection Identification
- 4 Step 3. Screw the Maxifix Housing Which Is Located on the Upper and Bottom of each Side Panel (3 ).
- 5 Step 4. Put the Center Panel and Screw the Rondorfix Housing into the Holes Provided (4).
- 6 Step 5. Fit the Top Crown in the Place & Secure, Using the Upper Rondorfix Housing.
- 7 Step 6. then Put the Back Panel (6) on and Screw Together Using a Screw Driver (+) .
- 8 Finish
- Download this manual
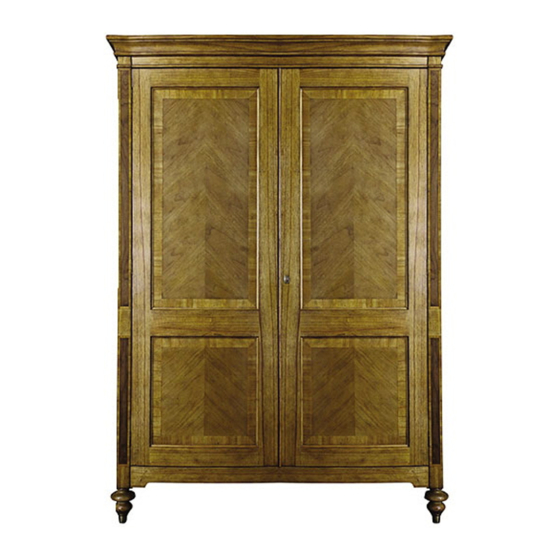
Frank Hudson by Gallery Home - SPIRE 2 DOOR WARDROBE
Code Number 5055299480069
S
B
S
A
tep
y
tep
PRE - ASSEMBLY PREPARATION
Please Check the pack contents before attempting to assemble this product.
A full checklist of components is given in this leaflet. If any components are missing, please contact
the store of purchase.
This product is HEAVY, it should be assembled as close as possible to the point of use.
TAKE CARE WHEN LIFTING to avoid personal injury (or) damage to the product.
This product takes approximately 30 MINUTES to assemble with 2 people.
The fittings pack contains SMALL ITEMS which should be
Read this leaflet in full before commencing assembly.
You will require a crosshead screwdriver.
Important Safety Note
Always lift the unit from the base when moving it, do not drag along the ground. It is recommended
that two people should move the unit, never move it alone.
A cross head screwdriver only, should be used to assemble this Wardrobe; an electric screw driver
may cause damage to the product and is not recommended.
I
ssembly
nstructions
KEPT AWAY FROM YOUNG CHILDREN.
Page: 1 / 8
Advertisement
Table of Contents

Summary of Contents for Gallery Home Frank Hudson 5055299480069
- Page 1 Frank Hudson by Gallery Home - SPIRE 2 DOOR WARDROBE Code Number 5055299480069 ssembly nstructions PRE - ASSEMBLY PREPARATION Please Check the pack contents before attempting to assemble this product. A full checklist of components is given in this leaflet. If any components are missing, please contact the store of purchase.
- Page 2 Packaging Identification SPIRE 2 DOORS WARDROBE Description Items Back Panel Base Top Wardrobe (1) + Wooden Shelf (2 small) + hanging rail (1 small + 2 large) Left & Right Door (each 1 piece) Left & Right Side Panel & Center Panel (each 1 piece) Page: 2 / 8...
- Page 3 RONDORFIX PIN DOWEL RONDORFIX RONDORFIX DOWEL HOUSING RONDORFIX Panel and Connection Identification Item Description Base Maxifix Housing Maxifix Pin Rondorfix Housing Rondorfix Pin Side Panel Center Panel Door (R/L) Back Panel Shelves (Small: 2 pieces) Hanging Rail (Large: 2 piece + Small : 1 Pieces) Page: 3 / 8...
- Page 4 Step 1. Put the Maxifix housing (A) & Screw the Rondorfix pins (B1) into the holes provided in the base of wardrobe (1) using a screw driver ( - ). Step 2. Put the Rondorfix housing (B) & using screw driver (+) the Maxifix Pin (A1) into the holes provided in the side panels (3, 4, 3).
- Page 5 Step 3. Screw the Maxifix housing which is located on the upper and bottom of each side panel (3 ). Step 4. Put the center panel and screw the Rondorfix housing into the holes provided (4). Page: 5 / 8...
- Page 6 Step 5. Fit the top Crown in the place & secure, using the upper Rondorfix housing. Step 6. Then put the back panel (6) on and screw together using a screw driver (+) . Step 6. Then put the back panel (6) on and screw together using a screw driver (+) . Page: 6 / 8...
- Page 7 Step 7. Slot in place the adjustable smaller shelf (7) and screw the hanging rail (8) using pilot holes provided. Then hang the doors (5) with the hinges attached to the inside of front panel. Page: 7 / 8...
- Page 8 FINISH Page: 8 / 8...
Need help?
Do you have a question about the Frank Hudson 5055299480069 and is the answer not in the manual?
Questions and answers