Table of Contents
Advertisement
Quick Links
Advertisement
Table of Contents

Summary of Contents for Mesu-Optics Mesu 200 MKII
- Page 1 Mesu 200 MKII setup guide November 2019 Lucas Mesu...
-
Page 2: Table Of Contents
Index FOREWORD ............................. 2 Installation ............................3 1.1. SiTechExe and ASCOM ......................6 1.2. Cartes du Ciel ........................... 6 Using the mount ..........................7 2.1. (dis)engaging the motors and using the disk brakes ............... 7 2.2. Mounting the counterweight bar .................... 8 2.3. -
Page 3: Foreword
FOREWORD Congratulations on the purchase of your Mesu-Mount 200. The Mesu-Mount 200 is an equatorial mount with some special features. A backlash-free drive mechanism that is very stiff and tracks extreme smoothly and accurately. These properties are especially important for astrophotography but they are desirable for other applications as well. -
Page 4: Installation
1. Installation For shipment, your Mesu 200 MKII has been broken down into a few sections that you will have to put together yourself. When you get your mount, it will look a lot like the picture below: On a pallet, 2 boxes have been screwed, which contain the declination and right ascension houses. - Page 5 Remove the two short M6 screws with a 5mm Alan key and attach the counterweight box with 6 of the 10 longer M6 screws that came with the mount. After that, the Right Ascension house can be mounted to the counterweight box with 4 of the M6 screws. Your mount will now look like this: When using the screws as described here you'll be fine.
- Page 6 On the other side of the controller the hand pad, the serial cable and the 12V DC can be connected as shown in the picture: The 12V cable needs to be connected with the dotted line to the + and the other to the – 12V DC. Voltage needs to be within 12 and 18 V DC.
-
Page 7: Sitechexe And Ascom
Software installation The Mesu-200 MKII has the same software setup as the old Mesu-200. Everything in your controller is already configured with the right number of encoder ticks and settings. 1.1. SiTechExe and ASCOM The SiTechExe software has to be installed on your computer. For the latest version you can use the Sidereal Technology website: http://www.siderealtechnology.com/ On this website you will also find links to download ASCOM. -
Page 8: Using The Mount
2. Using the mount There are a few things that need to be taken into account when using the Mesu-200 MKII, to prevent damaging or misusage. 2.1. (dis)engaging the motors and using the disk brakes A new feature on the Mesu-200 MKII that you are able to couple and decouple the servo motors, to make balancing your telescope easier. -
Page 9: Mounting The Counterweight Bar
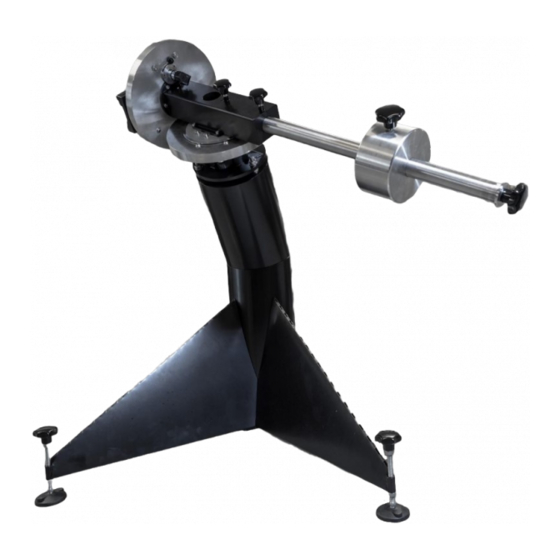
2.2. Mounting the counterweight bar When mounting the counterweight bar, it is important to put it in all the way, so that the notch hooks into the second plate of the counterweight bar hole: 2.3. Balancing the setup Your setup needs to be balanced as good as possible but at least within 10 Nm. It can be done with the brake fully open and the motors disengaged.
Need help?
Do you have a question about the Mesu 200 MKII and is the answer not in the manual?
Questions and answers