Advertisement
OPERATING MANUAL
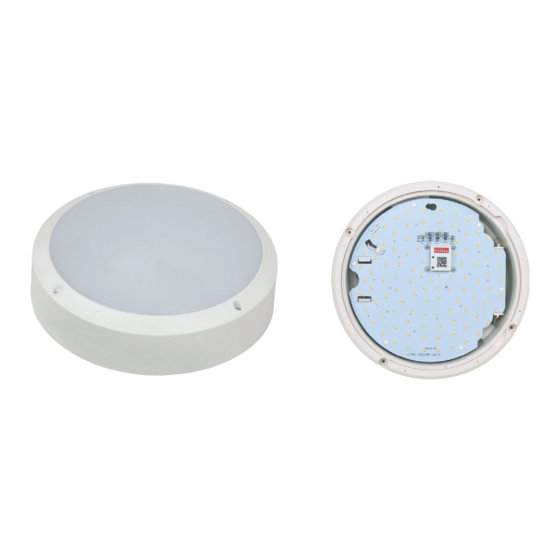
Venus V290 - Sensor
Important: Please read the instruction manual carefully prior to installation and keep it for future reference.
Product
Power
Function
Ordering code
(W)
Description
Fitting series
On/off HF sensor
V290 18 SOF
V290
18
LED Fixture
Sensor-DIM
V290 18 SDM
V290
18
(Bi-level dimming)
LED Fixture
Corridor function
V290 18 STM
V290
18
(Tri-level dimming)
LED Fixture
Accessories
No.
Pic.
Qty.
Usage
1
3
Fix light
2
3
Rawl plug
Vandal proof
1
3
screw tool
Plastic washer
4
3
Installation:
1.Take the covers
1.Disconnect the power grid, put the AC
down,after the retained
terminal cable into the fixture through
screws are off.
the waterproof rubber, connect the L
and N wires according to the wiring
diagram, then fix the strain-relief clip
2.Coating with silicone on the waterproof
rubber around,to make sure no gaps and
no water come in
Remarks: the installer shall prepare
the silicone.
Intelligent Lighting Solutions
290.00
Mounting: Wall or Ceiling
Light features:
Ra: >80
Life Time: 5 years
Light Source: LED SMD2835
Input:220V-240V 50/60Hz
0.8A PF≥0.9
C 0/C 18 0:
C 90/C 27 0:
5.8GHz±70MHz@-14.76dB
Color temperature code:
Code
Color temperature
CCT(K)
Lumen
30K
Warm White
3000
1550
40K
Natural White
4000
1650
50K
Cool White
5000
1750
1.Fixing the mounting holes of the luminaire,
see(3-1)
2.Do like(3-2) , Insert the expansion tube into the
pre-drilled mounting hole of the ceiling. After putting
the self-tapping screw into the waterproof pad.
Advertisement
Table of Contents

Summary of Contents for Dynaluxx Venus V290
- Page 1 Intelligent Lighting Solutions OPERATING MANUAL Venus V290 - Sensor Important: Please read the instruction manual carefully prior to installation and keep it for future reference. 290.00 Product Power Function Mounting: Wall or Ceiling Ordering code Description Fitting series Light features: Ra: >80...
- Page 2 Detection Pattern ceiling mounting pattern (m) wall mounting pattern (m) 1.Fix the cover on the buckle 1.Fit the diffuser to the 1.Do like (6-1),knock out the entrance from the of the chassis base and lock the screws cover and cut off by outline 2.The cable goes from the 2.Open the power grid.
Need help?
Do you have a question about the Venus V290 and is the answer not in the manual?
Questions and answers