Advertisement
Table of Contents
- 1 Daily Cleaning & Maintenance
- 2 Step 1: Flush Pump & Solution Line
- 3 Step 2: Flush Vacuum Hose Assembly
- 4 Step 3: Clean Floor Cleaning Tool Assembly & Vacuum Hose
- 5 Step 4: Clean Main Unit
- 6 Weekly Maintenance
- 7 Step 1: Lubricate Quick Disconnect
- 8 Step 2: Lubricate Trigger Valve
- Download this manual
Chama Gomez
Technical Field Specialist
United States
855-900-8822 x 227
cgomez@ogenasolu�ons.com
Ogenasolu�ons.com
Daily Cleaning* & Maintenance
*When finished using unit for the day the clean solu�on tank should be almost completely
empty. Recommend ini�ally prac�cing with plain water to get an idea of how much cleaning
solu�on to start with.
Step 1: Flush Pump & Solu�on Line
Fill empty Clean Solu�on tank with 1 gallon of plain water
Turn on PUMP switch only
Place vacuum head in empty catch basin
Pull trigger un�l most of water has sprayed into catch basin & spray
starts to diminish
Turn off PUMP switch
Step 2: Flush Vacuum Hose Assembly
Turn on VACUUM switches only
Vacuum up solu�on in catch basin from previous step with air
NOTE: DO NOT COMPLETELY SUBMERGE VACUUM HEAD
(The goal is to create turbulence to dislodge any dirt, hair & debris that
may accumulate inside the vacuum hose and pipe by suc�oning 50:50
liquid/air)
Turn off VACUUM switches
Step 3: Clean Floor Cleaning Tool Assembly & Vacuum Hose
Disconnect metal pipe & solu�on line from black plas�c handle
Use clean rag soaked with disinfectant solu�on to clean the squeegee,
brush, wheels, vacuum head & pipes removing any hair present (If needed
use a flat head screwdriver 'pop' the wheels out to remove any hair caught
around the axels then 'pop' back into place)
Using a gloved finger check inside vacuum head (at the joint) for any hair or
debris accumula�on
Store with squeegee/brush off floor to prevent damage
Disconnect vacuum hose & solu�on line from ANIVAC unit
Wipe exterior of hose/line with disinfectant soaked rag
Hang on designated hose rack
NOTE: NEVER RUN PUMP DRY
Advertisement
Table of Contents

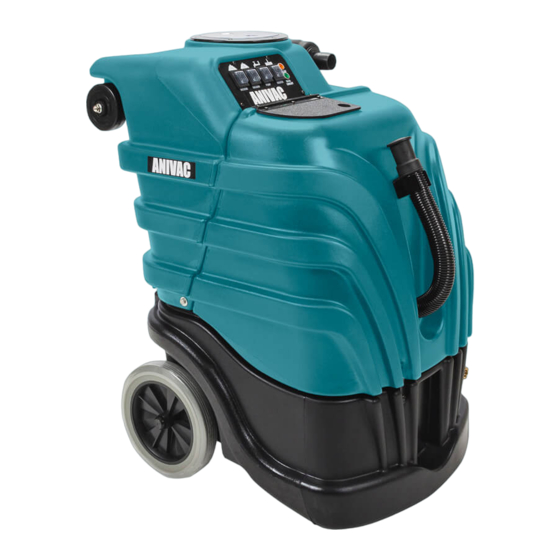
Summary of Contents for OgenaSolutions ANIVAC ProHeat II
- Page 1 Daily Cleaning* & Maintenance *When finished using unit for the day the clean solu�on tank should be almost completely empty. Recommend ini�ally prac�cing with plain water to get an idea of how much cleaning solu�on to start with. Step 1: Flush Pump & Solu�on Line Fill empty Clean Solu�on tank with 1 gallon of plain water Turn on PUMP switch only Place vacuum head in empty catch basin...
- Page 2 Step 4: Clean Main Unit Disconnect extension cord(s) from electrical outlet(s) & wipe with rag as they are being wound up Store on hanger in designated area Wheel unit to loca�on that has a drain & clean water hose Pull discharge hose from clamp on front of machine, remove plug and gently lay down to the drain Remove clear round lid from the Dirty Solu�on tank Hose down interior of Dirty Solu�on tank un�l water runs clear...
Need help?
Do you have a question about the ANIVAC ProHeat II and is the answer not in the manual?
Questions and answers