Advertisement
Quick Links
Advertisement

Summary of Contents for MuteDesign Duo 12
- Page 1 Duo 12 Installation instructions | Conditions for use...
-
Page 3: Table Of Contents
I. Conditions for using acoustic panels II. Installation instructions 1. Leg Ke/Kf 2. Line system Ia 3. Angle system Ib 4. Assembly system Ic 5. Assembly system Id 6. Assembly system Ie Duo 12 - Installation instructions | Conditions for use... -
Page 4: Conditions For Using Acoustic Panels
Principles for proper use: 1. MuteDesign® products are intended solely for use in enclosed spaces. Ambient temperature between +15°C and +30°C. 2. The panels may not be placed in the direct vicinity of heat sources, they should be fitted far from chimneys and electric heaters. -
Page 5: Installation Instructions
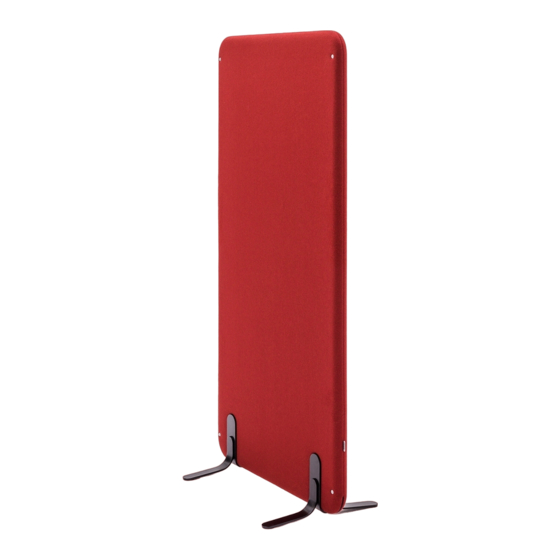
Leg Ke 2 pcs Screw M10x30 2 pcs Fit leg Ke onto the panel , then screw home the leg Ke using the M10 screw Do the same for leg Kf. Duo 12 - Installation instructions | Conditions for use... -
Page 6: Line System Ia
Quantity Line connection Ia 4 pcs* Torx screw M6x16 8 pcs* * The quantity depends on the size of the customer’s order. Once the feet/legs are fitted, push the panels together. Duo 12 - Installation instructions | Conditions for use... - Page 7 Then remove the 8 plugs Screw on line connection Ia using two M6 screws . Repeat four times. Duo 12 - Installation instructions | Conditions for use...
-
Page 8: Angle System Ib
8 pcs* Torx screw M6x16 1 pc* Corner tube * The quantity depends on the size of the customer’s order. Once the feet/legs are fitted, push the panels together. Duo 12 - Installation instructions | Conditions for use... - Page 9 Then remove the 8 plugs Screw on the internal angle bracket using two M6 screws . Repeat twice. Important! It is important that the block is located close to the surface. Duo 12 - Installation instructions | Conditions for use...
- Page 10 Fit the corner tube in such a way that the bottom of the tube rests on the block located in the angle bracket. Screw on the external bracket using two M6 screws Duo 12 - Installation instructions | Conditions for use...
-
Page 11: Assembly System Ic
12 pcs* Torx screw M6x16 1 pc* Corner tube * The quantity depends on the size of the customer’s order. Once the feet/legs are fitted, push the panels together. Duo 12 - Installation instructions | Conditions for use... - Page 12 Then remove the 12 plugs Screw on the internal angle bracket using two M6 screws . Repeat four times. Duo 12 - Installation instructions | Conditions for use...
- Page 13 Fit the corner tube in such a way that the bottom of the tube rests on the block located in the straight bracket. Screw on the straight long bracket using two M6 screws Duo 12 - Installation instructions | Conditions for use...
-
Page 14: Assembly System Id
16 pcs* Torx screw M6x16 8 pcs* Corner tube * The quantity depends on the size of the customer’s order. Once the feet/legs are fitted, push the three panels together. Duo 12 - Installation instructions | Conditions for use... - Page 15 . Then attach the internal bracket with the block in the bottom part using two M6 screws . Repeat for the other side. Important! It is important that the block is located close to the surface. Duo 12 - Installation instructions | Conditions for use...
- Page 16 . Then attach the internal bracket with the block in the bottom part using two M6 screws . Repeat for the other side. Important! It is important that the block is located close to the surface. Duo 12 - Installation instructions | Conditions for use...
-
Page 17: Assembly System Ie
Torx screw M6x16 Corner tube 1 pc* * The quantity depends on the size of the customer’s order. Once the feet/legs are fitted, push the panels together. Then remove the 8 plugs Duo 12 - Installation instructions | Conditions for use... - Page 18 Fit the tube in such a way that the bottom of the tube rests on the block located in the line connection. Screw on the line connection using two M6 screws Duo 12 - Installation instructions | Conditions for use...
- Page 20 Duo 12...
Need help?
Do you have a question about the Duo 12 and is the answer not in the manual?
Questions and answers