Advertisement
Quick Links
Advertisement

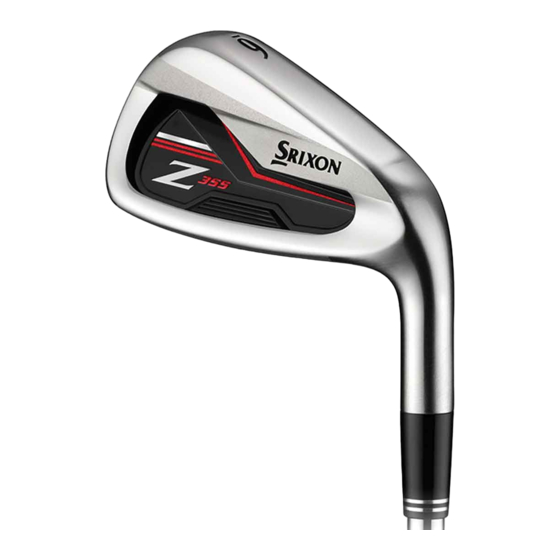
Summary of Contents for SRIXON Z355
- Page 2 S R I XO N U . S . A . S R I XO N S P O R T S A S I A S D N . B H D. 5601 Skylab Rd., Huntington Beach, CA 92647, U.S.A. 1 Jalan U1/32, Hicom Glenmarie Industrial Park, 40150 Shah Alam, Tel: 1-714-889-1300 Fax: 1-714-889-5890 Selangor Darul Ehsan, Malaysia...
- Page 3 Instruction Manual / Setting Adjustments...
- Page 5 T H A N K Y O U F O R Y O U R P U R C H A S E . O u r m i s s i o n i s t o m a k e y o u b e t t e r . O n e s h o t , o n e r o u n d , o n e w e e k e n d a t a t i m e .
-
Page 6: Table Of Contents
Table Of Contents Part names and features How to install and remove QTS sleeve How to install and remove QTS sleeve (sleeve installation) QTS Sleeve performance guide QTS Sleeve position overview Important Precautions! Please Read... -
Page 7: Part Names And Features
PART NAMES AND FEATURES QTS sleeve Change position to set desired face angle, lie angle, and loft angle Z 355 Driver Accessories Custom torque wrench... -
Page 8: How To Install And Remove Qts Sleeve
Damaged QTS sleeve and/or improperly installed QTS sleeve may result in injury or product damage. * Not compatible with SRIXON Z-STAR series torque wrenches. Position the torque wrench so that it is correctly aligned with the shaft. Failure to insert the tip of the torque wrench firmly into the screw hole may... - Page 9 Loosen Tighten With the torque wrench With the torque wrench aligned with the shaft, aligned with the shaft, turn it counterclockwise. turn it clockwise until you hear a ‘click’. When removing the QTS sleeve, be careful not to loosen the screw too much, as you may drop the screw and lose the washer.
-
Page 10: How To Install And Remove Qts Sleeve (Sleeve Installation)
HOW TO INSTALL AND REMOVE QTS SLEEVE Insert the shaft into the head Align the position line with the mark and press straight in. * Illustration shows neutral position The shaft may not insert fully if the position line and sleeve mark are not correctly aligned. Press the shaft all the way in until the QTS sleeve is completely covered. - Page 11 (SLEEVE INSTALLATION) QTS setting examples For right position For left position (Open face) (Closed face) Align the mark on the head with the ‘R’ Align the mark on the head with the ‘L’ on the QTS sleeve and press straight in. on the QTS sleeve and press straight in.
-
Page 12: Qts Sleeve Performance Guide
QTS SLEEVE PERFORMANCE GUIDE Select from 12 different positions to set your preferred face angle, lie angle, and loft angle. Lateral range of adjustment depending on sleeve position Flight can be adjusted laterally by approx. 37 yards Approx. 37 yards... - Page 13 The sleeve is set to N (Neutral) at time of puchase. Refer to the guide to set your preffered trajectory. Draw Fade...
-
Page 14: Qts Sleeve Position Overview
QTS SLEEVE POSITION OVERVIEW... - Page 16 Important To ensure a safe and satisfying golfing Precautions Be sure to read the Important Precautions carefully and exercise appropriate care. CARE AND STORAGE Only remove the QTS sleeve when making adjustments. All parts should remain properly installed at all other times, including when the club is in storage, to ensure that no foreign objects or debris become lodged in the sleeve connection or screw holes.
- Page 17 You may not change the QTS sleeve position during a round. SRIXON Z Series clubs conform with R&A and USGA-approved Rules of Golf. However, it is against the rules to modify club performance during a round by changing the QTS sleeve position to change the CG position, as this breaches the Rules of Golf regulation 4-2a, which states: “During a stipulated round, the playing characteristics of a club must...

Need help?
Do you have a question about the Z355 and is the answer not in the manual?
Questions and answers