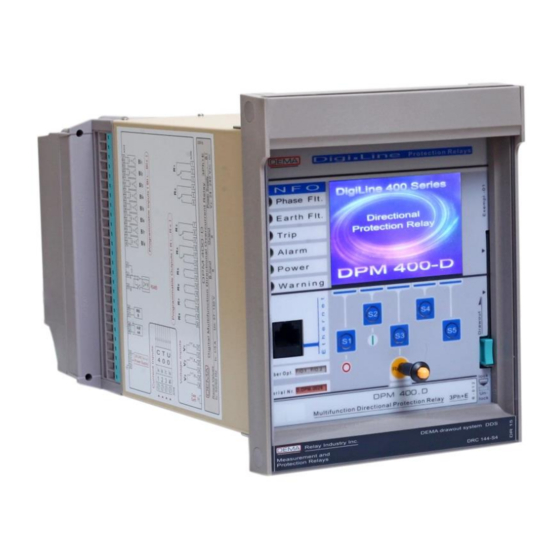
Summary of Contents for Pavotek DEMA DigiLine 400 Series
- Page 1 Page 1 of 11 DEMA Role San. ve Tic. A. S. DEMA DigiLine 400 Series Protection Relays Quick Start Guide V1.0...
- Page 2 Rev. Comp. Relay SW Cause of Revision Committer Date Version V1.0 1.1.9.2 and later First Publication Cihangir ODABAŞ 03.04.2019 Page 2 of 11 DEMA Role San. ve Tic. A. S. DEMA DigiLine 400 Series Protection Relays Quick Start Guide V1.0...
- Page 3 Start Communicating with the Relay ....................5 Configure the Relay with DigiConnect 400 ..................7 Configure the Relay with WebServer ....................10 Page 3 of 11 DEMA Role San. ve Tic. A. S. DEMA DigiLine 400 Series Protection Relays Quick Start Guide V1.0...
-
Page 4: Power Up The Relay
Power pins are on the Connector with numbers 50-51. 52 is used for chassis, but not absolute must. Figure 1: Relay Rear Side Page 4 of 11 DEMA Role San. ve Tic. A. S. DEMA DigiLine 400 Series Protection Relays Quick Start Guide V1.0... -
Page 5: Start Communicating With The Relay
Link status could be observed status bar. Figure 2: Ethernet Settings Menu and Rear Port Settings Page 5 of 11 DEMA Role San. ve Tic. A. S. DEMA DigiLine 400 Series Protection Relays Quick Start Guide V1.0... - Page 6 (192.168.2.215) of the Relay is connected to PC, PC’s IP should be 192.168.2.XXX. On Figure 4, it is given as an example with 192.168.2.100. Figure 3: Network Connections Figure 4: Ethernet and TCP/IPv4 Properties Page 6 of 11 DEMA Role San. ve Tic. A. S. DEMA DigiLine 400 Series Protection Relays Quick Start Guide V1.0...
-
Page 7: Configure The Relay With Digiconnect 400
After selecting a new device, ‘Configuration Window’ will pop up. This configuration allow user to add a device with specific settings and configuration. Page 7 of 11 DEMA Role San. ve Tic. A. S. DEMA DigiLine 400 Series Protection Relays Quick Start Guide V1.0... - Page 8 Additional operations are listed on Figure 8. Parameter Setting screen is shown in Figure 9. Additional operation could be done with each title on the tree. Figure 8: Additional Operations of Device Page 8 of 11 DEMA Role San. ve Tic. A. S. DEMA DigiLine 400 Series Protection Relays Quick Start Guide V1.0...
- Page 9 Edited and not saved settings are emphasized with color. Make sure to save settings and sent it to device. Page 9 of 11 DEMA Role San. ve Tic. A. S. DEMA DigiLine 400 Series Protection Relays Quick Start Guide V1.0...
-
Page 10: Configure The Relay With Webserver
Webserver is communicating with the relay in real time. Measurements could be observed. Setting could be seen and changed directly. Figure 11 shows tree and menus after entering Web Server. Page 10 of 11 DEMA Role San. ve Tic. A. S. DEMA DigiLine 400 Series Protection Relays Quick Start Guide V1.0... - Page 11 Figure 11: Web Server Overview Page 11 of 11 DEMA Role San. ve Tic. A. S. DEMA DigiLine 400 Series Protection Relays Quick Start Guide V1.0...
