Table of Contents
Advertisement
Quick Links
Advertisement
Table of Contents

Summary of Contents for Looperlative LP1 Gen B
- Page 1 Gen B Version 2.49 User Manual July 26, 2020...
-
Page 2: Table Of Contents
Table of Contents Front Panel .......................... 4 Back Panel........................... 5 Getting Started ........................5 Quick Start ........................5 Setting Audio Levels ...................... 6 Recording your first loop ....................6 Menu Operation ........................6 Track Display ........................7 Undo ............................ 9 Recording and Playing Loops ..................... - Page 3 Noise Gate ........................18 Wet/Dry Mix ........................ 19 Time Display ........................ 19 Pedal Mode ........................19 MIDI Clock Out ......................20 Programming the LP1 to use MIDI pedals or dials ............20 CC De-jitter ........................21 MIDI or USER Button Configuration ................21 Advanced MIDI or User Button Configuration ............
-
Page 4: Front Panel
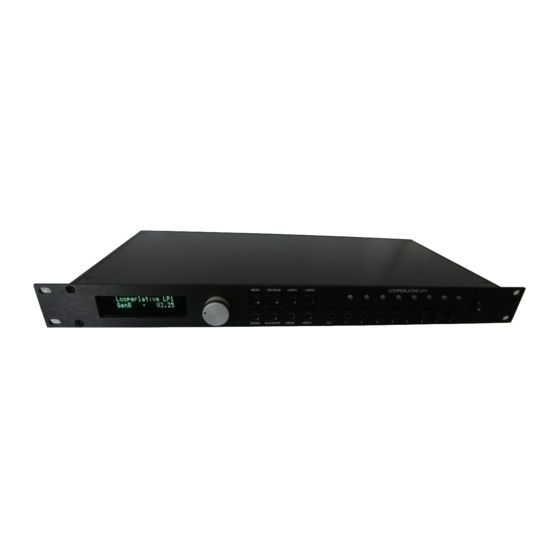
Front Panel Front panel features: shows current LP1 menu item. Initially the display shows “Looperlative LP1”, Display hardware generation and software version number. is used to change menu item or menu item value. See “Menu Operation”. Knob is used to move to previous menu. See “Menu Operation”. -
Page 5: Back Panel
Back Panel Power accepts the connector from the adapter supplied with the LP1. The LP1 requires a 9 VDC power supply capable of supplying at least 1A of power. Network is used to connect a standard Ethernet cable. The LP1 GenB does not require cross- over cables because it autodetects cable connection type. -
Page 6: Setting Audio Levels
Turn on the power to your LP1. Your LP1 will display “LP1 booting ...” ⚫ After about 8 seconds, the LP1 will display “Looperlative LP1” on the top line and the software ⚫ version on the bottom line. Setting Audio Levels To get the best possible audio from your sound system. -
Page 7: Track Display
The track selection buttons select a track for recording or changing. After selecting a track, turn the knob to select a menu choice. Selecting a track also allows you to record, overdub, start or stop that track. Track Display When a track is selected, the menu shows information about the track. The basic display which is the default looks like this: From the main menu item “Simple Display”, you can choose the option “Expert”... - Page 8 MIDI synchronized tracks will indicate the MIDI clock on the display. Tracks that were recorded using Sync Record will be indicated on the display. Tracks recorded with the normal Rec/Dub show up as an asynchronous track. This also includes a clock source track because clock source tracks are recorded as asynchronous.
-
Page 9: Undo
Undo Undo is available in the LP1. It is per-track and there are multiple undos per track. This feature is limited by the available memory in the LP1. For a Gen B LP1, this is around 10 minutes of total audio time. -
Page 10: Recording A New Midi Synchronized Loop
Method 1 for creating a new synchronized track: ⚫ Select an empty track. ⚫ Press the PLAY/STOP button or equivalent MIDI button. This will create an empty loop of the same length as the clock source track. ⚫ Press the REC/DUB to begin overdubbing on the new empty track. ⚫... -
Page 11: Starting And Stopping A Recorded Track
Starting and stopping a recorded track The PLAY/STOP button starts and stops playback of a track when it is not currently overdubbing or recording. This button is synchronized to the end of loop. Using this button to stop a playing track will be delayed until the loop ends. -
Page 12: Changing Switch Behavior From End Of Part To End Of Clock Source
7. Select track 4. 8. Switch Record to record part B at next end of part A. 9. Switch Record to end recording (or any other overdub or play function). 10. Select track 3. 11. Switch play to switch back to part A at the end of part B. 12. -
Page 13: Cue Track
Cue Track The cue function is used to mark a track as ready to play or record. When used on an empty track, it prepares a track to record the next time that any other track stops. When used on a stopped track, it prepares the track to begin play the next time that any other track stops. -
Page 14: Q Replace
Q Replace Q Replace is very similar to the replace function described in an earlier section. It is used to replace all or a portion of a loop. It differs from replace in that it is based on specific divisions of the original loop. -
Page 15: Audio Manipulations
Audio Manipulations Being able to record and play multiple loops is useful for musicians. However, the LP1 doesn't stop there. The LP1 is capable of altering the audio in a recorded loop in several ways. These manipulations can be used to assist in creating a unique musical composition that otherwise could not exist without the assistance of the looper. -
Page 16: Audio Level Presets
Thus, the feedback level determines how much of the delay output is sent back to the beginning after it is heard delayed. An audio loop is a long delay line. Audio heard playing from a loop is considered the same as audio exiting a delay line. -
Page 17: Stretching/Shrinking
speed is increased again, the overdubbed audio will increase in pitch. Speed can be toggled between half and normal using the track menu or by using a button assigned to the half-speed function. The LP1 also allows you to assign a MIDI controller such as a pedal to speed control. -
Page 18: Edit Group
Grouping can also be used with track bouncing to combine several tracks into a single track. To create a new group: Press the MENU button until the main menu is selected. The main menu says “Looperlative LP” on ⚫ the top line of the display. -
Page 19: Wet/Dry Mix
The main output normally outputs the audio in and the track audio. If you want to output only the track audio and not the input audio, then the wet/dry mix needs to be set to wet only. To do this: Press the MENU button until the main menu is selected. The main menu says “Looperlative LP” on ⚫... -
Page 20: Midi Clock Out
ALL track menu. To enable MIDI clock output from the main menu: Press the MENU button until the main menu is selected. The main menu says “Looperlative LP” on ⚫... -
Page 21: Cc De-Jitter
To program a button on a MIDI controller, follow the following procedure: Press the MENU button until the main menu is selected. The main menu says “Looperlative LP1” ⚫ on the top line of the display. -
Page 22: Network Configuration
Press the MENU button until the main menu is selected. The main menu says “Looperlative LP1” ⚫ on the top line of the display. Turn the knob until the second line of the display reads “MIDI/USER btn.” ⚫ ⚫ Press ENTER. - Page 23 Function: Meaning: See “Switch Record”. Switch Record See “Switch Play + ”. SwitchPlay+CKSR See “Switch Play”. SwitchPlay Sync Rec/Dub Same as Rec/Dub button except that when recording to track that isn't the clock source track, the track is extended to a multiple of the clock source track length making it synchronized with the clock source track.
- Page 24 Function: Meaning: All Tracks Select all tracks for next command. Select Track(n) Select track n (n = 1,2,3,4,5,6,7,8) for next command. Select Group(n) Select group n (n = 1,2,3,4,5,6,7,8,9,10) for next command. Track Erase Erase selected track(s). Track Level Change track level. This function instantly takes you to the set track level menu on the front panel.
- Page 25 Function: Meaning: Q Replace This function is used to replace a quantized portion of a track. First press of a button assigned to this function begins a replacement and the second press ends the replacement. Button presses are not activated until the next quantization of the loop is reached.
- Page 26 Function: Meaning: MIDI Bypass This function can be assigned to a front panel button. This function toggles MIDI processing on and off. When MIDI is bypassed, the LP1 will no longer respond to MIDI input and will instead pass all MIDI input to the MIDI output. It is important to use a front panel button for this function since all MIDI data is ignored when bypassed.
-
Page 27: Tips And Special Techniques
Function: Meaning: Minor 7th See Mellotron mode Major 7th See Mellotron mode Original Note See Mellotron mode Except Track This selects all tracks except for the current track. This is useful for stopping all but the current track. Track level 0 Set track level at +000. -
Page 28: Software Upgrades
Software Upgrades The LP1 is designed for future upgrades. Looperlative will periodically offer new features over the Internet. Upgrade announcements and instructions are posted to the Looperlative support site. Go to the Looperlative web site: http://www.looperlative.com... - Page 29 electrical voltages or currents, repair, alteration or maintenance by any person or party other than our own service facility, or any use violative of instructions furnished by us. This one-year warranty is in lieu of all expressed warranties, obligations or liabilities. Any implied warranties, obligations, or liabilities, including but not limited to the implied warranties of merchantability and fitness for a particular purpose, shall be limited in duration to the one year duration of this written limited warranty.
Need help?
Do you have a question about the LP1 Gen B and is the answer not in the manual?
Questions and answers