
Summary of Contents for TZT HY-5099
- Page 1 HDMI Industrial Camera User Manual HY-5099 Industrial Camera V1.1 ( English Version )
-
Page 2: Basic Data
8. If there is a gray shadow on the image, use the dust blower to blow off the dust on the optical filter, do not use the detergent. Package Include HY-5099 camera x 1 power supply x 1 Remote x 1... -
Page 3: Preparatory Work
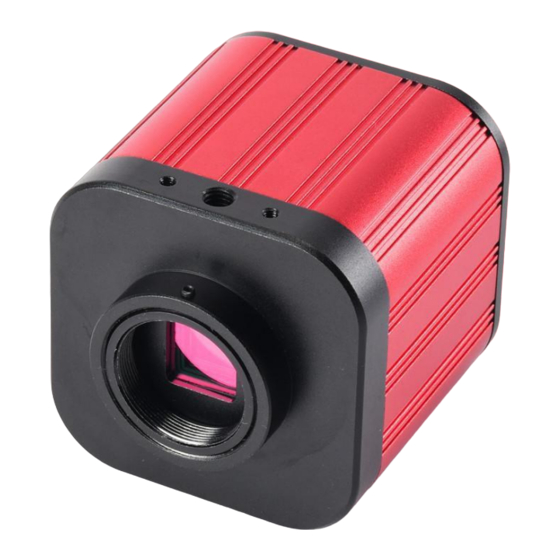
Remote Control and Key Operation Instruction Operation Instruction Preparatory work 1: Twist the cover off and install the lens. △ Noting: tear off the dust protection in front of the sensitive film before installing the lens, otherwise the ! image will be vague!!! 2: Inset the HDMI cable and DC power, when the LED light turns to blue the camera is on. - Page 4 press on the OK button to enter the line setting. Press on the OK button to select the option you need to set. When the option you need to set is highlight, press on the ↑ or the ↓ button to set it. Image size setting ...
-
Page 5: Quality Setting
Quality setting Under the capture mode, press on the MENU button to enter the main menu, press on the ↓ button till the quality setting highlight then press on the OK button, and then press on the ↑ or the ↓ button to set what you need. Sharpness setting ... - Page 6 Exposure setting Press on the MENU button to enter the main menu, press on the ↓ button till the Exposeure setting option highlight then press on the OK button to enter, and then press on the ↑ or the ↓ button to set the Exposure you need.
-
Page 7: Hdmi Output
“cancel” or “OK” option, when select “cancel” and press on the OK button then it will return to main menu, when select “OK” and press on the OK button then the TF card will be format. Noting: all data will be deleted when use format, please make sure there is a copy when use this function System setting ... -
Page 8: User Interface
Please check whether the photo setting is the highest pixel. 6: Why it shows the TF card error? First make sure it is a certified memory card, then format it and try again. HDMI output HAYEAR User Manual Overview Hayear is an application for imaging a dynamic image processing , it has the following characteristics: Support a variety of cameras, can switch at any time to use. -
Page 9: Capture Images
Capture Images You can capture pictures and videos: Take a picture: Click “Snap” button to take a picture. Click the right arrow beside the “Snap” button to set picture file format and resolution. Recording: Click “Record” button to start video recording, Click again to stop recording. When recording ,there will be an animation indicator over the image. - Page 10 Measurement Icon Function Description Move Move or adjust the measurement tool. Point Setup > Video Overlay > Marker Line Measure length of a line. Vertical Rectangle Measure perimeter and acreage of a rectangle. Polygon Measure perimeter and acreage of a polygon. Circle Measure a circle, the circle is determined by center point and radius.
- Page 11 Click on the “option” to select “calibration” 3. Calibration: Magnificatior, Actual Length, Meter 4. After select “ calibration”, choose the unit and multiplying power you need, then you can calibrate. How to set cross hair on measure software? 1. First step: select setup 2.
-
Page 12: Software Installation
Software Installation Download the software: https://www.HKLRF.com The “HAYEAR” can support only the Windows system, the users can also download by the link on the official website. The operating systems: Windows 7、Windows8、Windows10、Linux The operating environment: Microsoft.Net Framework 4.0 , Microsoft Visual C++ 2010 If there is no the two complete runtime library, there will be an error when installing the software.
Need help?
Do you have a question about the HY-5099 and is the answer not in the manual?
Questions and answers