Table of Contents
Advertisement
Quick Links
Toll free 800-669-6588
P.O. Box 6936 Harlowton, MT 59036
www.rockymountaincookware .com
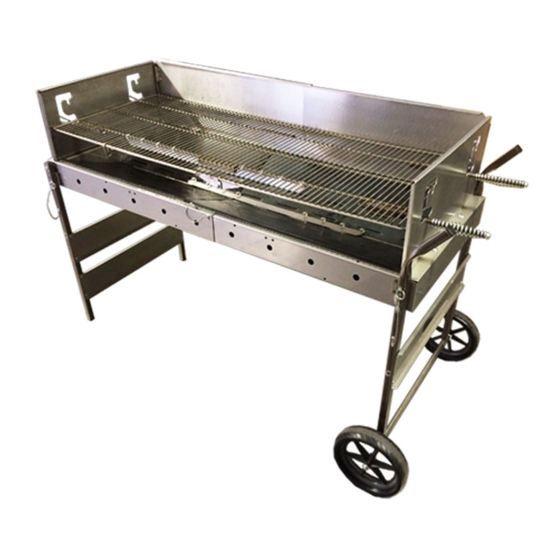
Setup instructions for Bear Tooth Grill.
3 and 5-foot Modes, Wind Guards Plus Helpful Hints.
Thank you for choosing the Bear Tooth Grill. The most portable on the Market. If you cannot find the answer to your
question in these set up instructions, please call or email and we will make every attempt to help. Your grill is assembled
except for attaching wheel assembly.
It is easiest to cut the box down the corners to remove.
everett@rockymountaincookware.com
1-800-669-6588
5 Ft. Mode w/ Wind guard
3 Ft. Mode w/Wind guard
Transport Mode w/Wind guard
#1 Transport Mode.
#2 Stand grill on end and remove pins both sides from the legs with wheels. #3 While stabilizing
grill raise the wheeled legs up and pin at a right angle to grill. Pin both sides. #4 While stabilizing grill shorten wheeled
legs by unpinning, sliding in and repining. Lower the grill down on its wheels. For first time setup the wheel section of
the legs will need to be inserted into main legs at this time.
#1
#2
#3
#4
#5, 6 & 7
Caution: requires vertical lift of 50 Lbs.
To reduce weight, remove contents first. Unpin legs on the non-
wheeled end, swing legs clear around to right angle of grill while raising lowered end up. Pin into place. Remove the
contents of the unit and set aside. Determine size of cooking Mode you will be using. 3-foot or 5-foot. Transport mode
is the same as 3-foot. If 5-foot remove long pins (#7) and expand body to next set of holes. Insert pin.
Never cook
without main body pins in place.
1
Advertisement
Table of Contents

Summary of Contents for Rocky Mountain Cookware Bear Tooth
- Page 1 3 and 5-foot Modes, Wind Guards Plus Helpful Hints. Thank you for choosing the Bear Tooth Grill. The most portable on the Market. If you cannot find the answer to your question in these set up instructions, please call or email and we will make every attempt to help. Your grill is assembled except for attaching wheel assembly.
- Page 2 Install leg braces. (#8) Locate the two holes in center of main body just below top flange. (#9) Insert off set end of brace and twist into angle portion of brace. (#10) Rotate brace over to leg and insert through leg. Secure with pin clip into the groove as shown in #11. Install all four braces.
- Page 3 #14) To assemble large and small ash pans simply insert the tabs into slots and slide the ash pans together. Set in ash pans handles down. Always use ash pans for a better burn and to protect the main body from warping and discoloration. #15) Install Grate Height Adjusters by setting it on the end of the grill (box end) with the 3-bends facing in towards the cooking area and the bend with the 2 holes facing out towards you.
- Page 4 Repeat for other end. (#19) Telescope back panel out to grill support system. 3 ft. mode shown. For 5 ft. mode simply expand further. Using Bear Tooth Grill in 3 ft. mode pin to transport position. Install leg braces. #20 & #21) Fold cooking grate and turn over so small side is down. Suspend the small grate portion with the “C” Hanger as shown in 20 and 21.
- Page 5 You can get replacements through your local dealer. *If you have and questions or concerns please feel free to contact us at Rocky Mountain Cookware. 800-669-6588...
Need help?
Do you have a question about the Bear Tooth and is the answer not in the manual?
Questions and answers