Table of Contents
Advertisement
Quick Links
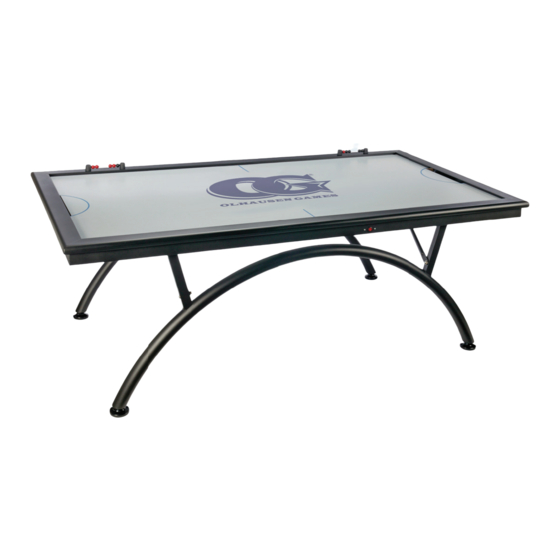
OG Euro
Congratulations on your purchase of the Olhausen
Games home entertainment table. We want to ensure
that you are completely satisfi ed with your purchase.
So, please feel free to contact either your dealer or
Olhausen Games for any assistance in the assembly
of your new product or for any other information you
may want or need.
Tools Needed for Assembly:
• Wrenches
• Philips Head Screw Driver
• Level
Be sure to verify that all of the items listed above are included in the box before starting assembly
DUE TO THE WEIGHT AND SIZE OF THE TABLE, IT IS RECOMMENDED THAT
Step 1: Content Removal
• Carefully lift the OG Euro Series cabinet out of the box and lay it on its top, placing it on a clean and
smooth surface to avoid scratching the fi nish.
• Remove the legs from the box and locate the accessory package.
Step 2: Leg Assembly
• Attach the curved leg to the (1) inside steel angle iron using the (2) outside holes on the playfi eld
frame sides. Attach the legs using (1) bolt, (2) washers and (1) nut for each of the (4) holes on
each leg.
* Note: Do not tighten the leg bolts yet!
• Take (2) leg support braces and connect (1) curved leg assembly to the steel angle iron that supports
the playfi eld.
• Tighten all the leg bolts and support braces to complete the fi rst leg assembly.
• Repear the above process to complete the second leg assembly.
Step 3: Puck Housing
• Attach the puck housing to the under side of the steel angle iron frame using (2) bolts and (2) washers
on each puck housing.
• Attach the puck housing brackets to the second steel angle iron playfi eld support with (1) bolt, (2)
washers and (1) nut for each brace.
R
Assembly Procedure
(2) PEOPLE ASSEMBLE THE TABLE TOGETHER.
(continued on page 2)
Air Hockey
Assembly Instructions
Assembly Instructions
Content
Cabinet
Curved Leg Assembly
Leg Support Brace
Puck Housing
Hardware Package
Accessory Package
Quantity
1
2
4
2
1
1
OG 110114 P1
Advertisement
Table of Contents

Summary of Contents for Olhausen Games OG Euro Series
- Page 1 Assembly Instructions OG Euro Congratulations on your purchase of the Olhausen Games home entertainment table. We want to ensure that you are completely satisfi ed with your purchase. So, please feel free to contact either your dealer or Olhausen Games for any assistance in the assembly of your new product or for any other information you may want or need. Tools Needed for Assembly: Content Quantity • Wrenches Cabinet • Philips Head Screw Driver...
- Page 2 Assembly Instructions continued for OG EURO Step 4: Attaching the Blower Motor • Locate the blower motor, gasket and (3) mounting bolts. • Place the gasket between the blower motor and the air chamber surface located in the center of the bottom side of the playfield. • Line up the holes in the base of the blower motor with the pre-drilled holes in the air chamber and tighten all (3) bolts. • Plug the blower motor into the wall. Step 5: Flip Table Over • Check that all the leg levelers are screwed all the way into the legs. • Carefully lift up and rotate the table onto its legs. * DO NOT ALLOW WEIGHT OF TABLE TO ROCK ON ANY ONE OR TWO LEGS ALONE. * We recommend that (2) or more people lift the table together. Step 6: Manual Scoring Assembly • Locate the top rail with pre-drilled holes to the left and right of the electronic scoring unit area.
Need help?
Do you have a question about the OG Euro Series and is the answer not in the manual?
Questions and answers