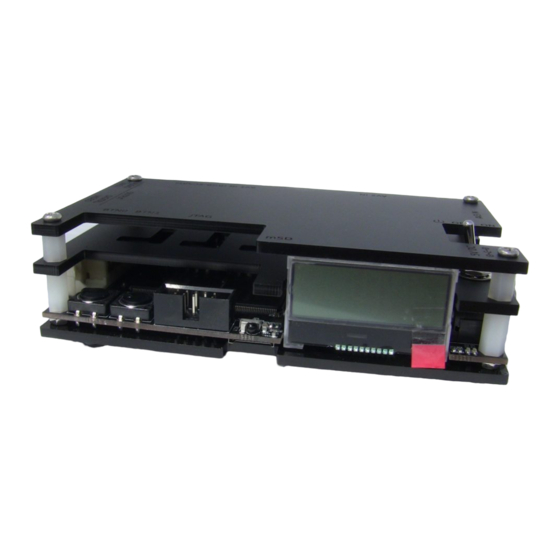
Summary of Contents for VGP OSSC
- Page 1 Quick Start Guide – Revision 1B This document is copyright © VGP Media Ltd 2019 All rights reserved worldwide VideoGameperfection.com is a trading name of VGP Media Ltd Registered in Republic of Ireland number 637539...
-
Page 2: Table Of Contents
Audio input and output.......................8 Firmware updates........................9 Troubleshooting........................10 More information........................11 Disposing of your OSSC......................11 Thank you for purchasing the Open Source Scan Converter (OSSC). Please take time to read through this short document before you start using the unit. Page 2... -
Page 3: Important Safety Information
Please observe the following safety precautions when using your OSSC. Use the correct power supply – OSSC is designed to run with a 5 volt, 2.1 x 5.5mm positive tip power supply unit (PSU) supplying at least 1 amp of current. Please ensure your power supply meets these requirements. -
Page 4: Overview (V1.5 And Earlier Revision Units)
Remote Control (optional) Overview (v1.6 and later revision units) The pictures above show a 1.5 revision OSSC, if you purchased a 1.6 revision, the unit will look the same apart from the side with the video output connector. OSSC revision 1.6 has an additional 3.5mm audio connector and comes... -
Page 5: Buttons, Connectors And External Controls
Buttons, connectors and external controls In the overview pictures you can see the following features on your OSSC. Status LEDs – Green LED indicates that power is on. This green LED will go out briefly when an IR remote code is detected. The red LED indicates unstable sync when lit. -
Page 6: Connecting Your Ossc
OSSC does not use HDCP, so any basic converter should work. Ensure the PSU is turned on at the wall, then power on your OSSC using the power switch, the LCD on the front of the unit should light up and display the current firmware version, as shown in the picture. -
Page 7: Scanlines
CRT that were a result of this screen mode. OSSC allows you to simulate these scanlines, making the image look more authentic. You can enable or disable scanlines on the OSSC by using the menu and navigating to “Post-Proc”... -
Page 8: Interlace Video And The Ossc
480i and 240p screen modes. When using OSSC 1.5 or earlier with an audio expansion board, any audio fed in via AV1 or the 3.5mm audio connector will be digitised no matter which video input is selected. For OSSC 1.6, the appropriate audio input will be used depending on the active video input. -
Page 9: Firmware Updates
New features are periodically added to the OSSC in the form of firmware updates. The devices firmware can be updated using an SD card. The SD card should first be formatted with the new firmware. Once this is done, insert the card into the OSSC, enter the menu and choose “FW. update”. -
Page 10: Troubleshooting
Power cycle the OSSC No image Unusual sync signal Power off OSSC and your source. Power on the OSSC and select the correct input, then power on your source No image and LCD says NO SYNC Source not powered on... -
Page 11: More Information
More information For more information on using your OSSC, see the OSSC Wiki page here – junkerhq.net/xrgb/index.php/OSSC For technical support, visit the support forums here - https://www.videogameperfection.com/forums/forum/ossc/ Disposing of your OSSC If your OSSC malfunctions, please contact us via e-mail or through our website to arrange repair or replacement.


Need help?
Do you have a question about the OSSC and is the answer not in the manual?
Questions and answers