Table of Contents
Advertisement
Available languages
Available languages
Quick Links
MODELO Nº. :
MODEL Nº. :
MODELO Nº:
220~240V 50/60Hz 400/800/1200W
ANTES DE USAR LEA ATENTAMENTE ESTE MANUAL
PLEASE READ CAREFULLY THIS MANUAL BEFORE USE
POR FAVOR, LEIA ATENTAMENTE ESTE MANUAL ANTES DE USAR
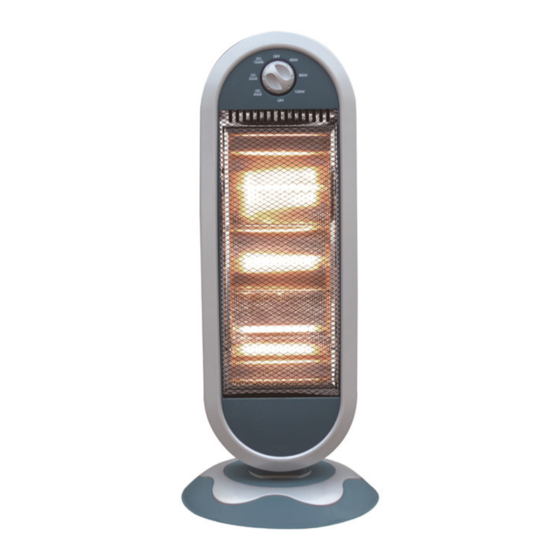
43143 CALEFACTOR HALÓGENO
43143 HALOGEN HEATER
43143 AQUECEDOR DE HALOGÉNEO
MANUAL DE INSTRUCCIONES
INSTRUCTION MANUAL
MANUAL DE INSTRUÇÕES
Advertisement
Table of Contents

Related Manuals for KRHÜNER 43143


Summary of Contents for KRHÜNER 43143
- Page 1 MODELO Nº. : 43143 CALEFACTOR HALÓGENO MODEL Nº. : 43143 HALOGEN HEATER MODELO Nº: 43143 AQUECEDOR DE HALOGÉNEO 220~240V 50/60Hz 400/800/1200W MANUAL DE INSTRUCCIONES INSTRUCTION MANUAL MANUAL DE INSTRUÇÕES ANTES DE USAR LEA ATENTAMENTE ESTE MANUAL PLEASE READ CAREFULLY THIS MANUAL BEFORE USE...
-
Page 2: Advertencias De Seguridad
1. ADVERTENCIAS DE SEGURIDAD ො Este aparato no debe ser usado por niños desde 0 hasta 8 años. Sí pueden utilizarlo ni- ños con edad de 8 años y superior y personas con capacidad físicas, sensoriales o men- tales reducidas o falta de experiencia y conocimiento, si se les ha dado la supervisión o formación apropiadas respecto al uso del aparato de una manera segura y comprenden los peligros que implica. -
Page 3: Instrucciones De Uso
ො Mantenga todas las ranuras de ventilación libres de suciedad y no las cubra. Nunca deje caer ni inserte objetos en las aberturas. ො No lo utilice al aire libre. Este aparato está diseñado exclusivamente para uso domés- tico. ො Nunca exponga el aparato a condiciones atmosféricas perjudiciales (lluvia, sol, etc.). ො... -
Page 4: Operación
1. Retire las tuercas mariposa de la parte inferior del marco del cuerpo. 2. Inserte el cable de alimentación a través de la ranura situada en la parte central de la base y luego monte el marco a la placa de la base. 3. -
Page 5: Safety Warnings
1. SAFETY WARNINGS ො This appliance is not intended for being used by children from 0 to 8 years old. This ap- pliance can be used by children aged from 8 years and above and persons with reduced physical, sensory or mental capabilities, or lack of experience and knowledge, unless they have been given supervision or instruction concerning use of the appliance by a person responsible for their safety. - Page 6 ො Never expose the appliance to atmospheric conditions (rain, sun, etc.). ො The appliance must be always placed on a flat and stable surface. ො Do not put the cable over the appliance when it is still warm. ො Do not use the radiator near bath-tubs, showers, wash-basins or swimming pools (min- imum distance: 1 meter).
-
Page 7: Maintenance And Cleaning
OPERATION Plug in the appliance. Check that the outlet has at least a 10 Amperes of current carrying capacity. SWITCHES FUNCTIONS Select the power and press the oscillating switch “TURN” to make the radiator oscillate. Press it again to switch off the oscillating movement of the appliance. The radiator can be activated manually by pressing the handle situated in the rear part of the appliance. - Page 8 1. DICAS DE SEGURIDADE ො Este aparelho não deve ser usado por crianças desde os 0 até os 8 anos. Pode sim ser utilizado por crianças com idade de 8 anos e superior, assim como pessoas com capaci- dades físicas, sensoriais ou mentais reduzidas, ou falta de experiência e conhecimento, só...
-
Page 9: Instruções De Uso
ො Nunca exponha o aparelho às condições atmosféricas (chuva, sol, etc.). ො O aparelho deve ser sempre colocado sobre uma superfície plana e estável. ො Não coloque o cabo sobre o aparelho quando ainda estiver quente. ො Não use o radiador perto de banheiras, chuveiros, lavatórios ou piscinas (distância mí- nima: 1 metro). -
Page 10: Manutenção E Limpeza
removidas. 4. Inserir o cabo de alimentação através da direita e depois inseri-la com as ranhuras de aperto. OPERAÇÃO Ligue o dispositivo. Verifique se a saída é de pelo menos 10 amperes de capacidade. FUNÇÕES SWITCHES Seleccione a alimentação e pressione o interruptor “TURN” para fazer a oscilar aquece- dor.
Need help?
Do you have a question about the 43143 and is the answer not in the manual?
Questions and answers