Table of Contents
Advertisement
Advertisement
Table of Contents

Summary of Contents for MYATU 4143
- Page 1 User Manual CAUTION READ THIS MANUAL BEFORE USING YOUR EQUIPMENT...
-
Page 2: Table Of Contents
CONTANTS Safety Instruction ......................1 General Information ...................... 2 Meter operation ......................4 Battery: Further Information and Maintenance ............5 Charging ......................... 6 Installation Instruction ....................7 Warranty ........................12 Attachment: technical parameters ................13 Quality Assurance ....................... 14... -
Page 3: Safety Instruction
Safety Instruction Thank you for purchasing the MYATU E-BIKE. The E-BIKE features the most recent innovation in technology. For Safety reasons, it is most important that you read this user’s manual before you operate the bike. Improper handling can reduce its riding performance and most importantly, cause danger to your safe and healthy .For... -
Page 4: General Information
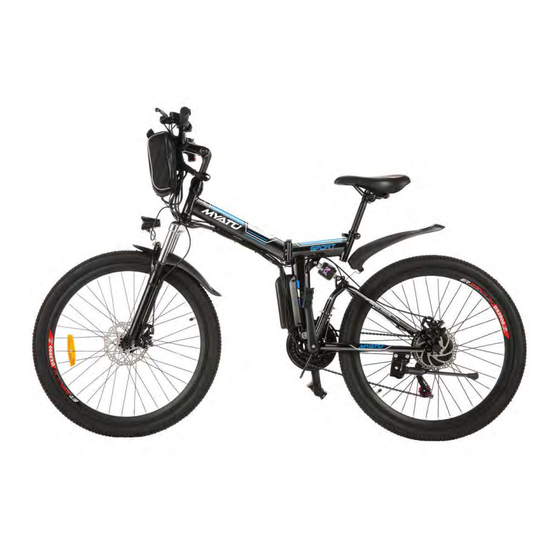
General Information 1. About the MYATU Electric Bike MYATU electric bike is a leading icon of e-bikes. For years, MYATU has been not only dedicating to innovation, cutting-edge technology and high-quality materials, but also providing cost effective e-bikes, to satisfy riders' various needs of transportation and even desire of exploring sports &... - Page 5 General Information 3. Bike Components...
-
Page 6: Meter Operation
Meter operation 1. Meter instruction 2. Meter Operation Operating instructions Press “ ” Full Electric To switch on/off Press “ ” to again to move Function (Pure the E-Bike crease into pedal into pedal electric mode): system, hold the assist level assist level Press“... -
Page 7: Battery: Further Information And Maintenance
●Keep the battery out of reach for children. ●Never try to open the battery. ●Only use the MYATU supplied battery. Do not use a battery from any other different product models. ●If the battery is damaged because it has been dropped somewhere or biking accident, there may be a risk of electrolytes leakage. -
Page 8: Charging
●It is strictly forbidden to disassemble the battery box or modify the internal structure and protection board of the lithium battery. ●Only use the MYATU supplied charger. Do not use a charger from any other different product models. ●After using the battery, please charge it within 12 hours. -
Page 9: Installation Instruction
Installation Instruction 1. When open the bike's carton box, take out E-bike and use tools to cut off the package strings. 2. Install Kickstand. 2.1 Unscrew the screw in the kickstand. 2.2 Install the kickstand. 2.3 Then tighten with tool. 3. - Page 10 Installation Instruction 4.2 Take out the quick release from Wheel and unscrew the bolt from the quick release. 4.3 Ensure that the installation direction of the front wheels is correct. Make sure fork hanger hold onto wheel axle, and make sure the disc put into middle of brake. 4.4 Insert quick-release axle into spring and tighten screw(Quick release nut to be at the same end as the brake).
- Page 11 Installation Instruction 5. Install Front Light and Front Fender. 5.1 Screw front light right on front fork holder as shown. 6. Install Pedal. 6.1 There is a right pedal marked “R” and a left pedal marked “L”. 6.2 The pedal marked “R” has right-hand threads. Tighten it in a clockwise direction.The pedal marked “L”...
- Page 12 Installation Instruction 7. Install Seat Tube and Rear Fender. 7.1 First connect the seat and the seat tube. 7.2 Insert seat post into post receiver, set right its position and adjust height to fit your ridding habit. Then, Tighten seat by clamp. 7.3 Install the rear Fender.
- Page 13 Installation Instruction 8. Adjust angle of brake lever, meter, gear shifter, throttle and louder controller on handlebar, then tightens them with tools. 9. Install Battery. 9.1 Open the box of battery. 9.2 Connect the connectors. 9.3 Put the battery in bag and lock tighten the belts. Change Throttle.
-
Page 14: Warranty
Warranty Period, at its option and to the extent permitted by law, MYATU will resend new parts that are equivalent to new in performance and reliability. This Warranty is not assignable or transferable. The original purchaser may contact us for service request. -
Page 15: Attachment: Technical Parameters
Attachment: technical parameters Performance index Project Parameter Vehicle Size 1750*650*1080mm 26 Inches Wheel Size Basic Parameters Body Material Aluminium Alloy Maximum Load 187 lbs (85KG) Vehicle Weight 53 lbs (24KG) Maximum Speed 15.6 mph (25km/h) Maximum Gradient 10 Degrees Front Derailleur 3-Speed Main Parameters of the Whole Vehicle... -
Page 16: Quality Assurance
Quality Assurance If the product has problems with the following forms during the protection period, we will provide customer service as part of the product quality guarantee. Accessories quality problem Warranty period service content Motor will not be Motor A year Free delivery of parts able to use Natural conditions...
Need help?
Do you have a question about the 4143 and is the answer not in the manual?
Questions and answers