Advertisement
Quick Links
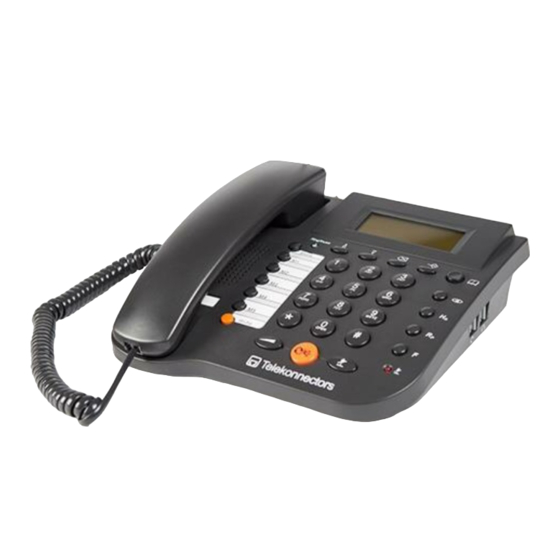
TLK G400 V6 Analog Business Telephone
Accessories & Content
Following items are included in this package of this Galaxy 400 Analog Business Phone :-
-
Phone base unit with handset
-
Line cord & coil cord
-
Instruction for users
-
Headset Stand
-
Instructions Manual
Instruction Manual
Advertisement

Summary of Contents for Telekonnectors TLK G400
- Page 1 Instruction Manual TLK G400 V6 Analog Business Telephone Accessories & Content Following items are included in this package of this Galaxy 400 Analog Business Phone :- Phone base unit with handset Line cord & coil cord Instruction for users Headset Stand...
- Page 2 Main Diagram...
- Page 3 Features Battery free solution – Works in line power 3.5mm Stereo jack headset port 16 digit Alpha Numeric display 32 digits memory / Redial FSK/DTMF dual system compatible 12 language setting Local area code setting Time, Date,Month and Day setting User selectable flash setting- 100,300,600 and 1000mSec.
- Page 4 Buttons Function Function Buttons Description To enter the Digits 0-9 0 – 9 To enter Alphabets To enter and Temporary tone To enter # One touch memories (24 Digits maximum) Press one of these keys to make a call to one of the stored telephone M1 –...
- Page 5 Congratulations on your purchase of Galaxy 400 analog business phone. This analog business phone has been ergonamically designed and customised on to suit Indian requirements by Telekonnectors. This telephone performs all basic functions supported by your service providers. It works with most PABX switching system (please consult your switching system provider for details ) in analog extension.
-
Page 6: Exit Options
Main manu setting Press and hold the “Set/Dial” button in on-hook or off hook, the LCD displays “OPTIONS MENU ”. ( The following is the key sequence when pressing the “ Up)” button. Menu Default OPTIONS MENU SET LANGUAGE ENGLISH LOCAL AREA CODE - - -... - Page 7 The LCD will show : OPTION MENU ( ( Down) button go to “SET TIME/DATE” Using Up) or Press (Set/dial) to enter in to the manu The LCD will show : TIME/DATE ( ( Up) or Down) button to adjust the correct hour / Minute / Month / Year Then (Set/dial) button to confirm and set the time and date.
- Page 8 8. Setting baby call (Emergency call) (Set/dial) In the state of on hook or Off hook, press the key. The LCD will show : OPTION MENU ( ( Down) button go to “SET BABY CALL” Using Up) or Press (Set/dial) to enter in to the manu The LCD will show...
- Page 9 Normal operation To make a call, simply pick up the handset and wait for the dial tone. Then, dial the desired telephone number with the numeric keys. To end a call, put the handset back to the cradle of the base unit, or push the hook switch. Predialling In on-hook enter the phone number to be called, then press the (Set/dial) button to dial out the...
- Page 10 To release the mute, press the (Mute) button again. The conversation could go on and the Mute indicator will quench. Hold on Music function To put a caller on Hold during the conversation, press the (Hold/Ring) button. The caller can hear a pleasant music tone during the hold.
- Page 11 Pick up the handset or Press the (headset) to be in off-hook mode. Press the HIDE button and then dial the numbders,the LCD will not display the number.Press it again to resume displaying number. Please note that the secret dialed number will not be stored in the phone memory. One Touch Memory One touch memory provides you with the easiest way to make a call to a frequently used number.
- Page 12 Operation of called ID This phone is equipped with Caller ID decoder. Caller ID shows and records caller’s available phone numbers when it rings. Caller iD function only works if your phone line is provided with Called ID function. Caller ID function must be paid and subscribed seperately from normal phone service. For details, please consult your phone service provider.
- Page 13 3. To delete a record from the Caller ID memory In on-hook or off-hook Press (up) / (down) buttons to select the number (delete) button Press The display will show : XXXXXX DELETE CALL? (delete) button to delete the number. Press To delete a record from the dialed out memory In on-hook or off-hook...
- Page 14 Enter the contact Name using alpha numeric buttons Press (phone book) button Confirm the number Press (phone book) button To add the outgoing call in to phone book In on-hook or off-hook Press (out) button (up) / buttons to select the number Press (down) (phone book) button...
- Page 15 (up) / buttons to select contact Press (down) Press (phone book) button Edit the name Press (phone book) button Edit the name using alpha numeric buttons Press (phone book) button Edit the number using number buttons Press (phone book) button Press F (Flash) to exit.
- Page 16 9. Do not overload wall outlets and extension cords as this can result in risk of fire or electrical shock. 10. Never push objects of any kind into this telephone as they can touch dangerous voltage points or short out parts that could result in a risk of fire or electrical shock. 11.
- Page 17 the one touch memory section. If your phone is connected behind a PABX system, consult your system provider for information of timed pause delay required before making an external call. Make sure the correct prefix is stored in each phone book memory to ensure a sucessful outgoing call. Caller’s number does not show on my phone Make sure that your phone line is provided with caller ID function from the phone service provider.
Need help?
Do you have a question about the TLK G400 and is the answer not in the manual?
Questions and answers