Table of Contents
Advertisement
Quick Links
Advertisement
Table of Contents

Summary of Contents for Notilo Plus iBubble
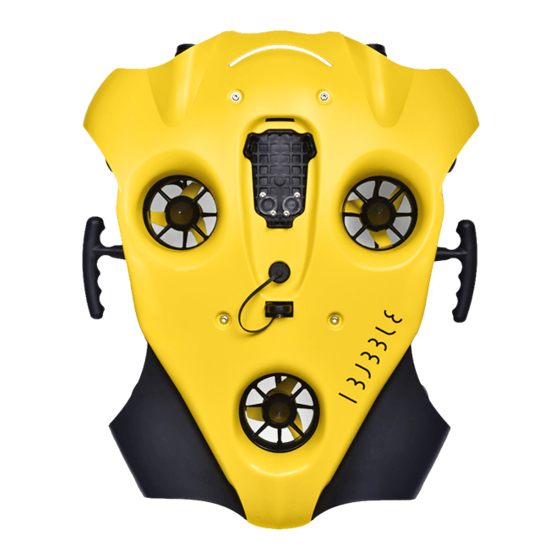
- Page 3 Items presentation Congratulation on the purchase or your iBubble ! Before using your drone, please read this document carefully. The following contains all necessary information regarding your drone and its use.
- Page 4 Your iBubble Your iBubble remote...
-
Page 6: First Time Setup
Put the battery and the drone’s remote in charge until Instructions: they are fully charged before starting the updating process. ● Turn the iBubble upside down on a plane surface and open the battery compartment turning counter Before turning on your iBubble, please make sure that clockwise. - Page 7 Be sure to always handle the seal carefully and never use sharp objects. In order to register and update your iBubble, you need to install the iBubble Camera application on your If the seal is damaged, change it (available in our smartphone or tablet.
-
Page 8: Preparing The Remote
As soon as the remote is placed on the drone, it will turn on 4. Preparing the remote and beep. W hen turned on for the first time, iBubble does not t urn on its status LEDs and emits a WiFi signal named Turn on your remote by pressing the "Select"... - Page 10 Turning the iBubble on and off Synchronization To turn on your iBubble , simply turn the remote on and place it on ● Turn on the remote by pressing the Select button for 2 its dedicated cradle on the drone. iBubble will turn on and run its seconds.
- Page 11 When this scenario is activated, it immediately ● When it is turned on, iBubble activates all its engines, stops the drone and allows it to be safely taken underwater or turns on its headlights and beeps.
- Page 12 This allows you to take a stable, panoramic view. you swim in its direction, the drone will move forward as well Be careful not to get too far from iBubble, as it may lose the and film what you see, turning its back to the transmitter.
-
Page 13: Modes Description
These modes allow you to take a video or photo remotely, but headlights. only if a GoPro i s paired w ith iBubble and turned on. The Far mode is indicated by a triple flashing of the headlights. -
Page 14: Status Leds
Remote shortcuts the status of the drone. Update status The iBubble remote includes shortcuts that allow you to quickly access its various functions. During the update process of the drone, the LEDs indicate the status of the drone in addition to the application. - Page 15 KNOWING YOUR IBUBBLE Headlights meaning Information LEDs The iBubble LEDs will flash during the dive in the following Getting started cases: Upon starting, the drone tests its headlights. Each headlight flashes quickly and then turns off. ● Obstacle detected: g reen LED flashing. Once the obstacle is no longer detected, the LED becomes fixed again.
-
Page 16: Installing Your Camera
(GoPro only) with your drone and to control it with the iBubble remote. To associate it, launch the iBubble app and connect to the drone, making sure to keep the remote on it. Select the camera association option from the app menu... - Page 18 If your iBubble can not keep up with you, it will Feel free to "introduce" iBubble to other divers at the first automatically come back to the surface after 90 briefing.
- Page 19 When you are ready to dive, but before putting fixing your dive The remote is equipped with a cable at the end of which is an acoustic transmitter. This transmitter is used by iBubble to tank, check that the drone is fully synchronized (fixed green position itself.
- Page 20 Once you're on the surface, iBubble will remain 19 inches (50 ● When the drone goes from disarmed to armed status, cm) below the surface when the Follow scenario is activated.
-
Page 21: Precautions And Tips
Be sure to remove any excess water from iBubble. Turn off ● If you turn off your iBubble underwater, d o not try to the remote first and then iBubble *. Do not forget to turn off re-sync it during the dive. - Page 22 DIVING WITH IBUBBLE ● iBubble a lways e mits a sound when changing from Disarm to another scenario. ○ If you do not hear the beep when you switch modes, try going back to the Disarm scenario then switch to the Follow mode. If the problem persists, re-synchronize the drone or contact our support.
-
Page 24: Explorer Mode
To use the Explorer mode on the iBubble app, the Explorer Pack is ● To properly connect the cable to the drone, be sure to required (iBubble accessory, sold separately). - Page 25 EXPLORER MODE ● To screw the cable to the drone, do not touch the end of the cable directly: Use the screwing ring for this purpose. Starting the beacon ● Press the On / Off button. ● Wait for the status LED to flash blue. ●...
- Page 26 EXPLORER MODE Launching the Explorer mode ● To copy the password associated with the beacon’s Wifi, click on "Copy password". Connect to the First connection to the beacon beacon’s WiFi network and paste the ● Connect to the drone via the Wifi network it emits. password.
- Page 27 EXPLORER MODE Controls Subsequent connection to the When the Explorer mode is launched, several buttons appear on your screen, as well as the video feedback of the drone. beacon ● Connect your phone to the beacon via Wifi. ● Open the app menu and click the Explorer Mode button at the bottom right corner of...
- Page 28 When you're in a dry place, turn off the Explorer Pack, the drone, and then the app. While in Explorer mode, if the connection is lost while iBubble is still Disconnect the cable and be sure to r eplace the connector armed, an integrated security switch is triggered: iBubble goes to protectors...
Need help?
Do you have a question about the iBubble and is the answer not in the manual?
Questions and answers