Advertisement
Quick Links
CARE AND MAINTENANCE
Spot clean using a mild water-free solvent. Only a professional cleaner should
undertake a complete overall cleaning.
The use of steam or water-based cleaners may cause excessive shrinking or
staining.
NOTICE
* Please make sure that you have all parts indicated before you begin
assembly of this item
* This item should be assembled on a soft surface to prevent scratching the
finish during assembly
* This item may require periodic tightening
Part List and Hardware List
PIECE DESCRIPTION
A
HEADBOARD
BOTTOM
B
FRAME
C
FOOTBOARD
D
SIDE RAILS
CENTRE
E
SUPPORT
RAIL
CENTRER
F
LEGS
G
SLATS
WOODEN
HW1
DOWEL
METAL
HW2
THREAD
SEMICIRCLE
HW3
WASHER
SPRING
HW4
WASHER
HW5
NUT
HW6
SPANNER
HW7
SCREW
MEDIUM
HW8
CROSS BOLT
HW9
ALLEN KEY
PICTURE
QUANTITY
1X
1X
1X
2X
2X
6X
5X
12X
8X
M8x70mm
8X
8X
8X
M8
1X
M13
14X
4x30mm
18X
M6x40mm
1X
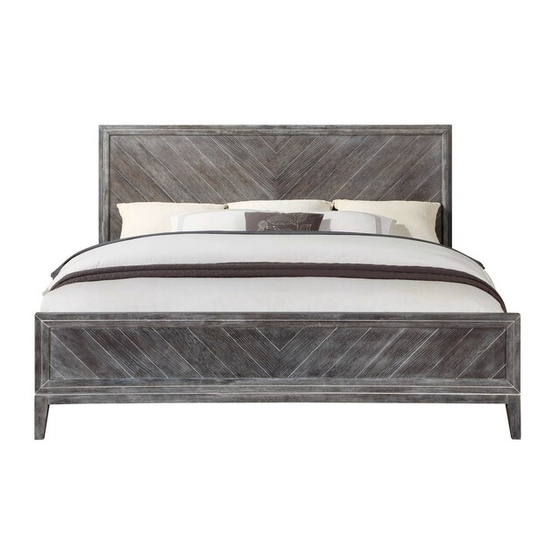
Model #: SFV4116-K
Product Dimensions: 85 2/7"W x 79 1/6" D x 50 2/5"H
Weight capacity: 800lbs
Warning: DO NOT STAND ON TABLE
Warning: DO NOT OVER TORQUE BOLTS
Advertisement

Summary of Contents for SAFAVIEH COUTURE SFV4116-K
- Page 1 * This item should be assembled on a soft surface to prevent scratching the finish during assembly Model #: SFV4116-K Product Dimensions: 85 2/7”W x 79 1/6” D x 50 2/5”H * This item may require periodic tightening...
- Page 2 PREPARETION Before beginning assembly of product, make sure all parts are present. Compare parts with package contents list and hardware contents list. If any part is missing or damaged, do not attempt to assemble the product. Estimated Assembly Time: 10 minutes Tools Required for Assembly (Not included): Phillips Screwdriver STEP 1 HW8 x 6...
- Page 3 STEP 3 HW8 x 12 STEP 4 HW2 x 8...
- Page 4 STEP 5 HW3 x 8 HW4 x 8 HW5 x 8...
- Page 5 STEP 6 HW7 x 4 HW7 x 10...
- Page 6 CARE AND MAINTENANCE Spot clean using a mild water-free solvent. Only a professional cleaner should undertake a complete overall cleaning. The use of steam or water-based cleaners may cause excessive shrinking or staining. NOTICE * Please make sure that you have all parts indicated before you begin assembly of this item * This item should be assembled on a soft surface to prevent scratching the finish during assembly...
- Page 7 PREPARETION Before beginning assembly of product, make sure all parts are present. Compare parts with package contents list and hardware contents list. If any part is missing or damaged, do not attempt to assemble the product. Estimated Assembly Time: 10 minutes Tools Required for Assembly (Not included): Phillips Screwdriver STEP 1 HW8 x 3...
- Page 8 STEP 3 HW8 x 11 STEP 4 HW2 x 8...
- Page 9 STEP 5 HW3 x 8 HW4 x 8 HW5 x 8...
- Page 10 STEP 6 HW7 x 2 STEP 7 HW7 x 10...


Need help?
Do you have a question about the SFV4116-K and is the answer not in the manual?
Questions and answers