Table of Contents
Advertisement
Advertisement
Table of Contents

Summary of Contents for EK-Quantum Lumen
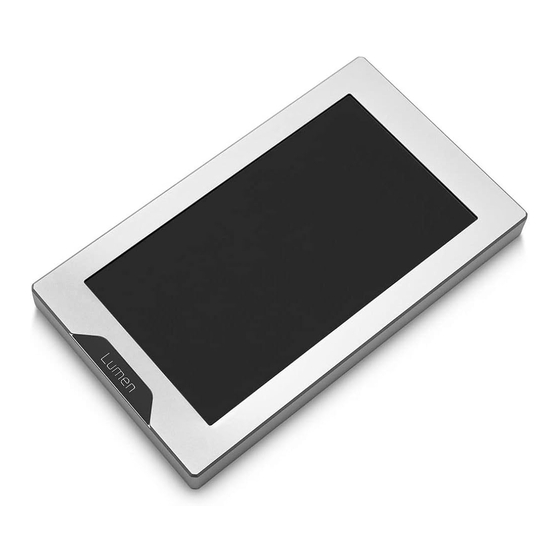
- Page 1 EK-Quantum Lumen 7˝LCD USER GUIDE...
- Page 2 Please note the installation of the product is intended to be undertaken by an adequately trained and experienced person. You are installing the product at your own risk. If you are not properly trained or experienced or feel unsure about the installation procedure, please refrain from installing the product yourself and contact our tech support for assistance.
-
Page 3: Table Of Contents
BOX CONTENTS PRODUCT DIMENSIONS TECHNICAL SPECIFICATIONS AND WATER BLOCK PARTS PREPARING THE SCREEN FOR INSTALLATION INSTALLING THE EK-QUANTUM LUMEN 7˝LCD SCREEN DIRECT INSTALLATION INSTALLATION ONTO THE FANS INSTALLATION ONTO THE EK-LOOP ANGLED BRACKET - 120MM CONNECTING THE EK-QUANTUM LUMEN 7˝LCD SCREEN... -
Page 4: Box Contents
BOX CONTENTS Screw M4 X 4 DIN7984 (5 pcs) Rubber damper (5 pcs) HDMI Cable Type-C Cable EK-Quantum Lumen 7˝LCD Type C - USB 5-pin Internal Cable Allen Key 2.5 mm (1 pc) - 4 -... -
Page 5: Product Dimensions
PRODUCT DIMENSIONS 192 mm 153.5 mm - 5 -... -
Page 6: Technical Specifications And Water Block Parts
TECHNICAL SPECIFICATIONS AND WATER BLOCK PARTS Technical Specification: - Dimensions: (L x H x W): 192 x 112 x 16 mm - Screen size: 7.0” - Screen resolution: 1024 x 600 Position Description Quantity 104518 HD Screen Frame 7” Black elox 104517 HD Screen Frame 7”... -
Page 7: Preparing The Screen For Installation
The included M4 Rubber dampers need to be used in case of M4 RUBBER mounting the EK-Quantum Lumen 7˝LCD screen onto the fans. DAMPER In other cases, the EK-Quantum Lumen 7˝LCD screen can be installed directly. Do not use excessive force while attaching the dampers. STEP 1... -
Page 8: Installing The Ek-Quantum Lumen 7˝Lcd Screen
INSTALLING THE EK-QUANTUM LUMEN 7˝LCD SCREEN There are many ways to install your EK-Quantum Lumen 7˝LCD screen as it utilizes a standard mounting hole pattern (105 mm), the same as all EK Fans. OPTION 1: DIRECT INSTALLATION The EK-Quantum Lumen 7˝LCD screen can be directly installed into the PC Chassis using four (4) M4 x 4 DIN7984 Screws. -
Page 9: Installation Onto The Fans
(105 mm). Hole Spacing Screen Hole Spacing Using Allen Key 2.5 mm and four (4) M4 x 4 DIN7984 Screws secure the EK-Quantum Lumen 7˝LCD screen onto the fans. Do not use 105 mm 105 mm excessive force! Do not install the EK-Quantum Lumen 7˝LCD screen... -
Page 10: Installation Onto The Ek-Loop Angled Bracket - 120Mm
OPTION 3 CONNECTING THE EK-QUANTUM LUMEN 7˝LCD SCREEN After securing the EK-Quantum Lumen 7˝LCD screen into the PC Chassis, make sure that the cables are properly connected to the PCB. The other side of the cables needs to be connected to the PC. -
Page 11: Support And Service
SUPPORT AND SERVICE In case you need assistance or wish to order spare parts or a new mounting mechanism, please contact: https://www.ekwb.com/customer-support/ For spare parts orders, refer to the page with “TECHNICAL SPECIFICATIONS AND WATER BLOCK PARTS” where you can find the EAN number of each part you might need.
Need help?
Do you have a question about the Lumen and is the answer not in the manual?
Questions and answers