Advertisement
NOOMi Installation Guide
Doc. No. TS-101
NOOMi Installation Guide
EarlySense Ltd.
Proprietary and Confidential
© Copyright EarlySense Ltd., 2020. All rights reserved
CONFIDENTIALITY NOTICE
This document contains valuable trade secrets and confidential information of EarlySense. Nothing
herein may be copied, reproduced or distributed in any form or any medium, or disclosed to any third
party in any manner, without prior written authorization of EarlySense. The copyright notice, which
appears above, is purely precautionary, and shall not be deemed to constitute publication or intent to
publish, in whole or in part.
© Copyright EarlySense Ltd., 2020. All rights reserved
Doc #: TS-101
Page 2 of 10
Rev: 01
Advertisement
Table of Contents

Related Manuals for EarlySense NOOMi


Summary of Contents for EarlySense NOOMi
- Page 1 EarlySense. The copyright notice, which appears above, is purely precautionary, and shall not be deemed to constitute publication or intent to publish, in whole or in part.
-
Page 2: Applicable Documents
EarlySense cloud-based server for analysis. The data is shared with EarlySense partners’ designated front end applications via the EarlySense API. This Guide provides details on how to configure the NOOMi device in order for it to connect to a local WIFI network. - Page 3 Appendix A – The Minimum Network Requirements form defines the basic requirements for the WIFI network. Please complete the information listed on the form and save it in a designated site folder. EarlySense may ask for this information in the event the site’s network is not performing as expected.
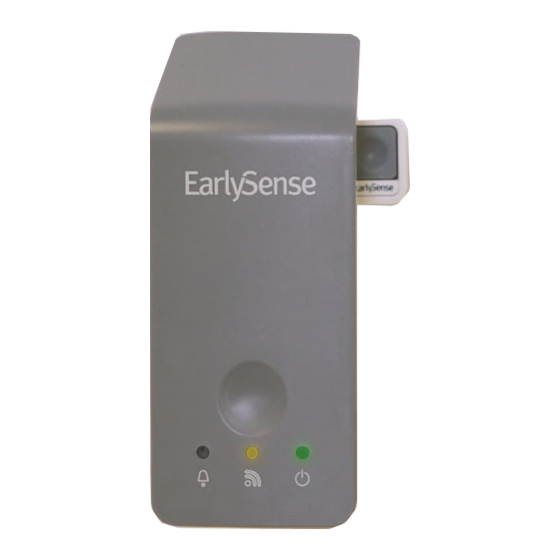
- Page 4 5.1 NOOMi Network Configuration When adding devices to the TechTool, ensure that NOOMi device is turned ON. Note! The NOOMi unit is ON if it is connected to electrical power and the green power indicator light is illuminated. Figure 1: Power-On Indication Monitoring devices can be added using the following methods: •...
- Page 5 IP address should appear in a new line in the text file), then click Open. The devices and their IP addresses are added to the TechTool. Figure 4: Importing a List of Devices © Copyright EarlySense Ltd., 2020. All rights reserved Doc #: TS-101 Page 6 of 10...
- Page 6 NOOMi Installation Guide 5.2 Configuring the Network for Monitoring Devices Note! NOOMi’s default network settings use a LAN interface. The default IP is 10.10.10.20. Configuring the network: 1. Select a connected (green indicator light on) unit in the Devices pane by checking the box next to it.
- Page 7 Login to the TechTool and click View->Set network, then click on the "Advanced" tab. To apply the advanced network settings on the NOOMi unit, once you have finished setting the relevant configuration (for example, SSID, Eap, Key Mgmt), click on the "Set WPA Settings"...
-
Page 8: Troubleshooting
Use Earlysense TechTool and check NOOMi’s WIFI signal strength. (Network tab - > Display) Question: • What should you do if NOOMi connected to the local WIFI network but can’t be seen at the frontend? Answer: • Use Earlysense TechTool and run the port connectivity test. (If the test failed then make sure the relevant ports are opened in the customer’s firewall.) -
Page 9: Appendix A Minimal Network Requirements Form
“EarlySense” and a default Password (shall be sent separately) DHCP DHCP server must be enabled and have Enabled / Disabled available IP address for each NOOMi device Upload Speed 45Kbps *NumOfDevices on site > Access Points Clients Access points limit of devices will be higher...
Need help?
Do you have a question about the NOOMi and is the answer not in the manual?
Questions and answers