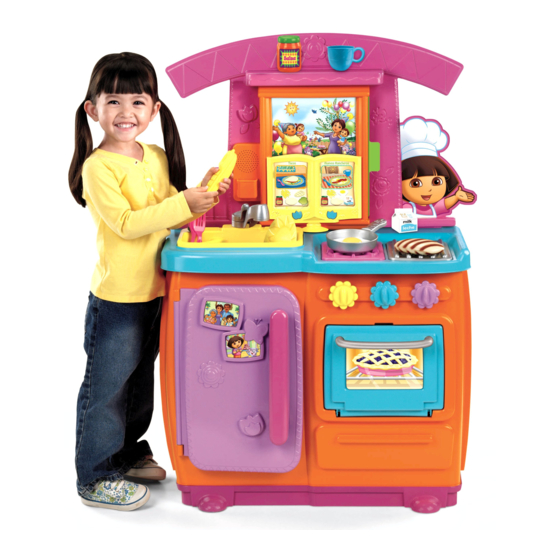
Table of Contents
Advertisement
Quick Links
V2129
Please keep this instruction sheet for future reference,
as it contains important information.
Adult assembly is required. Required tool: Phillips
Screwdriver (not included).
Requires three "AA" batteries for operation (included).
Check plastic parts regularly and if broken or cracked,
dispose of them properly.
Wipe this toy with a clean cloth dampened with a mild
soap and water solution, Do not immerse.
This toy has no consumer serviceable parts. Do not
take this toy apart.
www.fisher-price.com
Advertisement
Table of Contents

Summary of Contents for Fisher-Price Dora the Explorer
- Page 1 Check plastic parts regularly and if broken or cracked, dispose of them properly. Wipe this toy with a clean cloth dampened with a mild soap and water solution, Do not immerse. This toy has no consumer serviceable parts. Do not take this toy apart. www.fisher-price.com...
- Page 2 © 2011 Viacom International Inc. All Rights Reserved. Nickelodeon, Nick Jr., Dora the Explorer and all related titles, logos and characters are trademarks of Viacom International Inc. Fisher Price, Inc., a subsidiary of Mattel, Inc., East Aurora, NY 14052 U.S.A.
- Page 3 Assembled Parts Battery Replacement Sink Battery Battery Oven Door Compartment Compartment Door Door Back Panel Front Panel 1,5V x 3 “AA” (LR6) Base For best performance, we recommend replacing the batteries Window that came with this toy with three, new "AA" (LR6) alkaline batteries.
- Page 4 Assembly Small Shelf Front Panel Back Panel Slots • Fit the front panel onto the shelves and back panel. • Place the back panel face down on a flat surface. • Fit both tabs on the small shelf into the slots in the back panel.
- Page 5 Assembly Screws PUSH PUSH PUSH PUSH PUSH PUSH Screws Back Panel BACK VIEW BACK VIEW • To ensure that the main assembly is secured to the base, • Stand the assembly upright. reach through the back panel and push down near each •...
- Page 6 Assembly Screws Screws BACK BOTTOM VIEW • From the back of the assembly, insert three screws into the Countertop pegs in the main assembly and tighten. • Place the countertop face down on a flat surface. Window • Fit the main assembly to the countertop. Countertop Screws Screws...
- Page 7 Assembly Sink Screws FRONT VIEW • Insert two screws up into the countertop, as shown, and tighten. • Fit the sink into the large opening in the countertop, as shown. Hint: Tip the assembly forward and lean it against a surface to complete this assembly step.
- Page 8 Assembly Let’s Go on a Cooking Adventure Power/Volume Power/Volume Switch Switch Oven Door Recipe Buttons Recipe Buttons • At an angle, fit one of the pegs on the oven door into a hole in the hinge • Now, push to fit the other peg on the oven door into the other hole in the hinge Slot Telephone...


Need help?
Do you have a question about the Dora the Explorer and is the answer not in the manual?
Questions and answers