Table of Contents
Advertisement
Advertisement
Table of Contents

Related Manuals for TrackiSafe TRKM014 TS


Summary of Contents for TrackiSafe TRKM014 TS
- Page 1 USER GUIDE: For the Trackisafe Multi-Tracker by Vodafone, used in this PhD Study...
-
Page 3: Table Of Contents
CONTENTS Product parts ..................4 Charging the device ................6 Features ....................7 Adding contacts ................7 SOS button ..................9 Geo-fencing ..................9 Speed Alert ..................10 Movement Alert ................11 Low Battery Alert ................12 What does each light mean? ............. 12 Additional Information.............. -
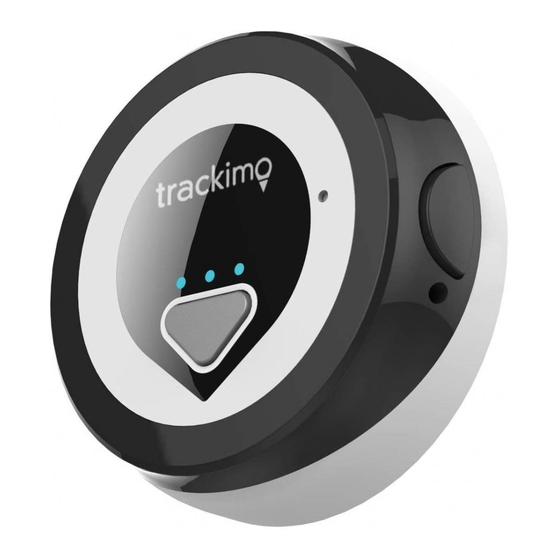
Page 4: Product Parts
PRODUCT PARTS What’s in the box? Each tracking device comes with the accessories listed below, Including: Magnetic Clip Clip Box Charging Cable Storage Clip Lanyard Pouch catch For an online version of this guide, including step by step video demonstrations of each feature please visit www.dementiatech.info... -
Page 6: Charging The Device
CHARGING THE DEVICE If the device has indicated it is low on battery, or you have received a low battery alert from the TrackiSafe app, follow these steps to charge the device. On the back of the device you will find the Charging Port... -
Page 7: Features
When the Red light is solidly lit up the device is fully charged Note: You can save battery life by increasing the tracking interval in the TrackiSafe app. As soon as the battery level is low, the red light will start to blink. FEATURES ADDING CONTACTS For this device you can select which “Contacts”... - Page 8 Press the “+” icon in the top right corner of the screen. You will then be able to add a new contact, with their name and email address. Click “Save” to add this new contact to the app. You can then see a list of all your contacts, check the box to the left of the contact if you wish for them to receive this alert.
-
Page 9: Sos Button
A geofence is a virtual boundary that you can set. You will receive a notification when the tracker goes into or out of this area. To create a fence, complete the following steps: In the Trackisafe app select on the “show more” icon, circled below. From the drop-down list, select “fence”. -
Page 10: Speed Alert
You will receive a notification in the TrackiSafe app every time your tracker enters or leaves this area. SPEED ALERT You will receive a notification as soon as the tracker moves faster than the speed pre-defined by you. In the Trackisafe app go to “Settings” by pressing the “cog” icon. -
Page 11: Movement Alert
You will receive a notification as soon as the tracker starts to move, to enable this feature complete the following steps: In the TrackiSafe app go to “Settings” by pressing the “cog” icon. Set the "Moving Start" alert to ON as shown below. -
Page 12: Low Battery Alert
LOW BATTERY ALERT You will receive a notification in the TrackiSafe app when battery level is low. In the TrackiSafe app go to “Settings”. Set the “Low battery alert” to ON Click on “Save”. You can decide which contacts receive this alert, or add new ones, by following the steps listed under “Adding Contacts”... -
Page 13: Additional Information
Check if the device is ON or If the device is on, green lights OFF: Press the power button turns on for 3 seconds. If it is off, quickly no lights turn on Switch Off: Press the power Red light blinks three times, the button and hold for 3 seconds tracker turns off Press the SOS button and hold... -
Page 14: Checking The Connection
3. Insert your tracker IMEI and follow the instructions to activate your price plan. 4. Download the TrackiSafe app from the Apple Store or Google Play. 5. Register or log into your TrackiSafe account. 6. Select "Activate device" in the operation menu and follow the...
Need help?
Do you have a question about the TRKM014 TS and is the answer not in the manual?
Questions and answers