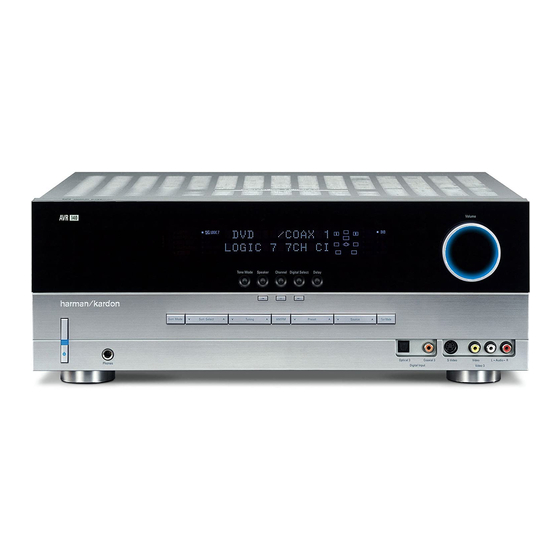
Harman Kardon AVR 140 Quick Start Manual
Harman kardon avr 140: quick start
Hide thumbs
Also See for AVR 140:
- Service manual (160 pages) ,
- Owner's manual (60 pages) ,
- Brochure & specs (22 pages)
Advertisement
Table of Contents
Thank you for purchasing a Harman Kardon
Guide will help you with a basic system installation. For detailed information
on any step in this Guide, please refer to the pages referenced in the
Owner's Manual. We strongly recommend that you read the Owner's
Manual for complete details on how to install, configure and operate the
AVR 140, as well as for the important safety information it contains.
Figure 1 – Speaker Placement
The colors shown for each speaker correspond to
the matching output terminal connection on the back
of the AVR 140 (see page 7).
Connections Color Guide
Left
Right
Front
Center
Surround
Subwoofer
Surround Back
Digital Audio Connections
Coax
Optical
Composite
S-Video
Match the colored jacks on the AVR 140 to the appropriate
jacks on your source equipment or speakers. The colors are
standardized, but not all equipment or connectors use them.
®
AVR 140. This Quick-Start
AVR 140 QUICK-START GUIDE
FRONT
RIGHT
SPEAKER
CENTER
SPEAKER
(Green)
FRONT
LEFT
SPEAKER
(Red)
(White)
SUBWOOFER
(Purple)
SURROUND
LEFT
SPEAKER
(Blue)
Step 1. Place your speakers in the listening room
(see pages 14–15).
SURROUND
RIGHT
SPEAKER
(Gray)
SURROUND
BACK SPEAKER
(Brown)
SPEAKER PLACEMENT
Advertisement
Table of Contents

Subscribe to Our Youtube Channel
Summary of Contents for Harman Kardon AVR 140
- Page 1 Owner’s Manual. We strongly recommend that you read the Owner’s Manual for complete details on how to install, configure and operate the AVR 140, as well as for the important safety information it contains. Figure 1 – Speaker Placement The colors shown for each speaker correspond to the matching output terminal connection on the back of the AVR 140 (see page 7).
- Page 2 LINE IN/SUB/LFE SUBWOOFER FRONT RIGHT SPEAKER Step 2. Connect the speakers to the receiver: red (+) on speaker to colored (+) on receiver and black (–) to black (–) (see page 12). Step 3. Connect the Subwoofer Pre-Out jack to the Line-In jack on your subwoofer (see page 12).
- Page 3 However, either component video input may be re- assigned using the Input Setup menu. Switch your TV set’s input to match the type of video used for the currently selected source. : Make sure the AVR 140 is turned off, then connect the Bridge optional to the DMP connector.
- Page 4 Optical Coax Device Connection Options : Recommended connections are shown in red, but connections may be made to best fit your system requirements. The Video 3 inputs are on the front panel of the receiver. Device Input Name Audio Input Connections...


Need help?
Do you have a question about the AVR 140 and is the answer not in the manual?
Questions and answers