Table of Contents
Advertisement
Quick Links
Advertisement
Table of Contents

Related Manuals for Owlet Cam 2


Summary of Contents for Owlet Cam 2
- Page 1 Owlet Cam 2 Installation Guide...
-
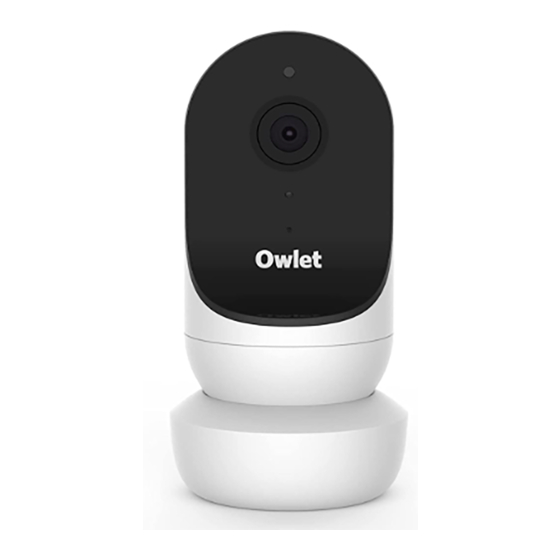
Page 2: Let's Get Started
(blinking red/blue) Cam 2 is ready to pair with App (red) User is actively streaming via App, using background audio, or the Cam is rebooting. (blinking blue) Cam 2 is trying to connect to Wi-Fi (blue) Cam 2 is connected to internet. App is not streaming... - Page 3 Cables within 36 inches (92 cm) of the edge of the crib should be covered. You can set up the Cam 2 in two ways: 2 Mount it on a wall above the crib The next steps will guide you through...
-
Page 4: What's In The Box
What’s in the Box Magnetic base Owlet Cam 2 Power adapter Cables with Owlet wraps and room temperature and humidity sensor Wall Mounting Kit Tools Needed to Mount the Cam 2 Measuring tape (not included) Mounting plate 21x cable guards 18x long guards... - Page 5 — this (92 cm) away from the crib to ensure humidity sensor. The temperature is where the Cam 2 will be mounted. no exposed cables will be within sensor can be found near the end Center this mark above baby’s crib for...
-
Page 6: Unwind The Cable
2. Align and fasten 3. Unwind the cable 4. Thread the cable sticker Align the center hole of the mounting Remove the cable wraps and Thread the cable down the channel plate with the mark you’ve made on unwind the cable. of the mounting plate, aligning the the wall. -
Page 7: Mount The Base
The orange sticker should be Attach the Cam 2 to the magnetic magnetic base over the protruding base. Plug the cable into the Cam 2. placed just above the mounting tabs on the mounting plate, then slide plate so that you have enough downward until it clicks. - Page 8 7. Mount cable guards The cable guards use high-strength adhesive. Take your time during installation to ensure proper placement. long guard 1 Peel off adhesive cover from the back of a long guard 2 Thread cable down the center of a long guard 3 Snap long guard onto the bottom of the mounting plate 4 Press firmly onto wall...
- Page 9 8. Mount L-bracket L-brackets Use the right or left L-bracket to guide the cable in the direction of the wall outlet. Install long guards until any cable within 36 inches (92 cm) of the edge of the crib is covered. Continue adding long guards as needed to reach the outlet.
-
Page 10: Need Help
Once the excess cable has been wrapped securely, connect the power cable to the power adapter and plug it in. You’re all set! You can now use the App to reference how to adjust the Cam 2 angle until you achieve the desired view. - Page 11 WiFi router. Hereby, Owlet Baby Care declares that the Owlet Cam 2 is • WARNING: The Owlet Cam 2 is not a medical device. It is in compliance with Directive 2014/53/EU. The full text of the not intended for use as a medical device or to replace a...
-
Page 13: Fcc Warning
FCC Warning This device complies with part 15 of the FCC Rules. Operation is subject to the following two conditions: (1) This device may not cause harmful interference, and (2) this device must accept any interference received, including interference that may cause undesired operation. Any Changes or modifications not expressly approved by the party responsible for compliance could void the user's authority to operate the equipment. - Page 14 IC Warning This device complies with Industry Canada’s licence-exempt RSSs. Operation is subject to the following two conditions: (1) This device may not cause interference; and (2) This device must accept any interference, including interference that may cause undesired operation of the device. This equipment complies with ISED radiation exposure limits set forth for an uncontrolled environment.
Need help?
Do you have a question about the Cam 2 and is the answer not in the manual?
Questions and answers