Table of Contents
Advertisement
Quick Links
Advertisement
Table of Contents

Summary of Contents for NKE Hub'O
- Page 1 ’O: ETTING STARTED...
- Page 2 Nke Watteco for that product as defined by Nke Watteco's unique part number, voids all express and any implied warranties for that product, is considered by Nke Watteco to be an unfair and deceptive business practice and Nke Watteco is not responsible nor liable for any such use.
- Page 3 Modification to use the tool Make-cfg (new version) July 2019 Since FW 02.04 : HUB’O can be configured and monitored through an embedded WEB server All Rights Reserved – nke Watteco® Hub’O: Description of the exchanges with the Server Page 3 of 14...
-
Page 4: Table Of Contents
Exchanges with the distant server ..................12 Installing Hub’O with end-devices on site ................13 Installation ................................13 First end-device configuration ..........................14 All Rights Reserved – nke Watteco® Hub’O: Description of the exchanges with the Server Page 4 of 14... -
Page 5: Introduction
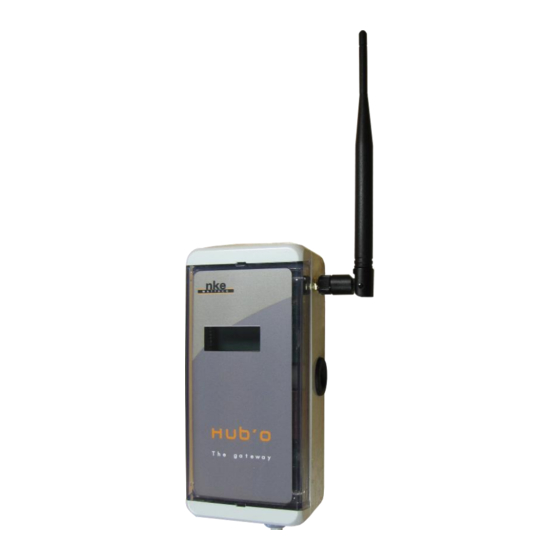
Hub’O: Getting started NTRODUCTION Hub’O is the first private LoRaWAN network gateway designed by nke Watteco. Hub’O works in partnership with a distant server hosted or communicating with the applicative back-end of our client. Now that you have received your gateway, you will be able to create your own LoRaWAN network and start working with it. -
Page 6: Hardware Set-Up
On the Figure 3 can be seen the space provided for the 9V disposable battery, please be careful to respect the polarity. All Rights Reserved – nke Watteco® Hub’O: Description of the exchanges with the Server Page 6 of 14... - Page 7 Hole for fastening screw fastening screw FIGURE 3 - INSIDE THE HUB'O GATEWAY Now, your Hub’O is ready to be switched “ON”. The gateway is delivered with a power supply cable that can be connected directly to a 230 VAC/50Hz power supply. The mounted cable do not have a plug on it, thus the phase wire and the neutral wire can be directly cable to a 230 VAC/50Hz power supply, in an electrical board for example.
- Page 8 Here below, can be seen the dimensions of the Hub’O product. 80 mm 350 mm 40 mm 180 mm 60 mm FIGURE 4 - HUB'O DIMENSIONS All Rights Reserved – nke Watteco® Hub’O: Description of the exchanges with the Server Page 8 of 14...
-
Page 9: First Configuration
Then the URL to type is http://x.x.x.x . You will have to connect with following credentials: user / 1234 Allows read and write of configurations All Rights Reserved – nke Watteco® Hub’O: Description of the exchanges with the Server Page 9 of 14... -
Page 10: Configurtion Through Usb Stick File Transfer
FIGURE 5 - CREATING THE SIGNATURE FILE If everything went well, a new file named “c_010.manifest” should appear in the same directory as make-manifest.exe and c_010_0000.json. All Rights Reserved – nke Watteco® Hub’O: Description of the exchanges with the Server Page 10 of 14... -
Page 11: Upload On Hub'o
FIGURE 7 - CREATING THE SIGNATURE FILE FOR THE MODBUS CONFIGURATION Afterwards, both of the files (c_modbus_010_0000.json and c_modbus_010.manifest) needs to be copied at the root of the USB stick. All Rights Reserved – nke Watteco® Hub’O: Description of the exchanges with the Server Page 11 of 14... -
Page 12: Connection To The Network
In order to have a complete understanding on how Hub’O exchanges with the distant server and what these exchanges are for, please read the document named: “Hub'O_Server_Exchanges_Description_X_X.pdf” All Rights Reserved – nke Watteco® Hub’O: Description of the exchanges with the Server Page 12 of 14... -
Page 13: Installing Hub'o With End-Devices On Site
Depending on which end-device is used, either a led will flashes or a “bip” will be emitted from the sensor. The association process will be run between the end-device, Hub’O and the distant server (for more details, please see “Hub'O_Server_Exchanges_Description_X_X.pdf”). To have more details about nke Watteco end-devices association status, please see our support website: http://support.nke-watteco.com/ Once all the end-devices installed on site, a control can be done on Hub’O, thanks to the user menu. -
Page 14: First End-Device Configuration
FPort 125: 1105800400000801. For more details about end-devices configurations with Hub’O, please see: “Hub'O_Server_Exchanges_Description_X_X.pdf” For more details about the frame allowing to configure the type of message send by the nke Watteco end-devices, please refers to: http://support.nke-watteco.com/lorawan-cluster/#Messagetype All Rights Reserved –...
Need help?
Do you have a question about the Hub'O and is the answer not in the manual?
Questions and answers