Table of Contents
Advertisement
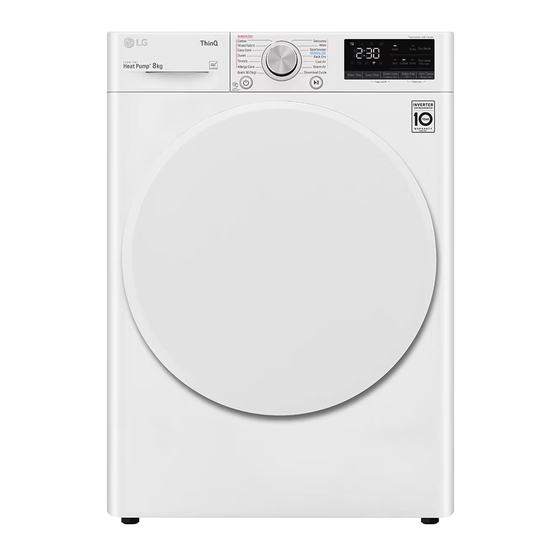
OWNER'S MANUAL
DRYER
Before beginning installation, read these instructions
carefully. This will simplify installation and ensure that the
product is installed correctly and safely. Leave these
instructions near the product after installation for future
reference.
ENGLISH
DVH5-08W / DVH45-08W / DVH45-08WG / DVH9-08B / DVH9-09B / DVH9-09W
MFL71424355
Rev.07_121621
Copyright © 2020-2021 LG Electronics Inc. All Rights Reserved.
www.lg.com
Advertisement
Table of Contents


Need help?
Do you have a question about the DVH45-08W and is the answer not in the manual?
Questions and answers