Table of Contents
Advertisement
Quick Links
Advertisement
Table of Contents

Related Manuals for Hyundai H-MW1123


Summary of Contents for Hyundai H-MW1123
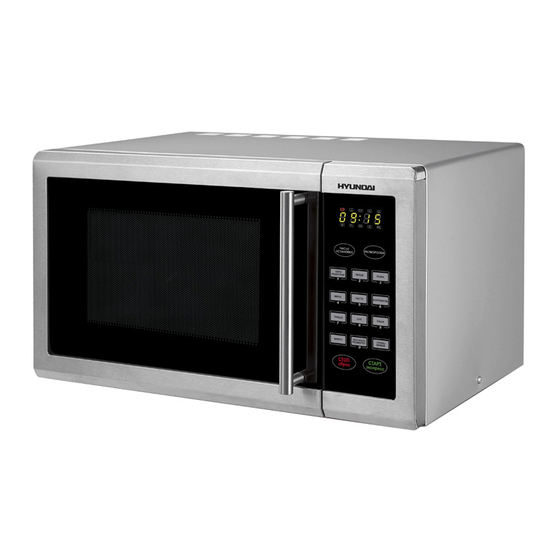
- Page 1 H-MW1123 MICROWAVE OVEN Instruction manual...
- Page 2 Description/Installation 1. Cabinet Grill rack 2. Door assemble 3. Safety lock system 4. Window 5. Glass tray 1. LED display 6. Turntable ring 2. Function buttons 7. Turntable shaft 3. Auto menu/number/ 8. Control panel function buttons...
-
Page 3: Turntable Installation
Turntable installation Never place the glass tray upside down. The glass tray should never be restricted. Both glass tray and turntable ring assembly must always be used during cooking. All food and containers of food are always placed on the glass tray for cooking. If glass tray or turntable ring assembly cracks or breaks, contact your nearest authorized service center. -
Page 4: Important Safeguards
Important safeguards WARNING: To reduce the risk of burns, electric shock, fire, injury to persons: Read all instructions before using microwave oven. The microwave oven is for household use only. Do not use for industrial purposes. Some products such as whole eggs and sealed containers (for example, close glass jars and sealed baby bottles with teat) may explode and should not be heated in microwave oven. -
Page 5: Radio Interference
Food containing a mixture of fat or water, e.g. should stand for 30-60 seconds in the oven after it is turned off. This is to allow the mixture to settle and to prevent bubbling when a spoon is placed in the food/liquid or a stock cube is added. Always follow the cooking instructions, when preparing/cooking food/liquid and remember that there are certain food, e.g. -
Page 6: How To Choose Your Microwave Cookware
How to choose your microwave cookware Applicable SORTS INSTRUCTIONS SORTS INSTRUCTIONS Heat-proof glassware Most suitable for microwave Heat-resistant plastic container Tightly closed containers are forbidden. cooking. Cannot be used for packing or containing foods with high fat or sugar contents. Film for freshment preservation and Earthenware or chinaware Conventional utensils of these... -
Page 7: Operation
Operation Clock Setting When the microwave oven is electrified, the LED will display «0:00». The time input should be within 0:00-23:59 Example: to set 12;12 1. Press » button, the hour figures will flash, indicator will light up. 2. Press the number buttons in order of “1”, “2”, “1”, “2”, 3. -
Page 8: Defrost By Weight
Express cooking (Instant start). When the unit is in waiting state, the press on ” can start cooking at 30 seconds with 100% microwave power. Each additional press will increase the cooking time by 30 seconds until the accrued time reaches 2 minutes or less. By then, each press will increase cooking time by 1 minute, the maximum cooking time is 12 minutes. - Page 9 2. Press " button twice to choose weight, LED will display "350", "g", " " and " " will light. 3. Press ” to start cooking, "g" will go out, time counts down, " " and " " will flash. Refer to chart below for the automatic menu procedure: Menu Weight/quantity...
-
Page 10: Combination Cooking (Microwave + Grill)
Grill cooking. Grill is used for grilling thin slice of meat, as beef, pork, skewered meat sausage, chicken wings, etc. This function is also applicable for sandwiches and makes the food golden, crisp and fragrant. To cook in grill mode please operate as follows: 1. -
Page 11: Inquiring Function
Please do not press ” at the last step to start cooking. (3) Press » to display the current clock. The hour figures flash. (4) Press "1", "2", '1", '2"; (5) Press ” to confirm the setting. The unit will turn back to the clock state. -
Page 12: Care And Cleaning
Care and cleaning Always turn timer to «0» position then unplug oven and be sure the oven is cool before cleaning. To maintain the appearance of your oven, never use abrasive cleaning agents (such as cleaning powders, scouring pads or steel wool pads), spray. Also, never use commercial oven cleaners on any part or your microwave oven. -
Page 13: Troubleshooting
Troubleshooting Trouble Possible Cause Solution Oven cannot be turned on. 1. Power cord not plugged in tightly. Unplug. Then plug again after 10 seconds. 2. Fuse blowing or circuit breaker works. Replace fuse or reset circuit breaker (repaired by professional personnel) 3. - Page 19 «0:00», . 0:00-23:59. , 12 » : «1», «2», «1», «2» » «:» ( " " ) – " " " " 100% P100 50%, " " « 50», «1», «0», «0», «0», «10:00» ” 100%...
- Page 20 ”, 100%. ” «0:30», ” " ", «dEF1» «5», «0», «0», «5:00», «g». ” «g» » " .", «dEF2» «5», «0», «0», «5:00», «g». ” «g» », » « » « »...
- Page 21 " (2), « -2» " 350 , «350», "g", ” "g" « ». « » 50 (...
- Page 22 1200 200 ) 400 ) 600 ) 80 ) 160 ) 250 ) 1000 1000 1100 1100 « » “ ” « » " , «G-1» «1», «2», «5», «0» ” «:» ” ”,...
- Page 23 « » ( « » « » " : « 1» (55% + 45% 2» (36% + 64% « -1» « -2» «1», «2», «5», «0» ” «:» 100% " " 100% «1», «0», «0», «0» " " «1», «5», «0», «0» ”...
- Page 24 ” » , «1», «2», «1», «2» ” " " , " " « » », ", » - » , « » " ", " " ,...
- Page 25 " ". " ", «:»...
- Page 26 " " " " . . « ».
- Page 27 , 50 1270 1000 1300 12.4 /14.4...
Need help?
Do you have a question about the H-MW1123 and is the answer not in the manual?
Questions and answers