Sign In
Upload
Download
Table of Contents
Contents
Add to my manuals
Delete from my manuals
Share
URL of this page:
HTML Link:
Bookmark this page
Add
Manual will be automatically added to "My Manuals"
Print this page
×
Bookmark added
×
Added to my manuals
Manuals
Brands
Positron Manuals
Multiplexer
GAM-4-CRX
Quick installation manual
Positron GAM-4-CRX Quick Installation Manual
G.hn access multiplexer (gam)
Hide thumbs
1
2
Table Of Contents
3
4
5
6
7
8
9
10
11
12
13
14
15
16
17
18
19
20
21
22
23
24
25
26
27
28
29
30
31
page
of
31
Go
/
31
Contents
Table of Contents
Bookmarks
Table of Contents
Table of Contents
Chapter 1
About the GAM
Introduction
GAM Connections
Power Connection
Ethernet (SFP+) Port
Figure 1: Gam-4-Cr Local Power Input Connector
Figure 2: Gam Sfp+ Connectors
G.hn Ports
Local Management Ports
Figure 3: F-Type Connectors
Figure 4: Local Management Ports Are at the Top Right Corner of the Gam Circuitry
GAM LED Indicators
Figure 5: Gam Serial Management Port Pinout
Figure 6: GAM Global Status Leds
Table 1: Gam Global Led Indicators
Figure 7: G.hn Ports Leds
Figure 8: Sfp+ Led
Table 2: G.hn Ports LED Indicators
GAM Reset Button
Figure 9: Gam Reset (Rst) Button
Table 3: Sfp+ Led Indicator
Chapter 2
Step by Step Installation
Step by Step Installation Procedure
Chapter 3
WEB Management
Introduction
System Management
Logging into the WEB GUI
Figure 10: GAM Login Page (Browser Specific)
Table 4: Gam Default Credentials
System
General Information
Figure 11: Gam Port Status Page
Chapter 4
Technical Specifications
GAM Technical Specifications
Table 5: Gam Summary Features
Chapter 4
Safety and Warnings
Chapter 5
Warranty and Customer Service
Advertisement
Quick Links
1
Power Connection
2
Gam Connections
3
Gam Led Indicators
4
Step by Step Installation
Download this manual
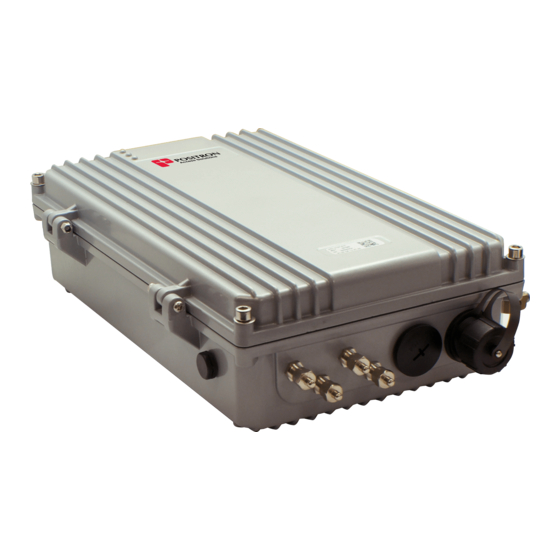
G.hn Access Multiplexer (GAM)
Quick Installation Guide
GAM-4-CRX / GAM-4-CX
Table of
Contents
Previous
Page
Next
Page
1
2
3
4
5
Advertisement
Table of Contents
Need help?
Do you have a question about the GAM-4-CRX and is the answer not in the manual?
Ask a question
Questions and answers
Related Manuals for Positron GAM-4-CRX
Multiplexer Positron GAM-12-M Installation And Activation Manual
Access multiplexer (90 pages)
Multiplexer Positron GAM-12-M Quick Installation Manual
(24 pages)
Multiplexer Positron G1001-MR Self-Installation Manual
(2 pages)
Multiplexer Positron G1001-CR Self-Installation Manual
(2 pages)
Multiplexer Positron GAM-4-CX Quick Installation Manual
G.hn access multiplexer (gam) (31 pages)
This manual is also suitable for:
Gam-4-cx
Table of Contents
Print
Rename the bookmark
Delete bookmark?
Delete from my manuals?
Login
Sign In
OR
Sign in with Facebook
Sign in with Google
Upload manual
Upload from disk
Upload from URL


Need help?
Do you have a question about the GAM-4-CRX and is the answer not in the manual?
Questions and answers