Table of Contents
Advertisement
Quick Links
Advertisement
Table of Contents

Summary of Contents for DSPeaker Anti-Mode X2
- Page 1 Anti-Mode User’s Guide...
- Page 2 Recycling information Anti-Mode X2 is marked according to the Waste Electrical and Electronic Equipment Directive. There are take-back systems in place that help to preserve nature and natural resources when products are disposed of appropriately. If you need to dispose of this product, use the take-back system that has dedicated collection facilities for electronic equipment.
-
Page 3: Table Of Contents
’ UIDE Table of Contents 1.Overview........................4 What's included in the box..................... 4 Remote Control Layout......................4 Basic Information........................4 Connections..........................4 Front Panel..........................5 Rear Panel..........................5 Home Screen.......................... 6 Selecting Input........................6 Adjusting Volume........................6 Standby..........................6 Tone Control........................... 7 By-Pass Mode......................... -
Page 4: Overview
If your amplifier doesn’t have a gain setting or it is set quite high, remember to check the volume setting of the Anti-Mode X2 before proceeding. The default volume is -40dB, you may need to increase it for normal operation. -
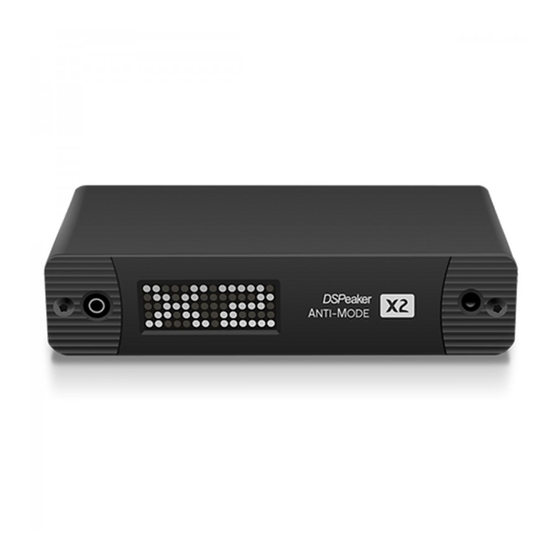
Page 5: Front Panel
(3) USB audio device connection (for USB Type-C cable). Up to 96kHz 24-bit stereo linear PCM. Notice: The audio input must be selected to be USB in the Anti-Mode X2 for the computer to be able to discover the device. -
Page 6: Home Screen
’ UIDE Home Screen Home Screen is the default view of the user interface. It indicates the selected input and volume. An alternative view displays the current sampling rate for the digital audio sources (or three dots for unspecified rate) and a signal level indicator. To select the alternative view, press on the remote controller. -
Page 7: Tone Control
Sound Profiles Anti-Mode X2 supports 3 sound profiles that can be used to store different settings for different situations. You can switch between the profiles in real time by pressing the button. Use the... -
Page 8: Menu
’ UIDE Menu Press to enter the menu. Press to select between menu items, and to change its value. Press any other button to close the menu, but note that chooses the default home screen and chooses the alternative home screen. to return to adjust →... -
Page 9: Calibration
and subwoofer are approximately equally loud. Running the calibration Turn on the Anti-Mode X2 unit. Connect the microphone cable to the microphone input at the front panel. The unit enters the calibration mode automatically. to choose the system configuration ... -
Page 10: Hints And Tidbits
’ UIDE Congratulations, your system has been optimized! Now it is a good time to put on some of your favorite music and enjoy the improved sound. Notice: The automatic calibration process targets a balanced overall sound, with slightly elevated response towards the low bass region. -
Page 11: Firmware Update
Make sure the USB memory is using the FAT filesystem format. Some sticks are formatted with the exFAT filesystem, which is not supported. Put the Anti-Mode X2 unit to standby with • Attach the USB stick to the "SERVICE" USB port on the rear panel of the X2. -
Page 12: Technical Specifications
’ UIDE 6.Technical Specifications Interfaces • Analog stereo RCA input or 1 coaxial S/PDIF digital input (mutually exclusive) • 1 optical S/PDIF digital input • S/PDIF: 16 to 24 bits PCM, 32 / 44.1 / 48 / 88.2 / 96 / 176.4 / 192 kHz •...
Need help?
Do you have a question about the Anti-Mode X2 and is the answer not in the manual?
Questions and answers