Advertisement
INSERT Instructions
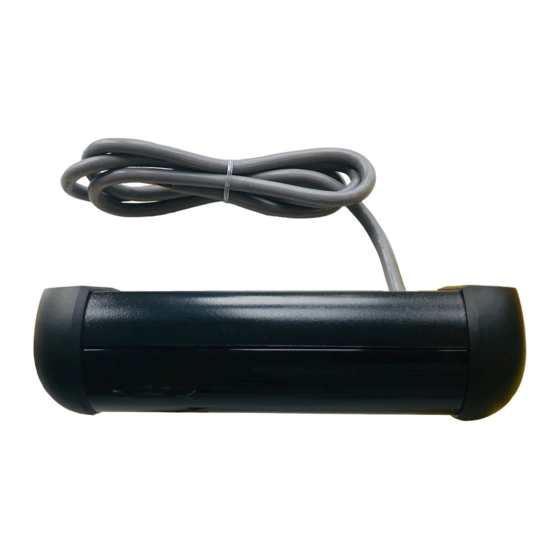
The Command Access CAT-AIR is a field-installable Request to Exit Sensor
with Active Infrared Detection (AIR) that focuses directly in front of the door handle.
A.
• Low profile sensor mounts on or above the door frame
• Multiple re-locking modes for timed or door position conditions
• Relay consists of two Form "C" contacts for NO/NC wiring
• Three dry auxiliary inputs: request to exit, card reader and push button
• Adjustable tilt angle from 0 - 10 degrees
• Adjustable detection range from 20 - 48 inches
U S c u s t o m e r s u p p o r t 1 - 8 8 8 - 6 2 2 - 2 3 7 7 | w w w . c o m m a n d a c c e s s . c o m | C A c u s t o m e r s u p p o r t 1 - 8 5 5 - 8 2 3 - 3 0 0 2
C A T- A I R
INCLUDED IN KIT
CAT-AIR sensor
A.
Self-tapping screws (x2)
B.
Features
1
B.
# 2 0 6 1 4 _ A
Advertisement
Table of Contents

Summary of Contents for Command access CAT-AIR
- Page 1 C A T- A I R INSERT Instructions The Command Access CAT-AIR is a field-installable Request to Exit Sensor with Active Infrared Detection (AIR) that focuses directly in front of the door handle. INCLUDED IN KIT CAT-AIR sensor Self-tapping screws (x2) Features •...
-
Page 2: Dimensions And Specifications
dimensions and specifications 6.875” 2.000” Housing Lens Left End Cap Right End Cap specifications • Detector Type: Focused Active Infrared • Supply Voltage: 12 - 24 VAC/VDC - 60 Hz • Current: Sounder OFF: 155mA - Sounder MAX Volume: 200mA •... -
Page 3: Installation
installation Remove the Phillips head screw on the right side of the sensor to slide off the Right End Cap. Phillips head screw Left End Cap Right End Cap (removed) Slide the Lens to the right until it clears the Left End Cap. To remove, use both thumbs to gently press down on the top the Lens, near the Housing, in order to clear its Channel. - Page 4 installation Gently pull the Wire Grommet to the right and out of the Housing. Next, slide the PCB to the right and out of the Housing as well. The Housing has two pre-drilled Mounting Holes you will loose when installing the sensor. Mounting Holes 6.875”...
- Page 5 installation The active infrared sensor (AIR) is made up of two narrow, side-by-side detection zones that project at slightly offset angles. Centering the Housing directly above the door handle helps create the ideal detection zones that cover the full width of the handle. For best performance, mount the Housing so it is centered directly above the door handle using the two provided self-tapping screws.
-
Page 6: Sensor Adjustment
sensor adjustment Aside from the placement of the housing, the only mechanical adjustment remaining is the sensor’s angle. The sensor is factory pre-set to the 5 degree position but may be reduced to 0 degrees or increased to 10 degrees. The greater the angle, the farther from the door handle the detection zones will be. For most applications, it is recommended that the unit be powered on and tested at the factory pre-set 5 degrees. - Page 7 sensor adjustment The relay hold time is adjusted using the Single-Turn “TIME” Potentiometer. The potentiometer will we be non-linear, with the 1/2 - 10 second adjustment covered by the first half-turn and the 11 - 60 second adjustment covered by the second half-turn. •...
-
Page 8: Dip Switch Adjustment
dip switch adjustment DIP Switches DIP 1 The sensor will enter either Fail-Safe (ON) or Fail-Secure (OFF) if stuck in constant detection. DIP 2 Re-lock mode is door position (ON) or timer mode (OFF).* DIP 3 Door position mode advanced re-lock time is 10 seconds (ON) or 30 seconds (OFF).* DIP 4 Relay hold-time restart (ON) or continue down (OFF) upon re-detection.
Need help?
Do you have a question about the CAT-AIR and is the answer not in the manual?
Questions and answers