Advertisement
Quick Links
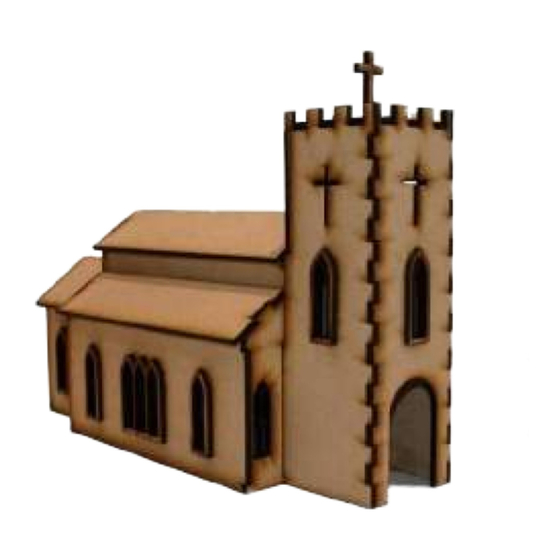
Assembly Instructions – Medieval Church Kit
When you receive your kit it will come with all the individual
pieces ready to assemble. Use a good quality glue for best
results.
You can paint the parts before assembly but ensure you avoid
the finger joins or assembly may be difficult. If you are going to
cover any parts with paper, use the unassembled parts as a
pattern.
Assemble the 4 walls, ensure good sides and any engraved
details are facing out.
Please note: This kit does not have a hinged door.
Insert the interior arches/columns.
You may wish to use low tack masking tape to hold the piece
together as the glue dries.
Assemble the 3 Chancel walls and attach to the main Church
building.
Attach the Chancel roof pieces.
Page 1 of 2
Advertisement

Related Manuals for Calico Craft Parts Medieval Church

Summary of Contents for Calico Craft Parts Medieval Church
- Page 1 Assembly Instructions – Medieval Church Kit When you receive your kit it will come with all the individual pieces ready to assemble. Use a good quality glue for best results. You can paint the parts before assembly but ensure you avoid the finger joins or assembly may be difficult.
- Page 2 Attach the roof pieces to the nave and aisles on the main Church building. Assemble the Church tower and attach this to the front of the Church building. Glue the cross on top of the tower and add the window frames –...