Advertisement
Quick Links
You will need:
• #2 Phillips screwdriver
Optional:
• Needle-nose pliers
• Utility knife
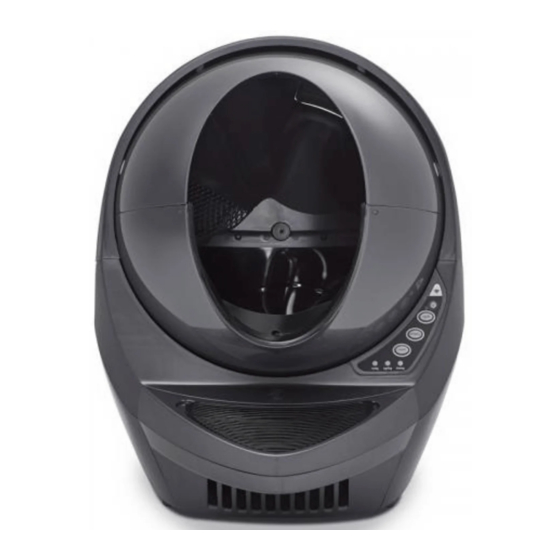
DISASSEMBLE YOUR LITTER
1.
Press the Power button to turn the unit o and
unplug it from the wall. Remove the Bonnet, Globe,
and Waste Drawer.
2. The plastic component that covers the Control Panel
on the Base is called the Bezel. Unscrew the 5 screws
to remove the Bezel.
3. Lift the Bezel out of place; if needed, use needle-
nose pliers for assistance.
4. Separate the Bezel from the Control Panel by pushing
the buttons through and lifting up. Set the Bezel and
screws aside.
Note: The Circuit Board and Keypad may be held in
place by a piece of tape (assembly aid). If present,
simply remove it; it is not required for reassembly.
Open Air
C
U
ONNECT
PGRADE
-
ROBOT
Contact Customer Service
Monday - Friday, 9am - 7pm ET
1-877-250-7729 or support@litter-robot.com
K
I
IT
NSTALLATION
Upgrade Kit includes:
• Main Circuit Board
• WebConnect Module
• Wire Harness
• Applique
• Serial Number Stickers
• Connect Quick Start Guide
Installation video at litter-robot.com/upgradekitinstall
Figure 1
Figure 2
Figure 3
G
UIDE
LR3-8060-0a
Installation Video
1
Advertisement

Subscribe to Our Youtube Channel
Related Manuals for Litter-Robot Open Air


Summary of Contents for Litter-Robot Open Air
- Page 1 • Connect Quick Start Guide DISASSEMBLE YOUR LITTER ROBOT Press the Power button to turn the unit o and Installation video at litter-robot.com/upgradekitinstall unplug it from the wall. Remove the Bonnet, Globe, and Waste Drawer. 2. The plastic component that covers the Control Panel on the Base is called the Bezel.
- Page 2 REMOVE THE CIRCUIT BOARD 5. Turn the Circuit Board over and unplug the three connectors: 4-pin (DFI - Drawer Full Indicator), 6-pin (Motor and power), and the 8-pin (Hall E ect sensor). Make sure to pull the connector from the base of the wire.
- Page 3 9. Reattach the three wire connectors to the Circuit Board. Each connector is keyed (there is a top and bottom), so it will only fit on the header one way (see Figure 9). If you feel resistance, turn it over and try again. The 4-pin connector goes on the 4-pin header, the 6-pin connector goes on the 6-pin header, and the 8-pin connector goes on the 8-pin header as shown...
- Page 4 12. Depending on your Base, install the WebConnect module using one of the following methods: A. WITHOUT RIBS (see Figure 13): No Ribs If your Base does not have ribs, a x the module to the front wall of the Base with the foam tape provided (see Figure 14a).
- Page 5 14. Make sure the wires attached to the Circuit Board are tucked behind it in the wire channel (see Figure 19). Figure 18 Figure 19 REATTACH THE BEZEL 15. Reassemble the Bezel onto the Circuit Board and Keypad by holding the Circuit Board upright and fitting the Bezel over it, so the buttons come through the Control Panel.
- Page 6 REPLACE THE APPLIQUE 18. Remove the blue applique from the front of the Bezel. Use your fingernail or a utility knife to pry up the edge, then peel it o . Figure 23 19. Apply the new black applique. Peel o the backing and align the inner edge of the applique with the plastic outline as shown in Figure 24.
- Page 7 Figure 28 ONBOARD YOUR LITTER ROBOT Congratulations! You have successfully upgraded your Litter-Robot. Follow the Connect Quick Start Guide to onboard your Litter-Robot and connect to the app. Contact Customer Service Monday - Friday, 9am - 7pm ET 1-877-250-7729 or support@litter-robot.com...
Need help?
Do you have a question about the Open Air and is the answer not in the manual?
Questions and answers